
Tape measure
Use it for: To match the replacement damper to the duct diameter or duct dimensions.
Shop tape measuresTo replace a manual duct damper for a branch run, first confirm the damper is actually stuck, broken, or missing its blade control, then match the duct size and style, remove the old section or damper body, install the new one in the same airflow direction, seal the joints, and test airflow at the room register.
This is a manageable repair if the damper is exposed and the duct is in good shape. The goal is to restore real airflow control to one branch run without crushing the duct, leaving air leaks, or replacing the wrong size part.
Before you start: Match the replacement part to your exact ductwork vent before ordering.
Use it for: To match the replacement damper to the duct diameter or duct dimensions.
Shop tape measures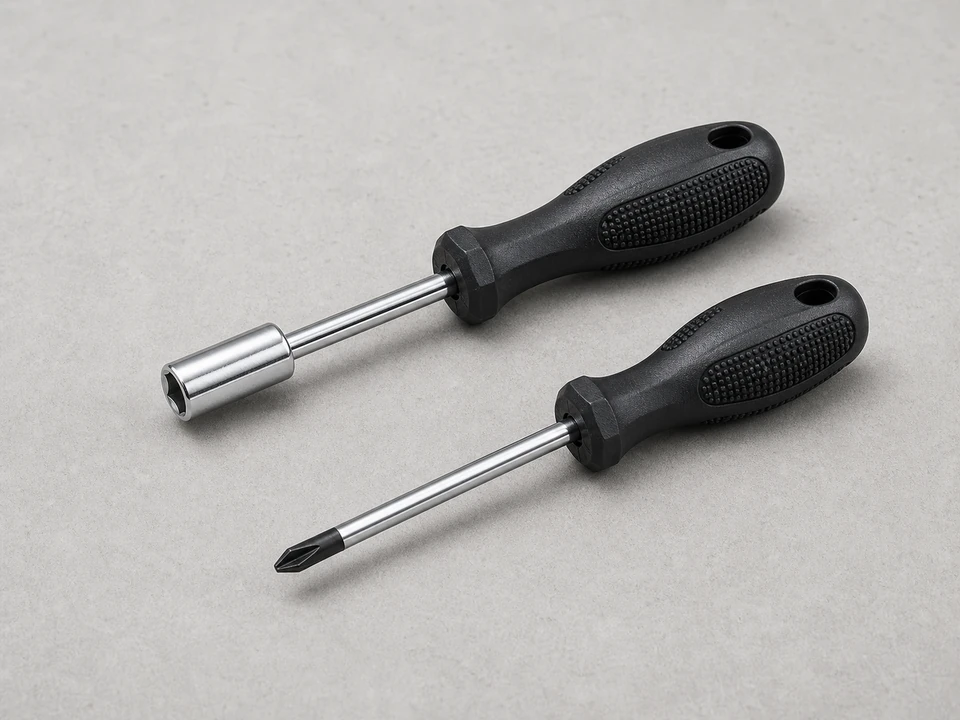
Use it for: To remove and reinstall sheet metal screws or clamp hardware.
Shop nut drivers and screwdrivers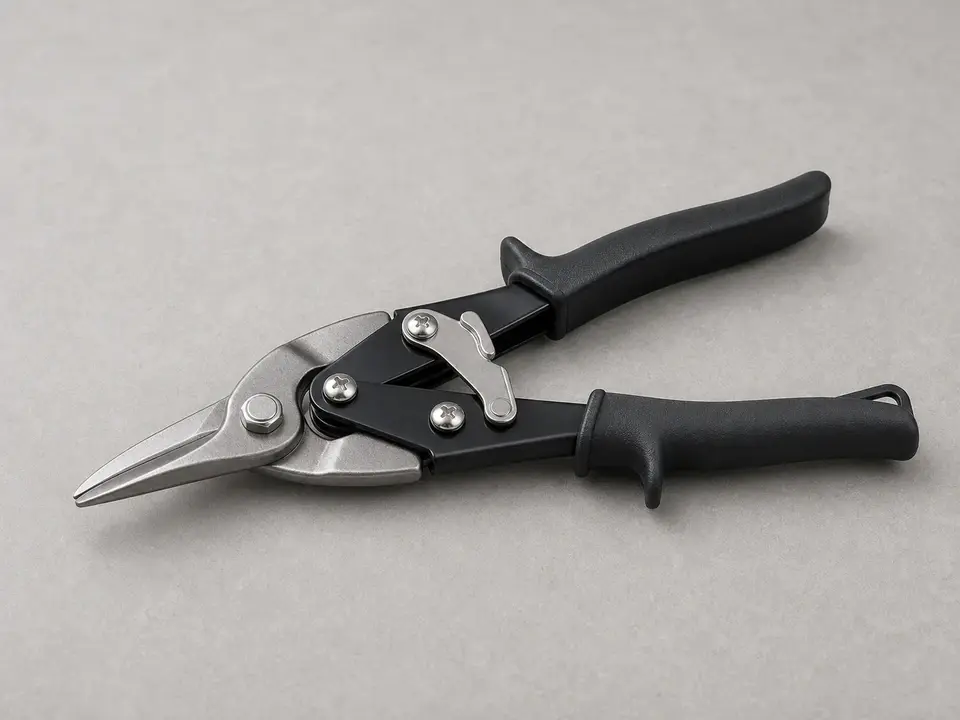
Use it for: To cut foil tape, loosen light metal tabs, or trim thin duct metal if needed.
Shop sheet metal snips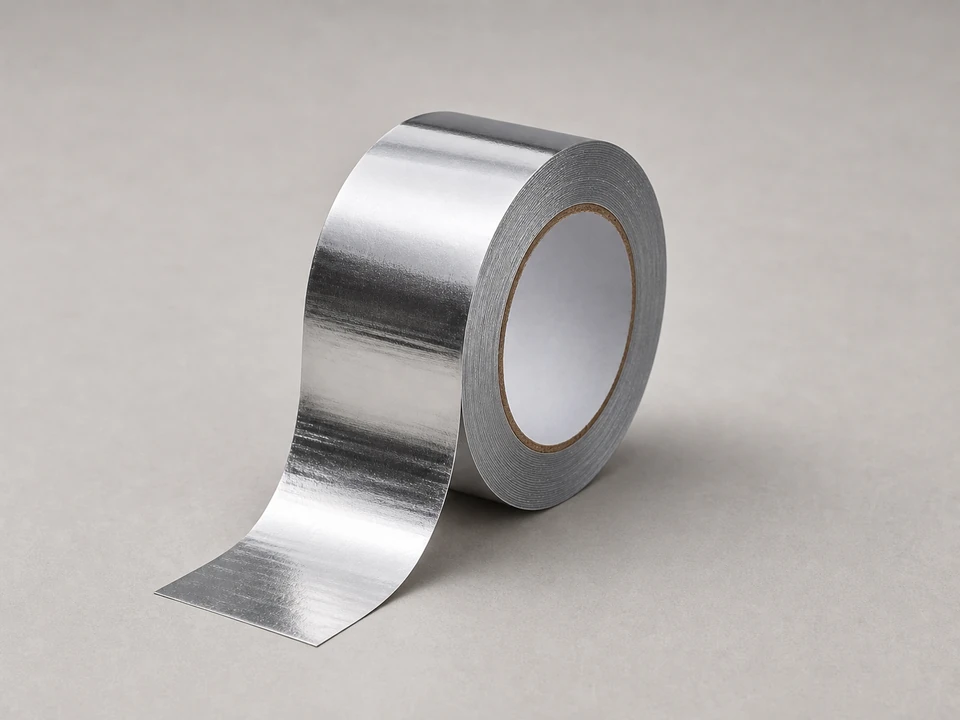
Use it for: To reseal duct joints after the new damper is installed.
Shop foil HVAC tape
Use it for: To protect your hands from sharp sheet metal edges.
Shop work glovesAs an Amazon Associate I earn from qualifying purchases. Repair Riot may earn a commission at no extra cost to you.
If it works: You confirmed the existing manual damper is damaged or no longer controlling airflow and you know the duct size.
If it doesn’t: If the handle and blade move normally and airflow does not change, the issue is likely farther upstream, such as a disconnected duct, blocked branch, or balancing problem.
If it works: The system is off and you have safe, clear access to the damper and both connecting duct ends.
If it doesn’t: If you cannot reach both sides well enough to remove and reinstall the part squarely, improve access first or wait for a pro with better access tools.
If it works: The old damper is out and the duct ends are open, intact, and ready for the replacement.
If it doesn’t: If the old part will not come free, look again for hidden screws, tabs, or tape layers before forcing it.
If it works: The new damper is mounted securely, aligned with the duct, and the handle moves the blade smoothly.
If it doesn’t: If the blade binds after tightening, loosen the fasteners slightly, realign the body, and retest before sealing.
If it works: The duct is resealed and the new damper is left in a usable starting position for testing.
If it doesn’t: If tape will not stick, clean dust and residue from the metal and apply fresh tape again.
If it works: The branch run now responds to damper adjustments, airflow is controllable, and the joints stay sealed during normal operation.
If it doesn’t: If airflow still does not respond much, inspect the rest of the branch for kinks, disconnections, crushed flex duct, or a separate balancing issue farther upstream.
Match the replacement part to your exact ductwork vent before ordering.
As an Amazon Associate I earn from qualifying purchases. Repair Riot may earn a commission at no extra cost to you.
A bad damper usually has a handle that spins loosely, a shaft that no longer turns the blade, a blade stuck in one position, or a body that is rusted, crushed, or separating. If moving the handle does not change airflow at the room register, the damper may have failed or the problem may be elsewhere in the branch.
Sometimes, but only if the shaft and blade are still intact and the handle hardware is the only damaged part. In many homeowner situations, replacing the full manual damper is simpler and more reliable than trying to rebuild a worn control on an older duct section.
A half-open starting point is usually easier for testing. From there, you can make small adjustments and see how the room responds. Fully closing a branch can create noise or reduce comfort in ways that make balancing harder.
Match the replacement to the actual duct size and connection style at the branch run. Measure the round diameter or the rectangular duct dimensions before ordering, and compare the new part to the old one before installation.
Yes. Any joint you disturbed should be resealed so conditioned air does not leak out. Foil HVAC tape made for duct sealing is the usual choice for a simple repair like this.