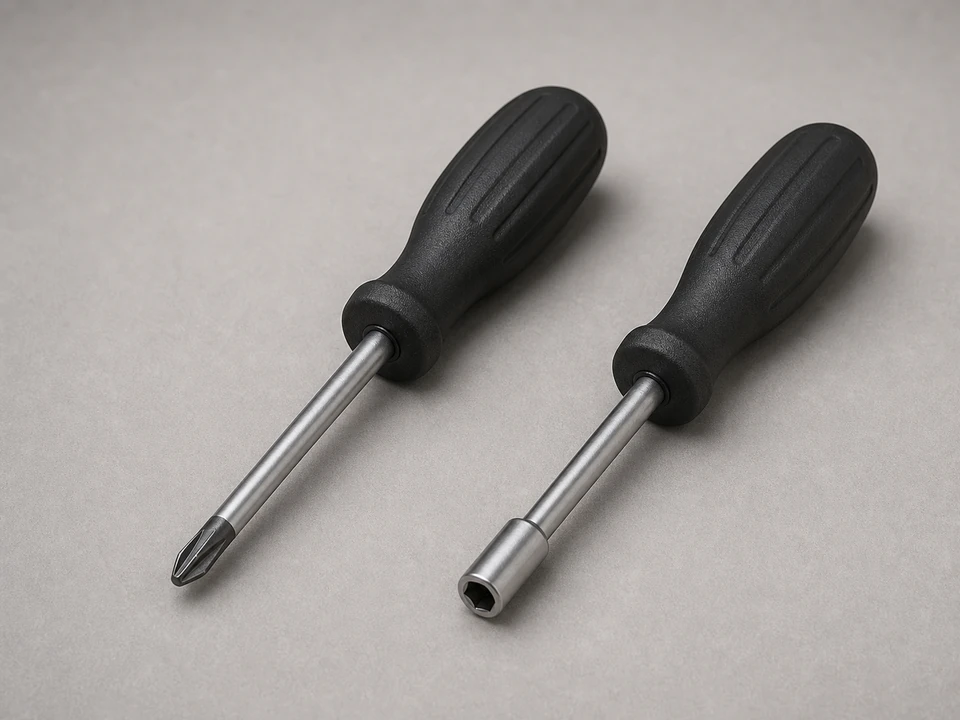
Phillips screwdriver or nut driver
Use it for: Removes the screws holding the sensor to the back oven wall.
Shop screwdrivers and nut driversIf your oven temperature is clearly off or the oven will not heat properly, replacing the oven sensor is a common fix. The job usually involves shutting off power, removing the sensor from inside the oven cavity, swapping the connector, and testing the oven with a normal bake cycle.
An oven sensor reads cavity temperature and tells the control when to add or stop heat. When it drifts out of range or fails, the oven can underheat, overheat, or act erratically. This repair is usually straightforward, but work carefully around sharp metal edges and always disconnect power first.
Before you start: Match the replacement part to your exact oven before ordering.
Use it for: Removes the screws holding the sensor to the back oven wall.
Shop screwdrivers and nut drivers
Use it for: Protects your hands from sharp sheet metal edges inside the oven cavity.
Shop work gloves
Use it for: Helps you see the sensor screws and wire connector clearly.
Shop flashlights
Use it for: Helps hold or guide the wire connector if it is tucked back into the insulation or rear opening.
Shop needle-nose pliersAs an Amazon Associate I earn from qualifying purchases. Repair Riot may earn a commission at no extra cost to you.
If it works: The symptoms fit a temperature-sensing problem and you have identified the oven sensor inside the oven cavity.
If it doesn’t: If the oven is completely dead, will not power on, or has no heat at all in any mode, the problem may be elsewhere and this may not be the right repair.
If it works: The oven is cool, de-energized, and clear enough to work on safely.
If it doesn’t: If you cannot confirm power is off, stop and identify the correct plug or breaker before touching the sensor wiring.
If it works: The old oven sensor is free and the wire connector is accessible for the new part.
If it doesn’t: If the connector slips back, use needle-nose pliers carefully to bring it forward without damaging the wires or insulation.
If it works: The new oven sensor is connected securely and mounted flat against the rear oven wall.
If it doesn’t: If the new part does not match the old one exactly enough to mount and connect cleanly, pause and verify the replacement using your oven model information.
If it works: The oven powers up normally and starts a bake cycle with no immediate wiring or control issues.
If it doesn’t: If the control shows a fault right away, turn the oven off and recheck the sensor connection and part fit.
If it works: The oven heats and cycles normally, and the original temperature problem is resolved.
If it doesn’t: If the oven still runs far too hot, too cool, or shows the same fault, the issue may be with the control, wiring, or another heating component and further diagnosis is the next step.
Match the replacement part to your exact oven before ordering.
As an Amazon Associate I earn from qualifying purchases. Repair Riot may earn a commission at no extra cost to you.
The oven sensor measures the temperature inside the oven cavity and sends that information to the control. The control uses that reading to cycle the heat on and off.
Common signs are an oven that overcooks, undercooks, takes too long to preheat, or shows a temperature-related fault. If the oven still powers on and heats but the temperature is clearly wrong, the sensor is a common cause.
Usually no. On many ovens, the sensor is removed from inside the oven cavity by taking out two screws and disconnecting the harness just behind the rear wall opening.
It is better not to rely on it. A failing sensor can cause poor temperature control, uneven cooking, or overheating, which can make the oven unsafe or unreliable.
If the symptoms stay the same, the fault may be in the wiring, electronic control, or another heating-related part. Recheck the connector and part match first, then move on to further diagnosis.