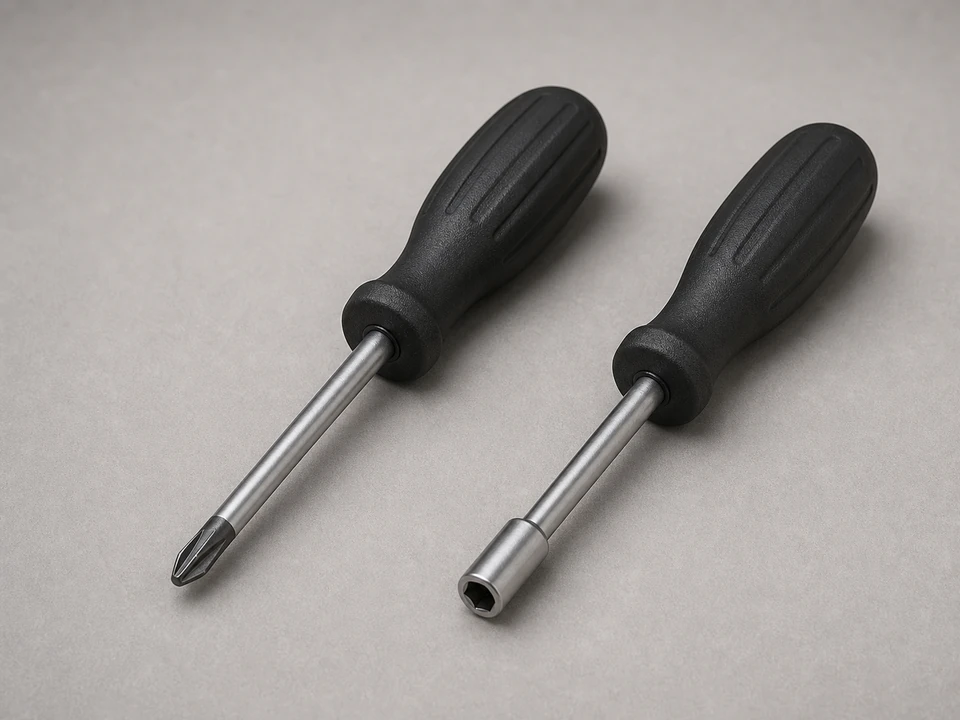
Phillips screwdriver or nut driver
Use it for: Removes the sensor mounting screws and any rear access panel screws if needed.
Shop oven repair screwdrivers and nut driversTo replace an oven temperature sensor, shut off power, remove the sensor from inside the oven cavity, disconnect its wire plug, connect the new sensor, and reinstall it before testing oven heat.
A bad oven temperature sensor can make the oven run too hot, too cool, take too long to cook, or refuse to heat correctly. This repair is usually straightforward because the sensor is commonly mounted through the back wall inside the oven.
Before you start: Match the replacement part to your exact oven before ordering.
Use it for: Removes the sensor mounting screws and any rear access panel screws if needed.
Shop oven repair screwdrivers and nut drivers
Use it for: Protects your hands from sharp sheet metal edges inside the oven and behind panels.
Shop work gloves
Use it for: Helps you see the sensor screws, wire connector, and routing clearly.
Shop flashlights
Use it for: Helps grip the wire connector gently if it is tucked back or hard to reach.
Shop needle-nose pliersAs an Amazon Associate I earn from qualifying purchases. Repair Riot may earn a commission at no extra cost to you.
If it works: You have symptoms that fit a failed oven temperature sensor and you have located the sensor inside the oven.
If it doesn’t: If the oven is completely dead, trips breakers, smells like burning wiring, or has multiple unrelated control problems, this may not be the right repair path.
If it works: The oven is de-energized, cool, and clear enough to work on safely.
If it doesn’t: If you cannot fully disconnect power, wait until you can. This repair should not be done with live power to the oven.
If it works: The old sensor is fully disconnected and removed without losing the wire harness into the oven body.
If it doesn’t: If the harness slips back or the connector is inaccessible from the front, pull the oven out carefully and remove the rear access panel to reach it from behind.
If it works: The new oven temperature sensor is connected securely, mounted flat, and the wiring is protected.
If it doesn’t: If the new part does not match the old connector or bracket, stop and verify the replacement using your oven's exact model information.
If it works: The oven powers up normally and reaches bake mode without obvious faults.
If it doesn’t: If the oven shows the same temperature-related problem right away, recheck the connector and confirm you installed the correct sensor.
If it works: The oven now heats and cooks normally, and the new sensor is holding up in real use.
If it doesn’t: If temperatures are still clearly off after replacing the sensor, the issue may be with the control, wiring, or another heating-related component.
Match the replacement part to your exact oven before ordering.
As an Amazon Associate I earn from qualifying purchases. Repair Riot may earn a commission at no extra cost to you.
It is usually mounted inside the oven cavity, often on the back wall near the upper area. It looks like a slim metal probe held in place by screws.
Common signs include food coming out undercooked or overcooked, long preheat times, unstable oven temperature, or temperature-related fault behavior.
Not always. Many sensors can be removed from inside the oven and unplugged through the opening. Some ovens require rear access if the connector will not reach through from the front.
It may still heat, but temperature control can be unreliable. That can lead to poor cooking results and, in some cases, repeated faults or overheating behavior.
If the new sensor is the correct part and is connected properly, the problem may be in the wiring harness, electronic control, or another heating-related component.