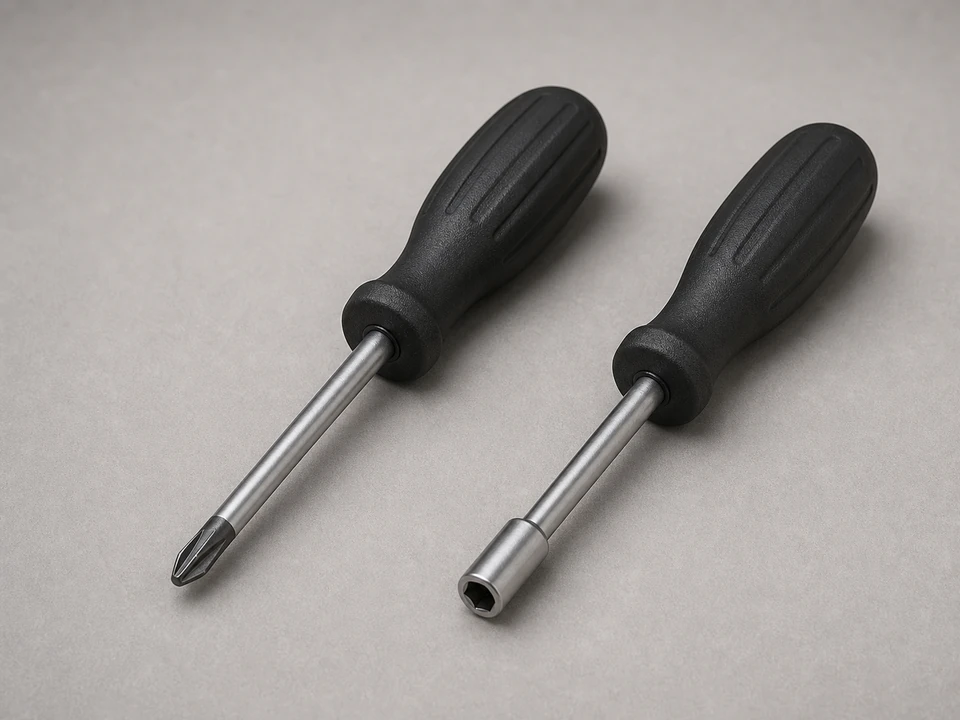
Phillips screwdriver or nut driver
Use it for: Removes the mounting screws that hold the sensor in place.
Shop screwdrivers and nut driversTo replace an upper oven temperature sensor, shut off power, remove the sensor from inside the upper oven cavity, disconnect the wire plug, install the matching new sensor, and test the upper oven through a full heat-up cycle.
A bad temperature sensor can make the upper oven heat unevenly, run too cool, overheat, or throw a temperature-related fault. This repair is usually straightforward, but you do need to work carefully around sharp metal edges and live electrical parts, so power should stay off until the oven is reassembled.
Before you start: Match the replacement part to your exact oven before ordering.
Use it for: Removes the mounting screws that hold the sensor in place.
Shop screwdrivers and nut drivers
Use it for: Protects your hands from sharp sheet metal edges inside the oven cavity.
Get cut-resistant work gloves
Use it for: Helps you see the sensor screws and wire connector clearly inside the upper oven.
Find a repair flashlight
Use it for: Helps hold or guide the wire connector if it is tucked back through the opening.
Shop needle-nose pliersAs an Amazon Associate I earn from qualifying purchases. Repair Riot may earn a commission at no extra cost to you.
If it works: You have upper-oven-only temperature symptoms and you can identify the sensor inside the upper oven cavity.
If it doesn’t: If the upper oven will not power on at all, trips the breaker, or has no heat from any bake or broil function, this may not be the right repair path.
If it works: The upper oven is cool, empty, and safely disconnected from power.
If it doesn’t: If you are not sure the correct breaker is off, stop and verify before removing any screws.
If it works: The old sensor is free and the wire connector is accessible.
If it doesn’t: If the connector is tight, use needle-nose pliers carefully on the connector body, not on the wires.
If it works: The new sensor is mounted flat, connected securely, and the wiring is tucked back safely.
If it doesn’t: If the new part does not match the old one, stop and verify fit before forcing the installation.
If it works: The oven is reassembled and powered back up normally.
If it doesn’t: If the display stays blank or shows a new fault immediately, shut power back off and recheck the connector and breaker.
If it works: The upper oven preheats, cycles heat normally, and holds temperature without the original symptom returning.
If it doesn’t: If the upper oven still heats incorrectly, the problem may be elsewhere in the control, wiring, or heating circuit and further diagnosis is the better next step.
Match the replacement part to your exact oven before ordering.
As an Amazon Associate I earn from qualifying purchases. Repair Riot may earn a commission at no extra cost to you.
It is usually mounted inside the upper oven cavity on the rear wall or near the upper rear area. It looks like a slim metal probe held in place by two screws.
It can make the upper oven run too hot, too cool, heat unevenly, take too long to preheat, or show a temperature-related error.
Usually no. On many ovens, the upper oven temperature sensor can be removed from inside the oven cavity. If the connector is not accessible from the front, the job may become more involved.
Many homeowners can handle it if the sensor is accessible from inside the upper oven and the wire connector reaches the opening. The key is shutting off power first and working carefully around sharp edges.
Then the root cause may be in the wiring, electronic control, or another heating component. At that point, further diagnosis makes more sense than replacing more parts at random.