
Tape measure
Use it for: To check pipe diameter and cut insulation to length.
Shop tape measuresIf the insulation around your shower supply pipes is missing, split, soaked, or falling off, replacing it can help reduce freezing risk and heat loss.
This is usually a straightforward repair if the pipes are accessible. The main job is confirming the pipe itself is still sound, then installing new insulation that fits tightly without crushing or leaving gaps.
Before you start: Match the replacement insulation to the pipe size, insulation type, and the hot or cold line layout before ordering.
Use it for: To check pipe diameter and cut insulation to length.
Shop tape measures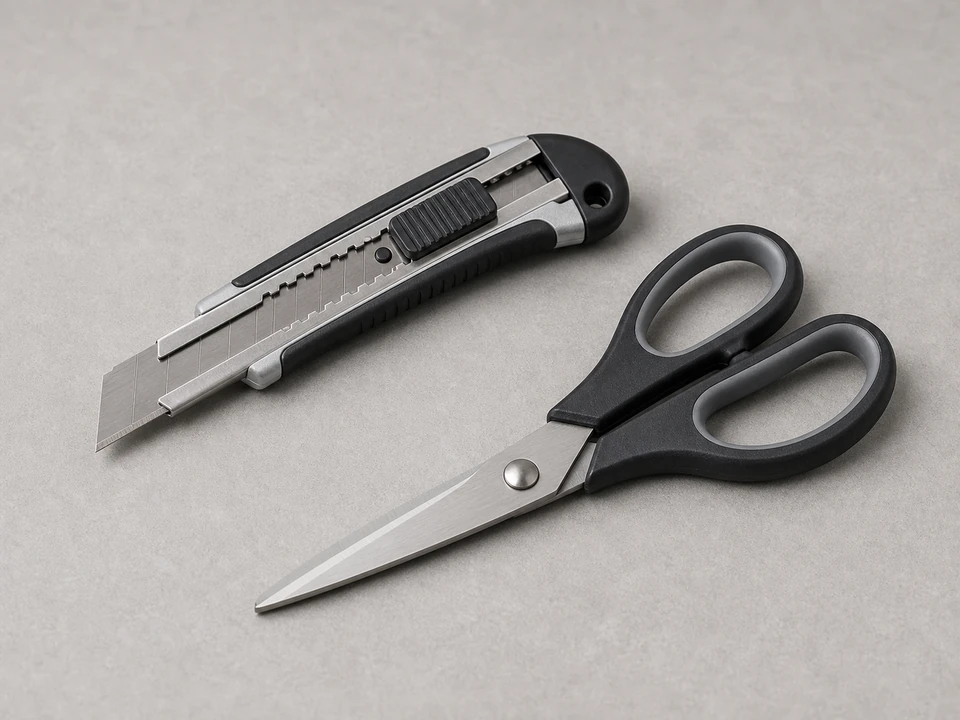
Use it for: To trim foam sleeves or insulation wrap cleanly.
Shop utility knives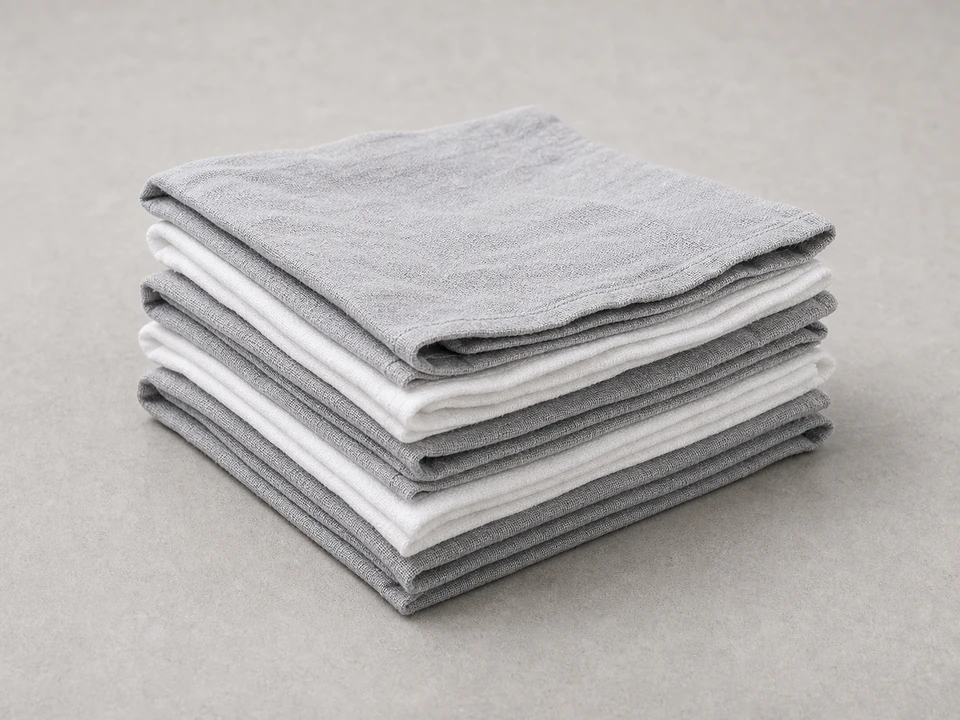
Use it for: To wipe dust and moisture off the pipe before installing new insulation.
Shop cleaning rags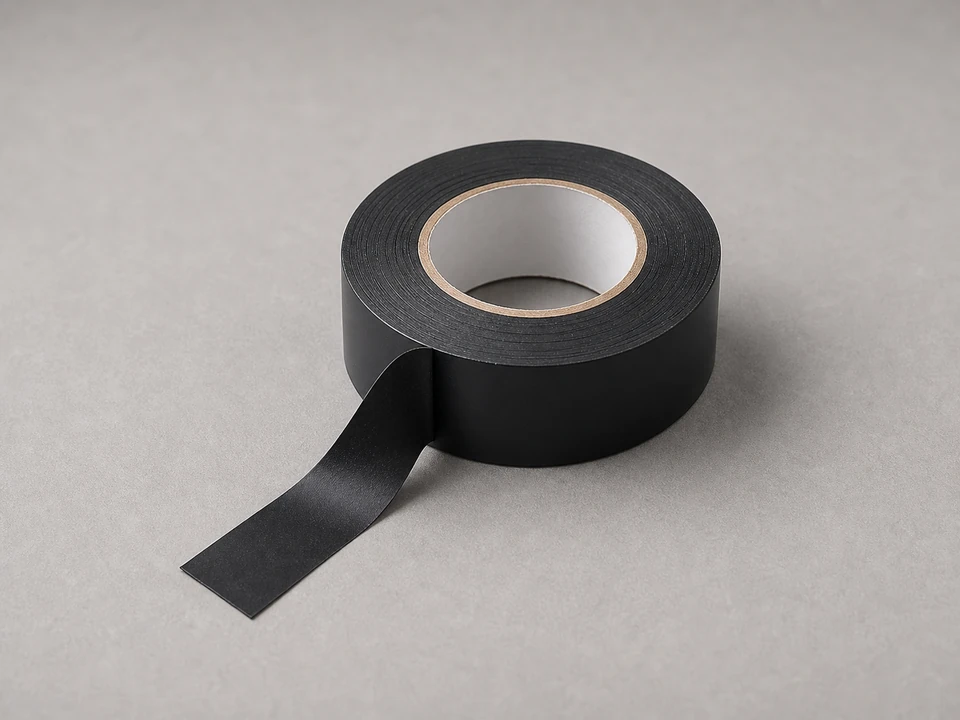
Use it for: To seal seams, joints, and short gaps so the insulation stays closed.
Shop insulation tape
Use it for: To inspect pipes in a wall cavity, basement, crawlspace, or access panel.
Shop flashlightsAs an Amazon Associate I earn from qualifying purchases. Repair Riot may earn a commission at no extra cost to you.
If it works: You found damaged or missing insulation, and the pipe appears intact and dry enough to re-insulate.
If it doesn’t: If the insulation looks fine, the freeze risk may be coming from air leaks, poor wall insulation, or a pipe routed in a very cold cavity instead.
If it works: The old insulation is off, and you know the pipe size and approximate insulation thickness you need.
If it doesn’t: If the old insulation will not come off cleanly because it is glued hard to the pipe, remove only what is loose and smooth the surface as much as you can before covering it.
If it works: The pipe surface is clean and dry enough for the new insulation to sit tight and stay in place.
If it doesn’t: If the pipe keeps getting wet, find and fix the moisture source first so the new insulation does not trap water against the pipe.
If it works: The new insulation covers the exposed shower supply pipes closely and evenly.
If it doesn’t: If the insulation feels loose, recheck the pipe diameter and switch to the correct inside size so it seals around the pipe instead of hanging away from it.
If it works: Seams are closed, joints are sealed, and the pipe is covered without obvious gaps.
If it doesn’t: If you still have exposed sections, add short filler pieces and tape them in place rather than stretching one piece too far.
If it works: The shower works normally, the pipes stay dry, and the new insulation remains in place during real use.
If it doesn’t: If the pipes still seem vulnerable to freezing, improve nearby air sealing or wall insulation and consider whether more of the pipe run needs protection.
Match the replacement insulation to the pipe size, insulation type, and the hot or cold line layout before ordering.
As an Amazon Associate I earn from qualifying purchases. Repair Riot may earn a commission at no extra cost to you.
Use pipe insulation sized for the actual pipe diameter. Foam sleeves are common for accessible indoor supply lines because they are easy to cut and fit. In tighter spots, insulation wrap can help cover short sections and fittings.
Usually no, as long as you are only replacing insulation on an intact pipe. If you discover a leak or damaged fitting, stop and deal with the pipe problem before insulating it.
Only if the old material is dry, secure, and not damaged. In most cases, it is better to remove split, wet, moldy, or loose insulation so the new material fits tightly and does not trap moisture.
Insulation helps slow heat loss, but it does not create heat. Pipes can still freeze if they sit in a very cold wall cavity, have air leaks around them, or have long exposed sections with poor coverage at joints and fittings.
It should fit snugly against the pipe without being crushed flat. A loose fit leaves air gaps, and an overly tight fit can split the insulation or make seams pop open.