How to Replace a Pressure Washer Recoil Starter Assembly
Replace the pressure washer recoil starter assembly only after the engine turns freely. First squeeze the trigger to bleed a stiff hose. If the rope still scrapes, hangs loose, skips the starter cup, or will not rewind, the recoil is the suspect.
Disconnect the spark plug wire before you remove anything. Bleed pump pressure, then remove or loosen the recoil and turn the engine by hand. If the engine turns but the rope drags, hangs loose, skips the starter cup, or will not rewind, the starter assembly is the suspect. Match the old housing, rope outlet, bolt pattern, starter cup engagement, and pulley depth before ordering.
Before you start: Bleed pump pressure, disconnect the spark plug wire, and confirm the engine turns before replacing the starter. Stop if the engine locks, fuel or oil appears in the cylinder, the recoil spring escapes, or the new housing cannot sit flat on the original mounting points.
Last reviewed: 2026-06-12
Make sure this is the right repair
Before replacing the pressure washer recoil starter assembly, bleed pump pressure and separate a bad recoil from hydro-lock, engine drag, and starter cup damage. Buy the assembly only after the engine turns by hand and the rope, housing, pulley, spring, or pawls are the failed pieces.
This page fits
This page fits when: The rope will not rewind, the pulley scrapes, the pawls slip, the handle hangs loose, or the recoil housing is cracked. The engine still turns when the recoil is removed.
Check something else when: A rope that frees up after bleeding pressure points away from the recoil. A locked engine with the spark plug removed needs deeper diagnosis.
Confirm the fit first
This page fits when: You can match the engine model, housing outline, bolt pattern, rope outlet clock position, pulley depth, center opening, and starter pawl style.
Check something else when: When the old starter is missing, use the engine model and stamped recoil number. Do not guess from photos or force a crooked housing.
Stop for hidden damage
This page fits when: The starter cup is round. The shroud mounting points are solid. The recoil spring is contained, and the engine area is dry.
Check something else when: Stop for a bent starter cup, cracked mounting bosses, an escaped spring, fuel leaks, oil leaks, or water in the cylinder.
Use the old starter as the fit template
A stuck rope can be a bad recoil, trapped pump pressure, hydro-lock, or a locked engine. Prove the engine can turn first, then use the old starter to confirm the new housing, rope outlet, pulley depth, and pawl reach.
Match the housing shape, bolt pattern, starter cup, and pull direction. A close-looking recoil can still miss the starter cup or rub the shroud.Before installation, compare the rope outlet, mounting holes, center opening, and pawl area against the old assembly. Do not force a housing that sits crooked or leaves the pawls short of the starter cup.
Safety first
Work on a cool engine so the muffler, cylinder head, and engine shroud do not burn your hands.
Squeeze the spray gun trigger to bleed pump pressure before pulling the rope or removing the recoil housing.
Disconnect the spark plug wire before working near the flywheel, starter cup, or recoil pawls.
Wear gloves around stamped shroud edges, cracked plastic, frayed starter rope, and loose recoil pieces.
Do not open a spring-loaded recoil housing if the spring has escaped, is kinked, or is still under tension.
Stop if the engine will not turn with the spark plug removed, or if you smell strong fuel, see leaks, or find oil or fuel in the cylinder.
Tools you may need
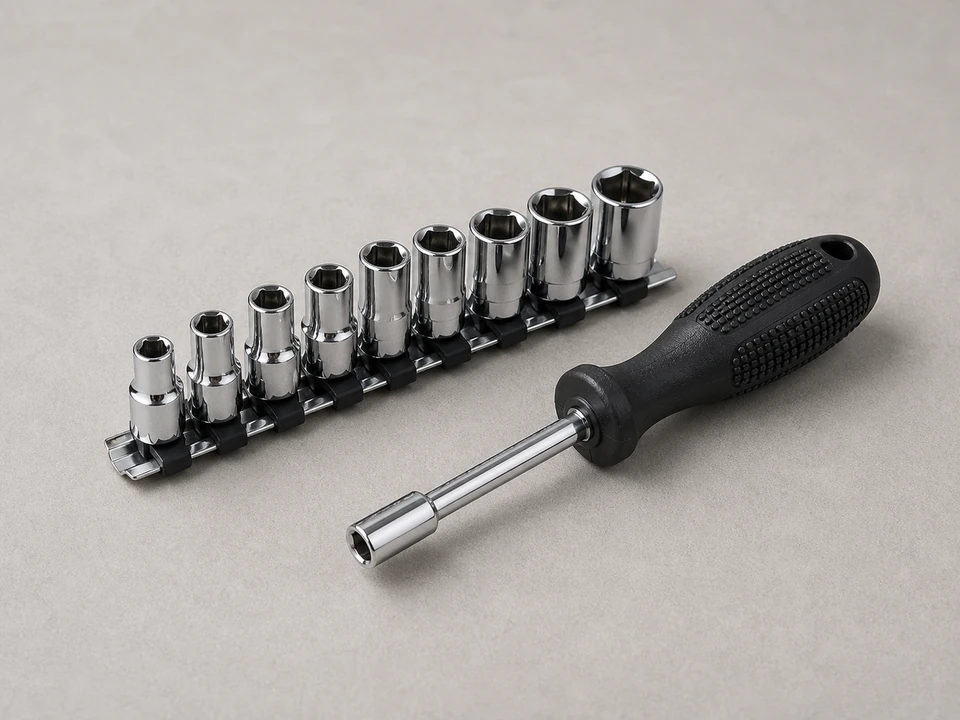
Socket set or nut driver set
Use it for: Removes the starter housing bolts from the engine shroud without chewing up the heads.
Use it for: Keeps recoil housing bolts, washers, spacers, and rope-guide screws sorted after removal so a shifted spacer does not make the new housing sit crooked.
As an Amazon Associate I earn from qualifying purchases. Repair Riot may earn a commission at no extra cost to you.
Step-by-step fix
Step 1: Confirm the recoil starter assembly is the problem
Turn the engine off, let the muffler cool, and squeeze the spray gun trigger to bleed pressure from the pump and hose.
Disconnect the spark plug wire and keep it away from the plug terminal.
Pull the starter rope slowly after the pump pressure is bled off. If it still feels rough, loose, uneven, or dead, watch the rope return and housing movement before blaming the engine.
Look for recoil-specific clues: a rope that will not retract, a handle that hangs loose, a pulley scraping inside the housing, broken pawls, cracked plastic, or a housing that shifts when you pull.
If access allows, remove the spark plug and loosen the recoil housing. Turn the engine at the flywheel or starter cup. Check for water, fuel, or oil at the plug hole; liquid there or a locked crank means this is not just a recoil repair.
If it works: The engine can turn, and the failure is in the recoil housing, pulley, spring, rope path, or starter pawls.
If it doesn’t: If the rope works normally after pressure is bled off, or the engine will not rotate with the recoil removed, do not replace the recoil housing yet.
Stop if:
The engine will not turn with pump pressure relieved and the spark plug removed.
Fuel, oil, or water sprays from the spark plug hole, or the oil is milky or smells strongly of fuel.
The starter mounting bosses or engine shroud are cracked badly enough that a new housing cannot sit flat.
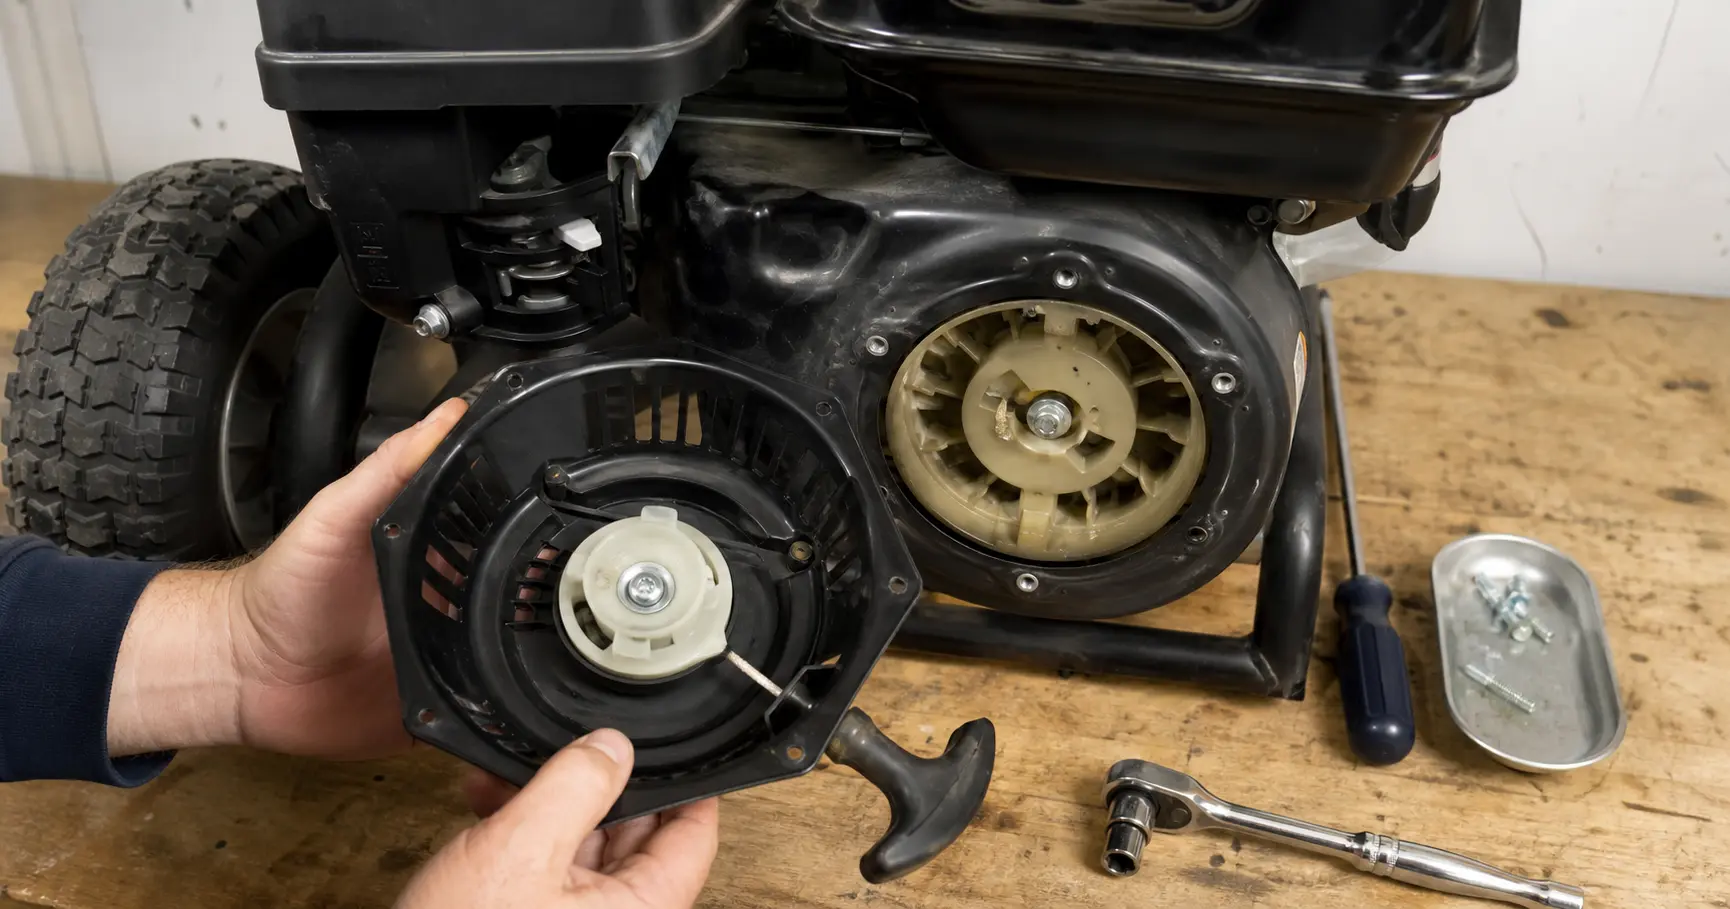
Step 2: Set up the pressure washer and remove the old starter assembly
Set the pressure washer on level ground with the starter side facing you and the water hose disconnected or slack.
Take a quick photo of the old recoil housing, rope outlet direction, and any shroud cover that overlaps it.
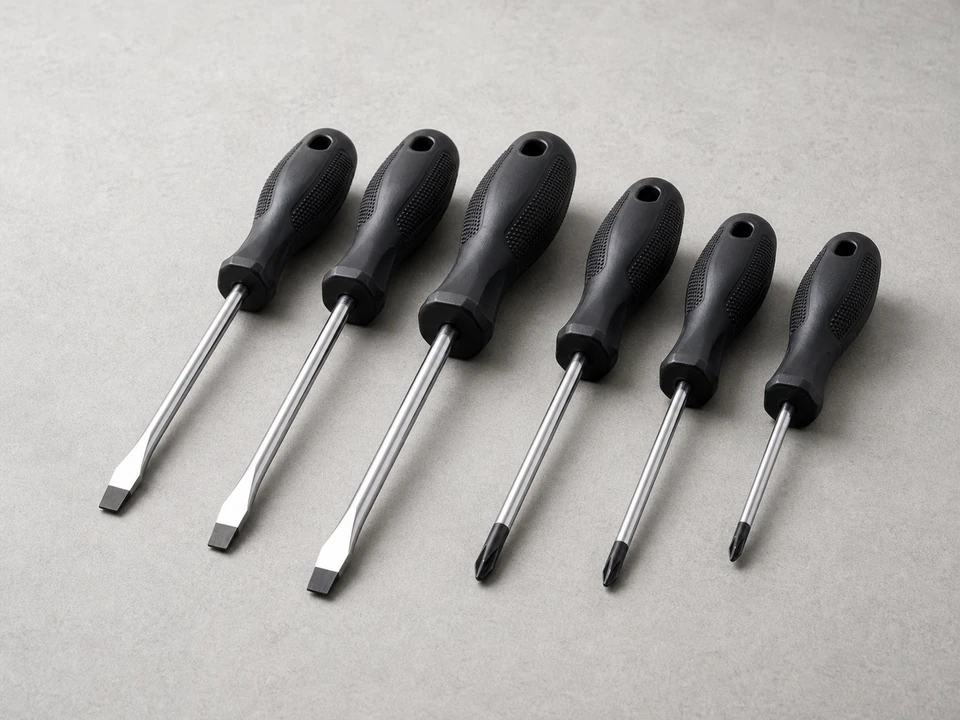
Use the correct socket, nut driver, or screwdriver and press squarely into each fastener so you do not strip small shroud screws.
Break all mounting fasteners loose before removing any one of them fully; this keeps the housing from twisting against the starter cup.
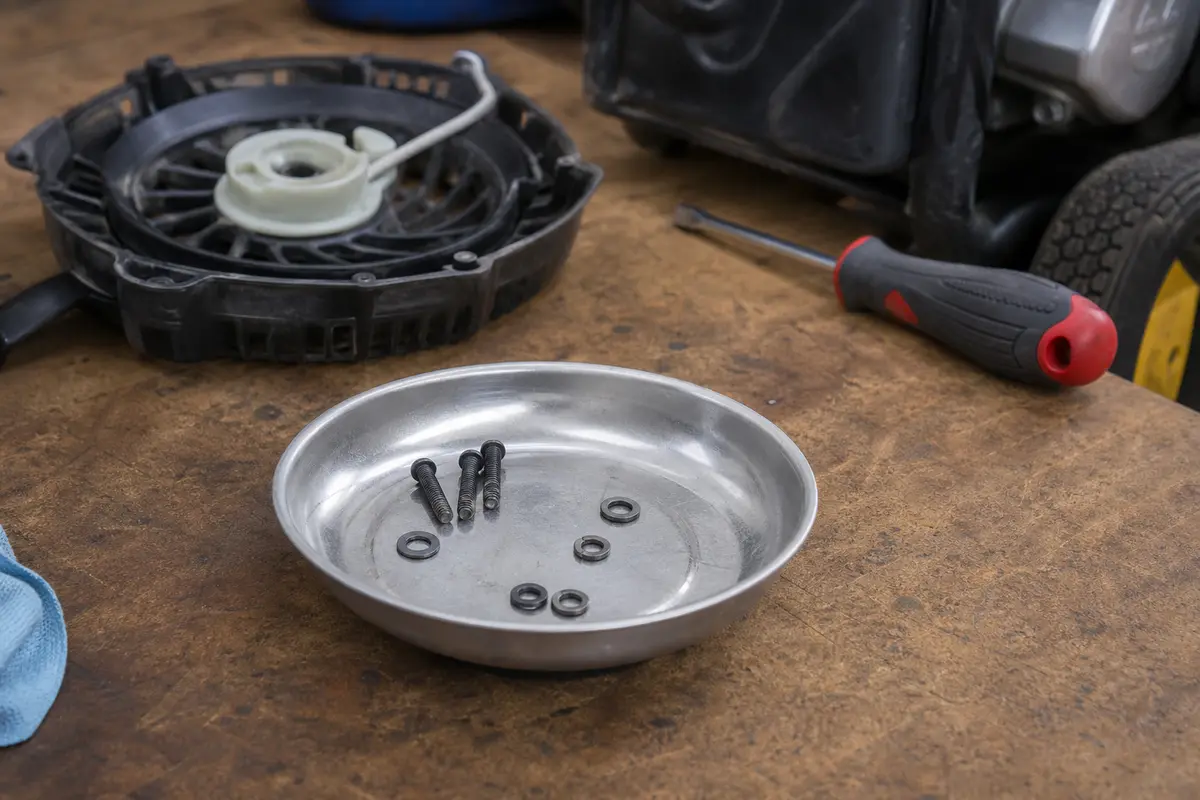
Lift the recoil assembly straight off the engine. If a spacer sticks to the old housing or drops loose, keep it with its bolt location in the parts tray so the replacement sits flat.
Inspect the starter cup and flywheel screen area for rubbed metal, broken pawls, loose debris, or a spacer that stayed stuck to the old housing.
If it works: The old recoil starter assembly is off, the starter cup is visible, and the mounting hardware is still sorted by location.
If it doesn’t: If the housing will not lift free, look for a hidden shroud screw, rope guide, or cover lip before prying on the engine shroud.
Stop if:
A seized fastener is bending the shroud or starting to crack a mounting boss.
The recoil spring has escaped the old housing and is loose under tension.
The starter cup is bent, cracked, or rubbing the flywheel screen.
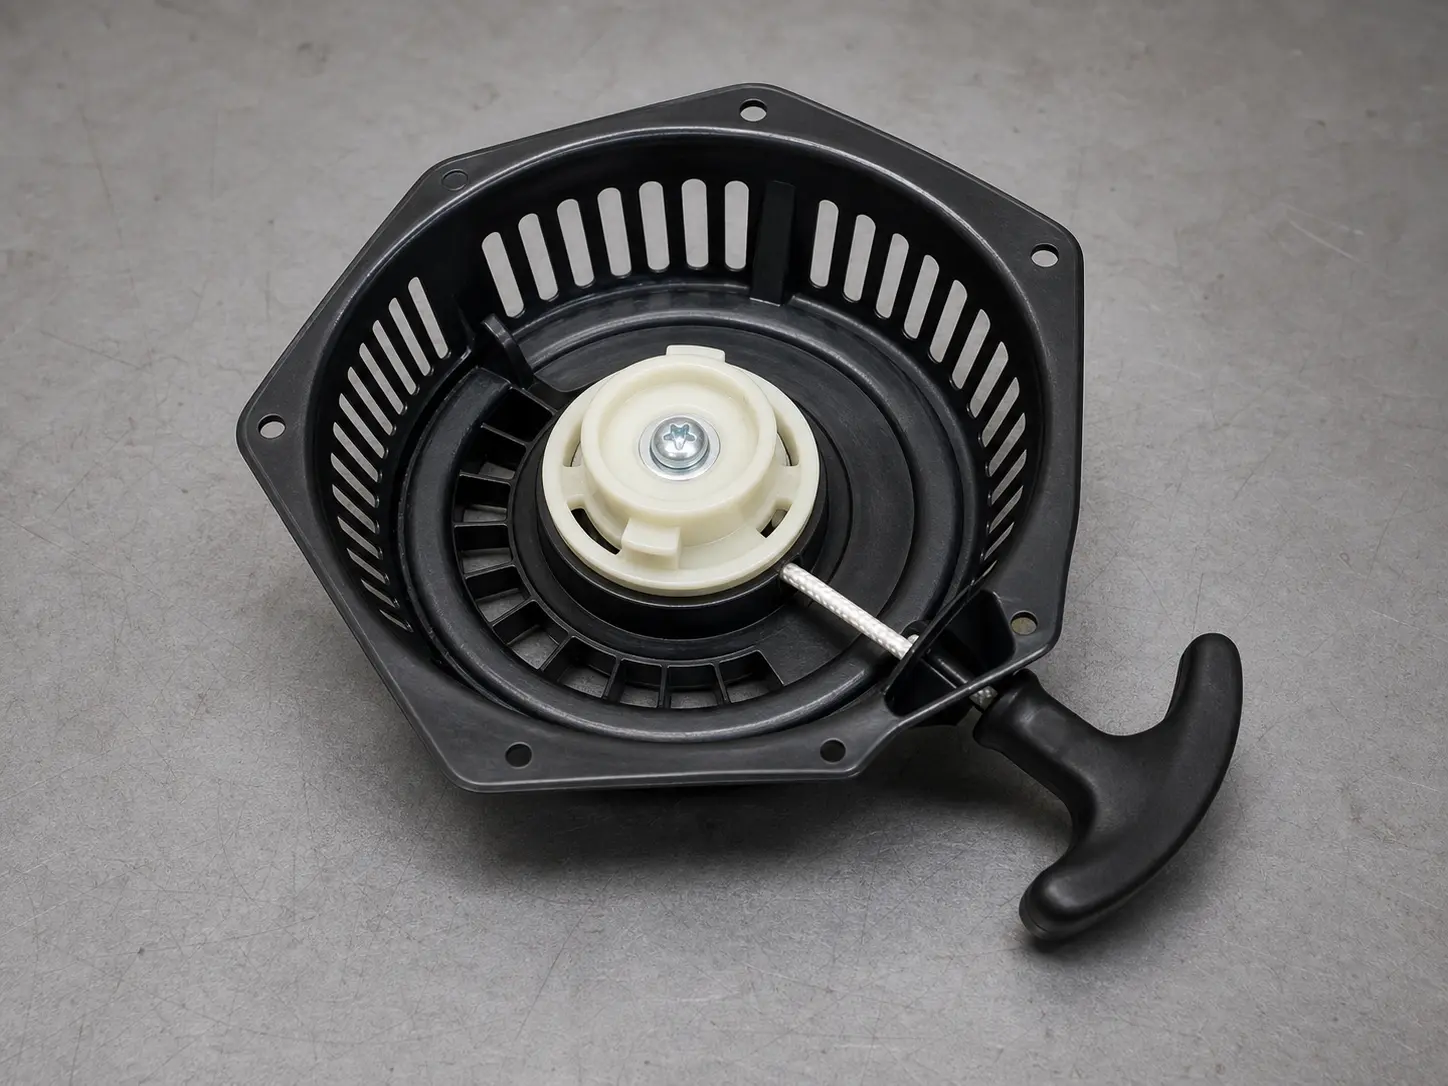
Step 3: Compare the new recoil housing before installing it
Set the new pressure washer recoil starter assembly beside the old housing on the bench, both facing the same direction.
Match the bolt pattern, bolt-hole diameter, housing outline, center opening, rope outlet clock position, and any raised shroud tabs.
Compare pulley depth and pawl location against the starter cup. The pawls need to reach the cup without dragging on the flywheel screen or sitting too far away to engage.
Before installation, check the new rope on the bench. Pull it a few inches, let it rewind, and watch that the handle seats near the housing without a weak return or scrape.
Move over only reusable recoil hardware from the old setup, such as a rope guide, spacer, or cover screw. Do not transfer cracked trim or worn pawls.
If it works: The new housing, pulley, rope outlet, mounting holes, and pawl reach match the old assembly closely enough to test-fit.
If it doesn’t: If the new recoil is close but not exact, check the engine model number and stamped recoil number before filing holes, stacking washers, or forcing the housing down.
Stop if:
The new housing has a different bolt pattern, rope outlet position, or center height.
The starter pawls do not match the old starter cup design.
The new rope will not retract smoothly while the assembly is still off the machine.
Step 4: Install the new recoil starter assembly
Set the new assembly over the starter cup without pinching the rope, plug wire, kill-switch wire, or shroud cover edge.
Rotate the housing slightly to align the original bolt holes and rope outlet. It should sit flat before any fastener is tight.
Start every mounting screw by hand for several turns. If one cross-threads, back it out and realign the housing before continuing.
Snug the fasteners gradually in a crisscross pattern so the plastic or stamped housing does not cock sideways.
Before reconnecting the plug wire, pull the rope slowly three or four times. Feel for clean pawl engagement, no scraping, and full rewind.
Reinstall any cover, rope guide, or trim piece exactly where it came from so the rope leaves the housing without rubbing a sharp edge.
If it works: The recoil housing sits flat, the fasteners are snug, and the rope pulls and rewinds smoothly with ignition still disabled.
If it doesn’t: If the rope rubs, sticks, clicks without engaging, or rewinds weakly, loosen the housing and reseat it before you try to start the engine.
Stop if:
The rope jams immediately after the housing is tightened.
The housing flexes, shifts, or will not sit flat with the original hardware.
The starter cup grinds or the pawls stay engaged after the rope returns.
Step 5: Test the starter action before full use
Reconnect the spark plug wire only after the starter housing and any shroud covers are fully installed.
Connect water if your pressure washer manual requires water flow for starting, point the wand safely away, and squeeze the trigger to unload pump pressure.
Pull the starter rope with a normal starting stroke and let the handle return under control each time.
Listen for clean engagement at the starter cup. A brief click is normal; scraping, grinding, or a handle that slams back is not.
If the engine starts, let it run briefly, shut it off, bleed pressure at the trigger, and recheck the recoil housing fasteners.
If it works: The rope engages and retracts normally, and the starter assembly stays secure during starting.
If it doesn’t: If the rope still binds or fails to retract, remove the assembly and recheck fit, pawl reach, starter cup condition, and whether the original problem is engine or pump drag.
Stop if:
The rope kicks back violently or the engine locks during pulling.
The new assembly loosens, cracks, or shifts during the test.
Fuel leaks, oil leaks, heavy smoke, or a strong fuel smell appears during the test run.
Step 6: Verify the repair holds in real use
Let the pressure washer sit for a few minutes. Bleed pump pressure, then start it again so you are not judging one lucky pull.
Run the machine briefly with water flowing. Shut it off, squeeze the trigger to unload the hose, and restart it once more.
Check that the rope retracts fully, the handle seats near the housing, and the rope does not rub the outlet guide.
Put a socket or screwdriver back on each recoil fastener after the short run. Each one should still feel snug without a hard extra turn.
Keep the old recoil assembly until the new one passes the restart test. Save reusable original spacers or screws. Discard cracked plastic and frayed rope.
If it works: The pressure washer starts, shuts down, and restarts with a smooth pull. The rope rewinds fully and the housing stays flat and tight.
If it doesn’t: If the starter works once but quickly binds again, compare the new housing against the old recoil and inspect for pump pressure lock, engine drag, or starter cup damage.
Stop if:
The starter gets harder to pull after the engine warms up.
You find new cracking, rubbing dust, loose mounting points, or fresh metal marks after use.
The engine repeatedly kicks back through the rope.
Buy this only after the engine turns freely and the recoil is cracked, slipping, scraping, or failing to rewind after pressure is bled off. Match the engine model, bolt pattern, rope outlet, pulley depth, starter cup style, and housing shape to the old assembly before you test fit it.
As an Amazon Associate I earn from qualifying purchases. Repair Riot may earn a commission at no extra cost to you.
Verify the repair
The starter rope pulls with normal resistance, no scraping, and full rewind.
The recoil starter assembly sits flat against the engine shroud and does not wobble when pulled.
The starter pawls engage the starter cup cleanly and release when the handle returns.
The rope outlet does not chew, polish, or fray the cord during repeated pulls.
The pressure washer starts, shuts off, bleeds pressure, and restarts without the rope binding.
Mounting screws remain snug after a short water-on test run.
FAQ
How do I know the recoil starter assembly is bad and not the engine?
Bleed pump pressure first, then disconnect the spark plug wire. With the recoil off, check that the engine turns without a hard stop. If it turns but the rope will not rewind, scrapes, slips, or runs through a cracked housing, the recoil starter assembly is the likely failure. A locked engine means the problem is deeper.
Can I replace just the rope instead of the whole recoil starter assembly?
Yes, if the housing, spring, pulley, and pawls are still sound and only the rope or handle is damaged. Replace the full recoil assembly when the spring will not rewind, the pulley is cracked, the pawls are worn, or the housing no longer mounts square.
Do I need to remove the whole engine to do this repair?
No. On most pressure washers, the recoil starter assembly bolts to the engine shroud. Remove only the cover or rope guide that blocks the housing. Check for spacers or washers as the screws come out, and leave the engine on the frame.
Why does the new starter rope still feel hard to pull?
If the handle feels hard to pull, start with pump pressure, liquid in the cylinder, pump drag, a bent starter cup, or a new housing that is not seated flat. Bleed pressure and loosen the housing enough to check that it sits flat and the pawls are not dragging. If it still binds with the spark plug removed, stop and diagnose the engine or pump.
Can I use the pressure washer if the rope retracts only partway?
No. A partly retracted rope can rub the outlet guide, tangle near the flywheel, or fail on the next start. Fix the rewind problem before regular use.
Sources and reference notes
Repair Riot used related pressure-washer diagnostic pages and the local how-to source database to keep this repair focused on starter failure, engine bind, pump pressure, hydro-lock checks, and recoil fit.
Repair Riot - pressure washer pull cord stuck - Diagnostic reference for separating trapped pump pressure, hydro-lock, recoil binding, and engine seizure before buying a recoil housing.