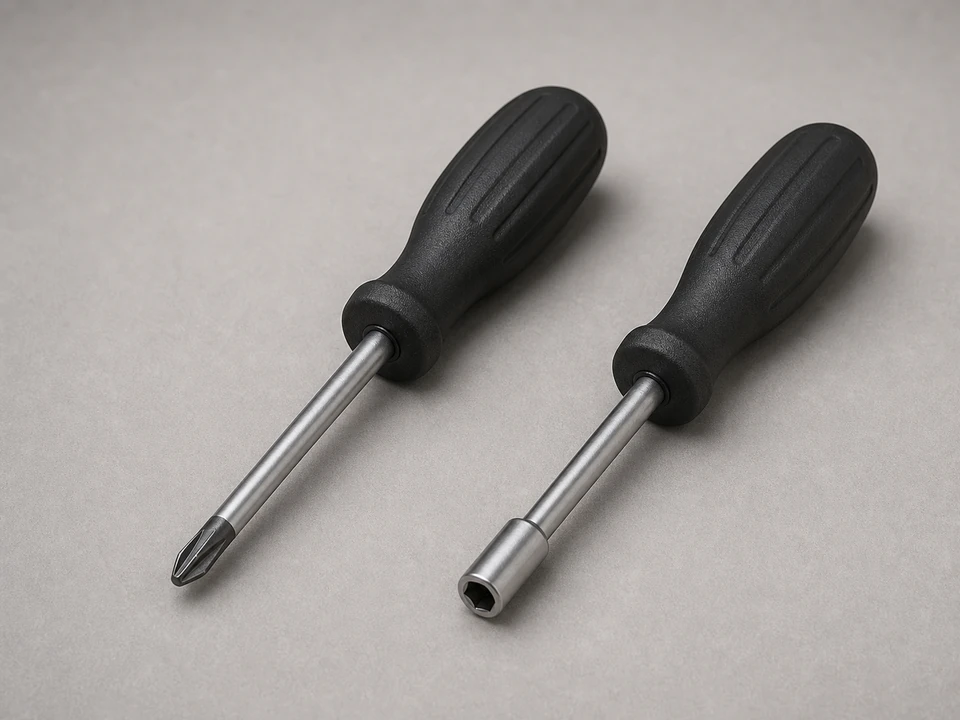
Phillips screwdriver or nut driver
Use it for: Loosens the fasteners behind the gasket on many refrigerator doors.
Shop screwdrivers and nut driversTo replace a refrigerator door gasket, first confirm the seal is actually leaking, then warm and remove the old gasket, install the correct replacement evenly around the door, and test for a full seal all the way around.
A torn, hardened, or loose gasket lets cold air leak out and warm room air leak in. That can cause longer run times, moisture around the door, and food temperatures that drift warmer than they should. This is usually a manageable homeowner repair if the door itself is still in good shape.
Before you start: Match the gasket profile, door size, and refrigerator or freezer compatibility before ordering.
Use it for: Loosens the fasteners behind the gasket on many refrigerator doors.
Shop screwdrivers and nut drivers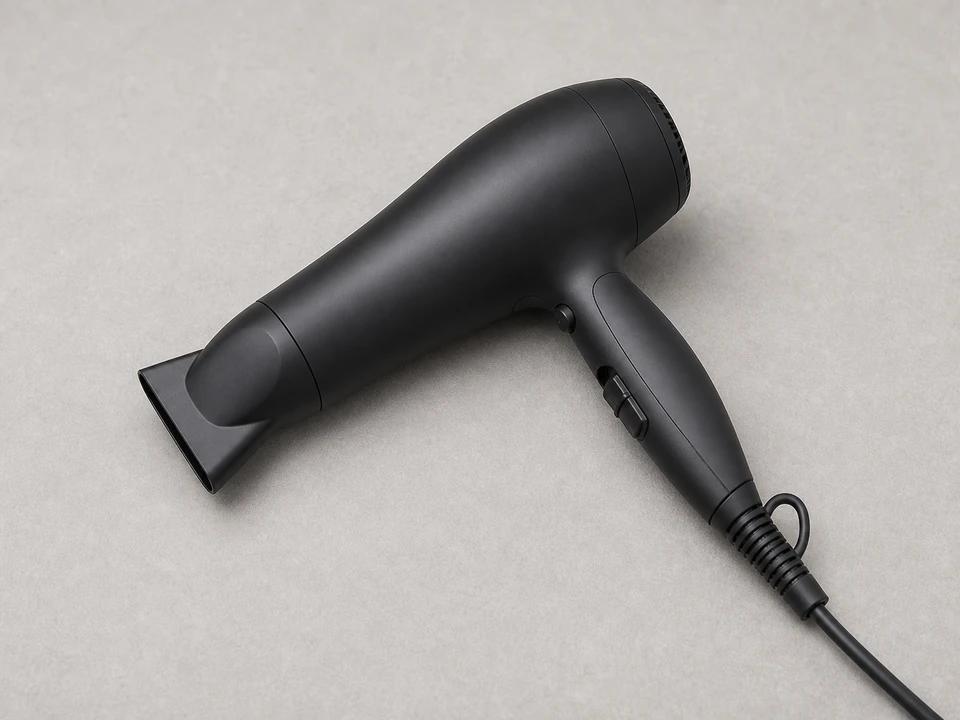
Use it for: Warms a stiff new gasket so it relaxes and seats better.
Shop hair dryers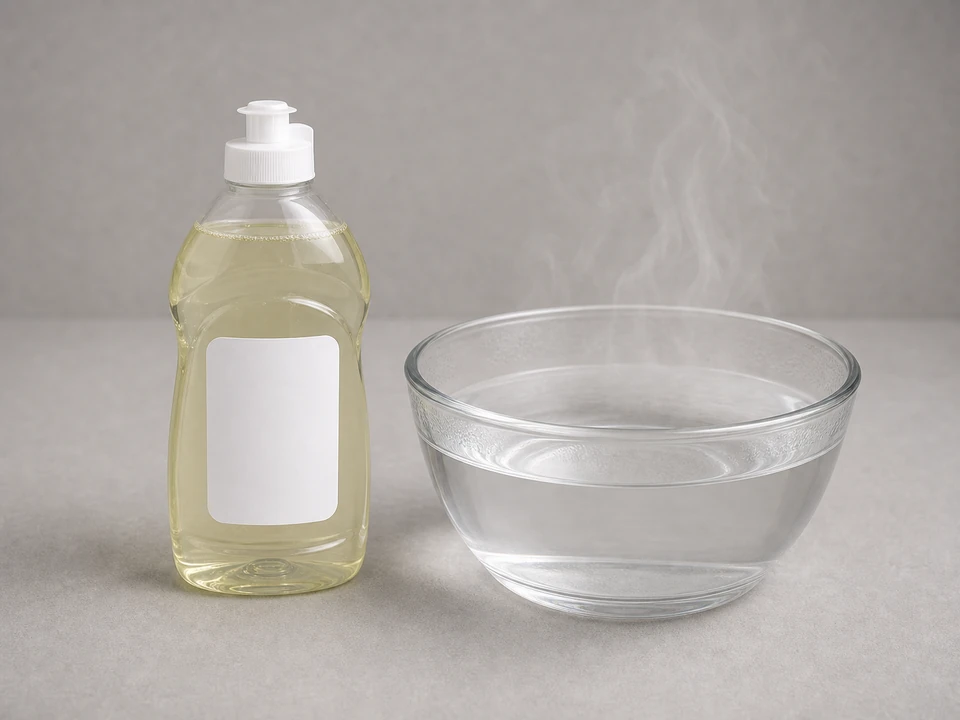
Use it for: Cleans the door channel and sealing surface before installation.
Shop dish soap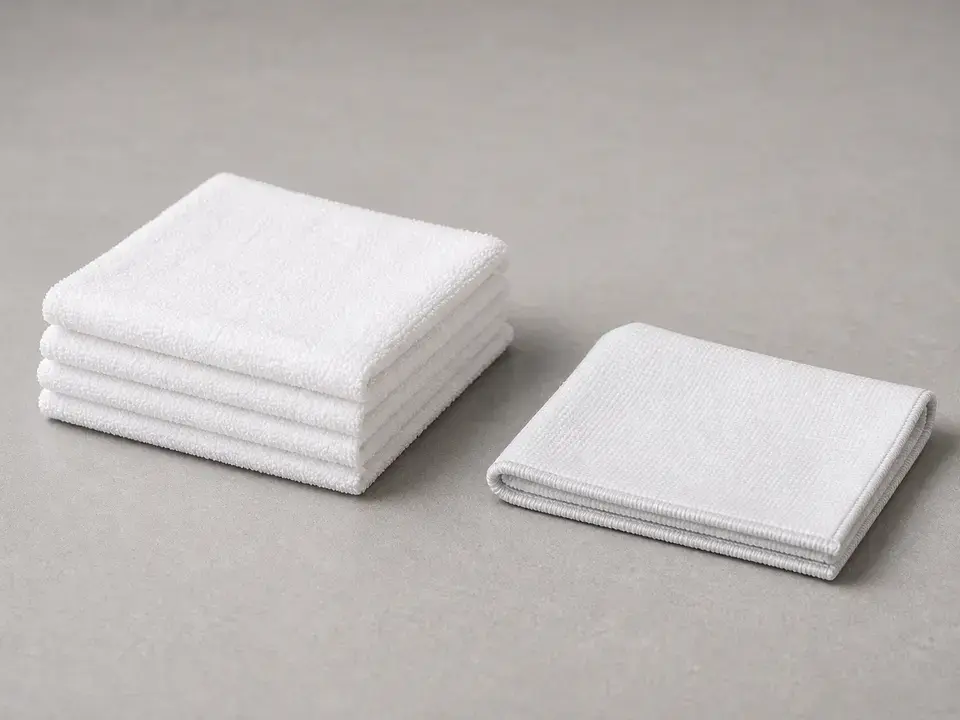
Use it for: Wipes away dirt, moisture, and residue so the gasket can seal cleanly.
Shop microfiber cloths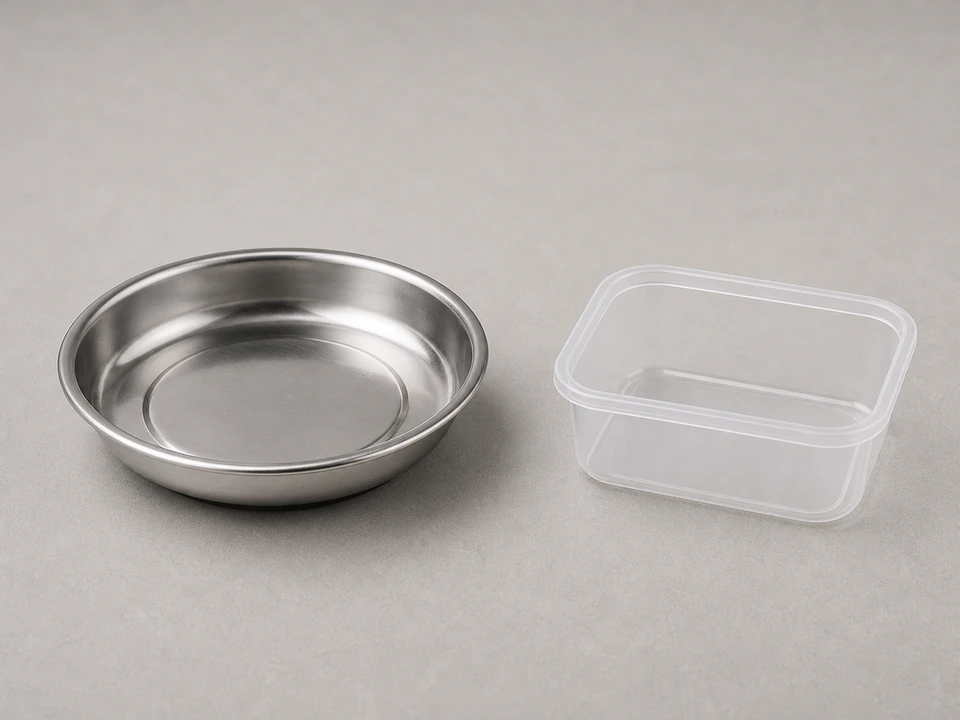
Use it for: Keeps screws from getting lost while you work.
Shop magnetic parts traysAs an Amazon Associate I earn from qualifying purchases. Repair Riot may earn a commission at no extra cost to you.
If it works: You found visible gasket damage or clear weak sealing spots, and the door is not being blocked by items inside the refrigerator.
If it doesn’t: If the gasket looks good and grips evenly, clean it first and check door alignment, hinges, and loading before replacing parts.
If it works: The door is unloaded, the replacement gasket is relaxed instead of folded, and the work area is clean.
If it doesn’t: If the new gasket still has deep folds, warm it a little more and reshape it by hand before installing.
If it works: The old gasket is off and the mounting surface is clean, smooth, and dry.
If it doesn’t: If one section will not release, look again for hidden fasteners under the gasket lip and loosen them before forcing anything.
If it works: The new gasket is attached all the way around, corners are seated, and the gasket sits evenly without obvious twists.
If it doesn’t: If a corner keeps bunching up, loosen that area, warm the gasket slightly, and reseat it before tightening again.
If it works: The gasket looks even around the perimeter and the door closes without needing extra force.
If it doesn’t: If one area still stands away from the frame, warm and reshape that section again, then recheck the nearby fasteners for even tension.
If it works: The door seals evenly in normal use, the gasket stays in place, and signs of air leakage are gone or clearly improved.
If it doesn’t: If the new gasket still does not seal evenly, inspect the door for hinge wear, cabinet leveling issues, or a warped door that needs further repair.
Match the gasket profile, door size, and refrigerator or freezer compatibility before ordering.
As an Amazon Associate I earn from qualifying purchases. Repair Riot may earn a commission at no extra cost to you.
Usually no. This repair is done at the door, and many homeowners leave the refrigerator running so food stays cold. Just work efficiently and avoid leaving the door open longer than necessary.
New gaskets are often folded in the package and need time, warmth, and a closed door to take shape. Gentle heat from a hair dryer on low can help relax creases.
In most cases, no. A full gasket replacement is the better fix because the seal needs to be even all the way around the door.
If the gasket is installed correctly but still leaks, the door may be misaligned, the hinges may be worn, or the door itself may be warped. Those issues can keep even a new gasket from sealing.
Match the gasket shape, overall size, corner layout, and whether it fits the refrigerator or freezer door you are repairing. Compare the mounting style too, since some gaskets screw in and others press into a retainer.