
Outdoor drainage repair

How to Replace a Retaining Wall Drain Outlet Grate

To replace a retaining wall drain outlet grate, first confirm the outlet itself is intact, then remove the broken grate, clear debris from the drain opening, install a matching replacement, and test it with water to make sure flow is still strong.

This is usually a simple repair when the wall outlet is sound and only the grate is cracked, loose, clogged beyond cleaning, or missing. The main job is matching the opening correctly and making sure the drain behind it is not packed with soil or roots.

Before you start: Match the outlet shape and opening size, and check whether the grate snaps in, slides in, or fastens with screws before ordering.

Prepared by: Repair Riot Last updated: 2026-06-05 How we build and check guides

Safety first

  • Wear gloves when handling broken plastic, metal fasteners, or debris at the outlet.
  • Work carefully on wet soil or slopes near the wall so you do not slip while prying or flushing the drain.
  • Do not dig into the wall face or force tools deep into the outlet, which can damage the drain pipe or filter fabric behind it.
  • Use only light to moderate hose pressure at the outlet so you do not wash out backfill or erode soil around the wall.

Tools you may need

Work gloves tool

Work gloves

Use it for: Protects your hands from sharp plastic edges, wire, gravel, and dirty debris at the outlet.

Shop work gloves
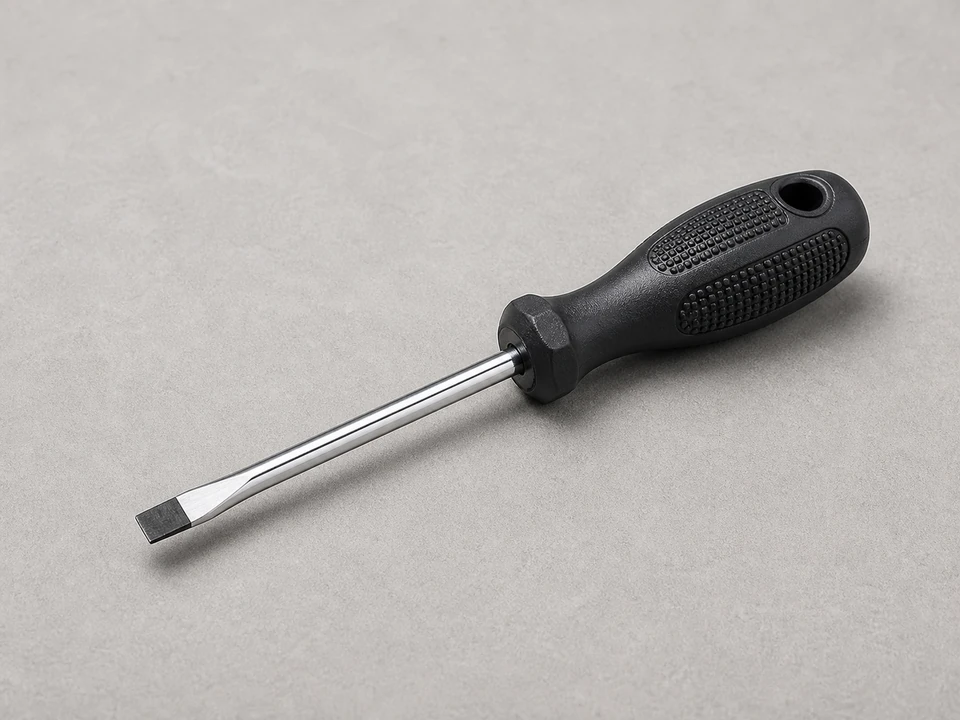
Flat screwdriver tool

Flat screwdriver

Use it for: Helps pry out an old snap-in grate or remove light debris around the opening.

Find a flat screwdriver

Tape measure tool

Tape measure

Use it for: Lets you measure the outlet opening so the new grate fits correctly.

Shop a tape measure
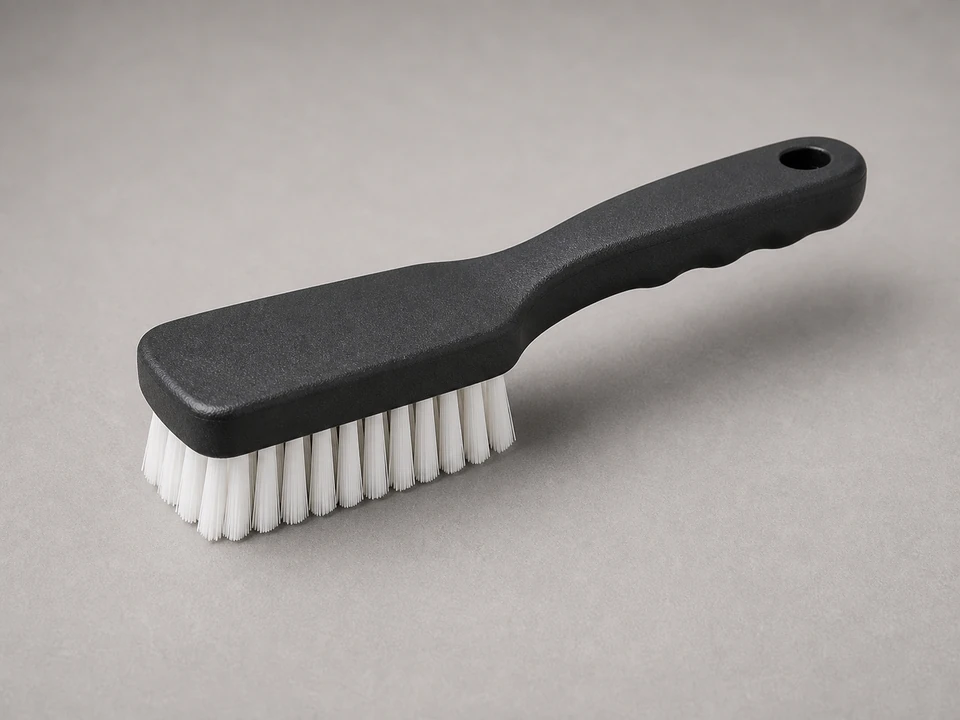
Stiff nylon brush tool

Stiff nylon brush

Use it for: Cleans mud and buildup from the outlet face without damaging most plastic parts.

Find a stiff cleaning brush
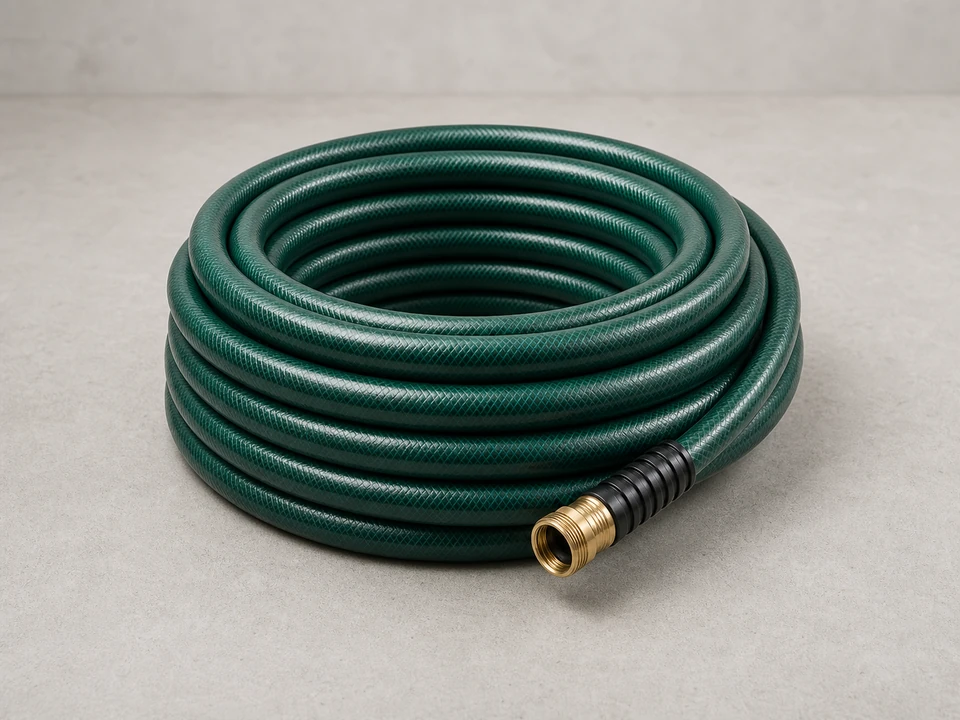
Garden hose tool

Garden hose

Use it for: Flushes the outlet and helps you test drainage after the new grate is installed.

Shop garden hoses
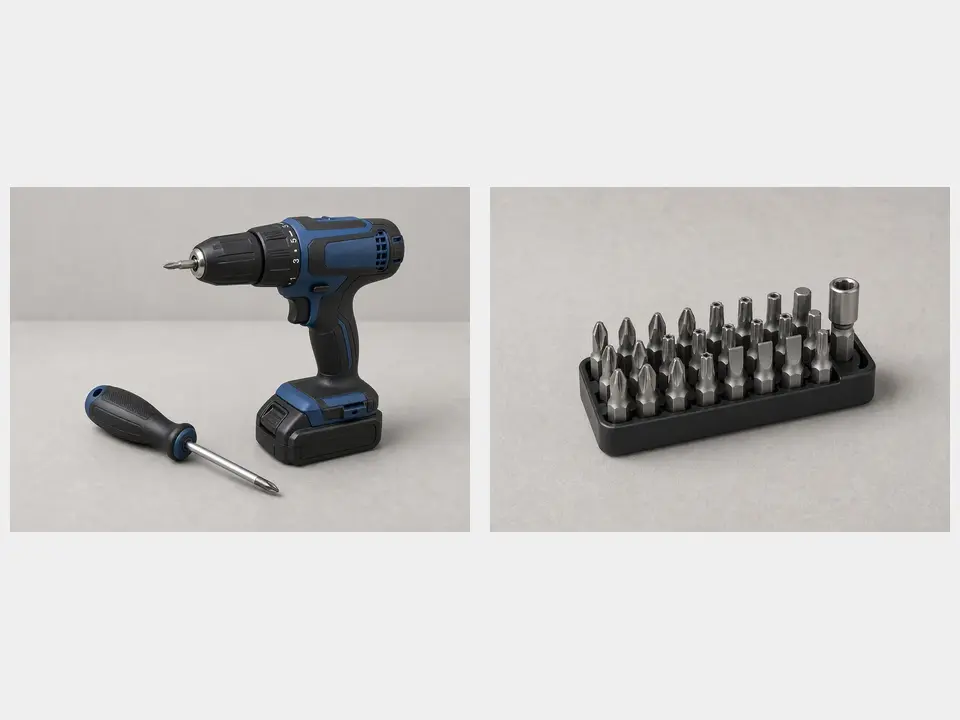
Cordless drill or screwdriver bit set tool

Cordless drill or screwdriver bit set

Use it for: Useful if the old grate or new grate uses small screws instead of a snap-in fit.

Find a drill and bit set

As an Amazon Associate I earn from qualifying purchases. Repair Riot may earn a commission at no extra cost to you.

Step-by-step fix

Step 1: Confirm the grate is the part that needs replacement

  1. Look at the drain outlet on the face of the retaining wall and check whether the grate is cracked, missing, badly warped, or no longer stays in place.
  2. Make sure the outlet pipe or drain sleeve behind the grate is still round or square enough to hold a new cover securely.
  3. Check for signs that point to a bigger problem instead of just a bad grate, such as wall movement, crushed pipe, heavy soil washing out, or water leaking from joints in the wall face.
  4. If the grate is only dirty and still solid, try cleaning it first before replacing it.

If it works: You have confirmed the outlet grate is the failed part and the drain opening appears usable.

If it doesn’t: If the outlet body is broken or the wall is showing drainage failure, shift from a grate replacement to diagnosing the drain outlet or retaining wall drainage system.

Stop if:
  • The retaining wall is bulging, leaning, or dropping soil from the outlet area.
  • The outlet pipe is crushed, loose inside the wall, or broken back beyond the face.
  • You see major erosion, sinkholes, or signs the wall may be structurally unstable.

Step 2: Set up the area and remove the old grate

  1. Put on gloves and clear away mulch, stones, or plants so you can reach the outlet face easily.
  2. If the old grate is snapped in, use a flat screwdriver carefully at the edge to pry it out without gouging the outlet opening.
  3. If it is screwed on, back out the screws and save one to compare size if you need replacements.
  4. Pull away any broken pieces so nothing falls into the drain.

If it works: The old grate is off and the outlet opening is fully exposed.

If it doesn’t: If the grate will not come free because it is buried in hardened mud, loosen the buildup with water and a brush, then try again gently.

Stop if:
  • The outlet edge starts cracking apart as you remove the grate.
  • You uncover a hidden metal fastener, wire, or sharp broken pipe that makes removal unsafe without better access.

Step 3: Measure and clean the outlet opening

  1. Measure the width and height or the diameter of the outlet opening at the face of the wall.
  2. Compare the opening shape to your replacement so you do not force the wrong style into place.
  3. Use the brush and your gloved fingers to remove mud, leaves, gravel, and roots from the first few inches of the outlet.
  4. Flush the opening lightly with a garden hose to clear loose debris and confirm water can move through the drain.

If it works: The outlet is clean enough for the new grate to seat properly, and you know the replacement size and style match.

If it doesn’t: If water backs up immediately or debris keeps washing back out, clear more material from the outlet before installing the new grate.

Stop if:
  • The drain appears blocked deeper in the wall and will not pass water at all.
  • You pull out roots, fabric, or crushed material that suggests the drain line behind the wall has failed.

Step 4: Install the new retaining wall drain outlet grate

  1. Dry-fit the new grate first and make sure it sits flat and centered on the outlet.
  2. If it is a snap-in style, press it in evenly with your hands until it seats securely around the edge.
  3. If it uses screws, align the holes and tighten the fasteners snugly without overtightening and cracking the grate.
  4. Make sure the grate openings are not blocked by caulk, mud, or wall debris after installation.

If it works: The new grate is secure, aligned, and covering the outlet without wobbling or gaps.

If it doesn’t: If the grate feels loose, remove it and recheck the opening size and mounting style before forcing it.

Stop if:
  • The replacement does not match the opening closely enough to stay in place.
  • The outlet face is too damaged to hold the new grate securely.

Step 5: Clean up the outlet area so water can reach it

  1. Pull back any mulch, landscape fabric, or decorative stone that is covering the outlet face.
  2. Leave a small clear space in front of the grate so runoff can exit freely and you can inspect it later.
  3. Remove loose soil that could wash against the grate and clog it again right away.

If it works: The outlet is visible, accessible, and not buried by landscaping.

If it doesn’t: If the outlet keeps getting covered by soil or mulch, reshape the area in front of the wall so the opening stays exposed.

Stop if:
  • Soil is actively washing out from behind the wall, which points to a larger drainage or backfill problem.

Step 6: Test the repair with water and check it after real runoff

  1. Run water into the drainage area above the wall if you can do so safely, or use a hose to send a moderate flow toward the drain system.
  2. Watch the outlet and confirm water can exit without pushing the grate loose or backing up behind it.
  3. After the next rain, inspect the grate again for clogging, movement, or fresh soil buildup.
  4. Brush off any debris caught on the face so the opening stays clear.

If it works: The grate stays in place and the outlet drains normally during testing and after actual runoff.

If it doesn’t: If water still overflows elsewhere or the grate clogs quickly, the wall likely has a deeper drainage blockage or outlet sizing problem that needs further diagnosis.

Stop if:
  • Water is coming through cracks in the wall instead of mainly through the outlet.
  • The new grate repeatedly pops out, which usually means the outlet is damaged or the replacement is the wrong fit.

Replacement Parts

As an Amazon Associate I earn from qualifying purchases. Repair Riot may earn a commission at no extra cost to you.

Verify the repair

  • The new grate matches the outlet opening and stays attached when touched by hand.
  • Water flows out of the outlet without immediate backup.
  • The grate remains visible and is not buried by mulch, stone, or soil.
  • After rainfall, the outlet area shows normal drainage without fresh erosion or wall leakage.

FAQ

Can I just leave the drain outlet grate off?

You can, but it usually leads to faster clogging and makes it easier for rodents, insects, stones, and yard debris to enter the outlet. A properly fitted grate helps protect the drain while still letting water out.

How do I know what size grate to buy?

Measure the outlet opening at the wall face and match both the size and the shape. Also check how the old grate attached, since some snap in and others use screws.

What if the new grate will not stay in place?

That usually means the replacement is the wrong style or the outlet edge is damaged. Recheck the measurements and inspect the outlet body for cracks or distortion before trying another grate.

Should I use caulk or glue to hold the grate on?

Usually no. A grate should fit by its designed mounting method. Glue can make future cleaning harder and may not hold well on a dirty or wet drain outlet.

Why does the outlet still overflow after I replaced the grate?

A new grate will not fix a blocked drain line, poor backfill drainage, or a crushed outlet pipe. If water is still backing up, the problem is likely deeper in the retaining wall drainage system.