
Work gloves
Use it for: Protects your hands from sharp metal edges, old adhesive, and debris around the hatch.
Shop work glovesTo replace roof access hatch weatherstripping, confirm the old seal is flattened, cracked, loose, or missing, remove it fully, clean the hatch contact surface, install a matching new seal, and test that the hatch closes evenly without gaps.
This repair helps when a roof access hatch leaks air or water around the lid even though the hatch itself still closes and latches normally. Work only in safe, dry conditions, and stop if the hatch frame is bent, rusted through, or pulling away from the roof curb.
Before you start: Match the profile, length, mounting style, and opening compatibility before ordering.
Use it for: Protects your hands from sharp metal edges, old adhesive, and debris around the hatch.
Shop work gloves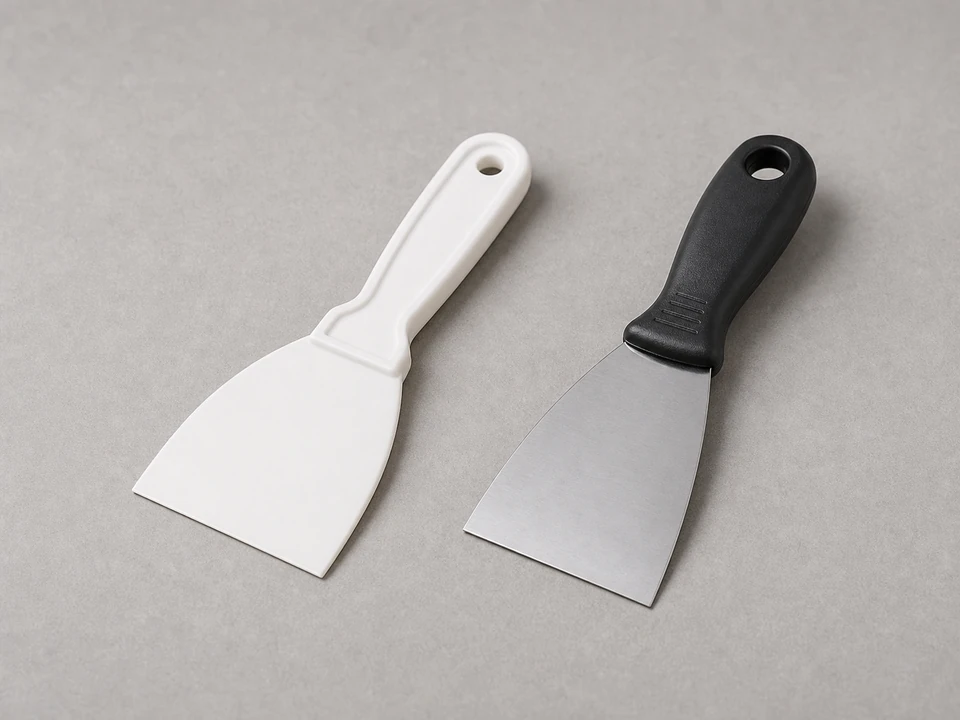
Use it for: Helps lift old weatherstripping and scrape off leftover adhesive without gouging the surface too badly.
Shop scraper tools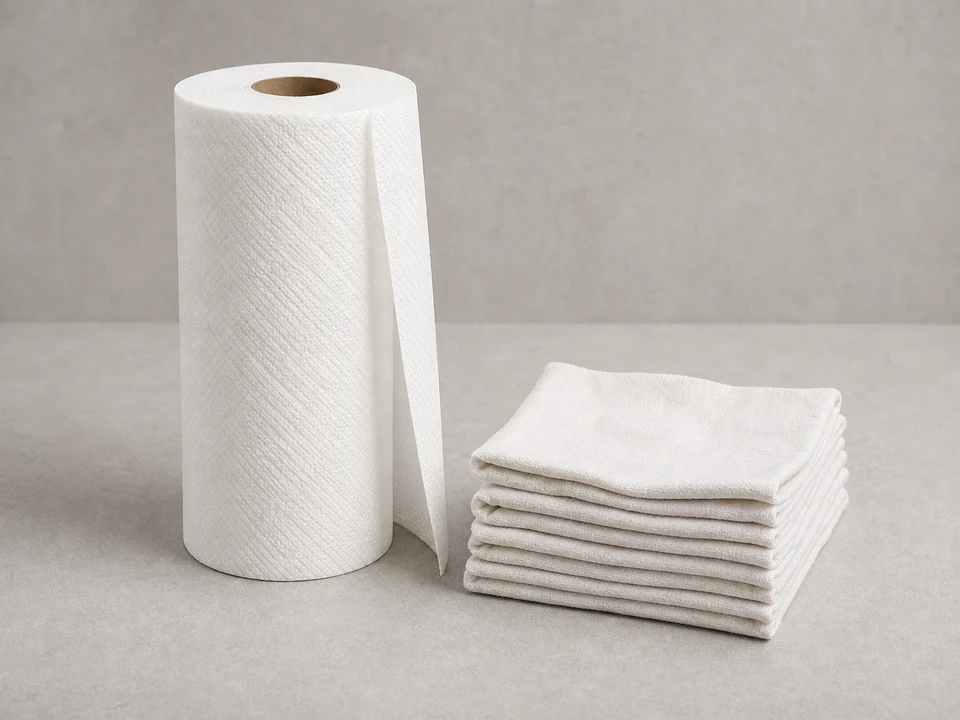
Use it for: Used to wipe away dirt, moisture, and adhesive residue before the new seal goes on.
Shop cleaning rags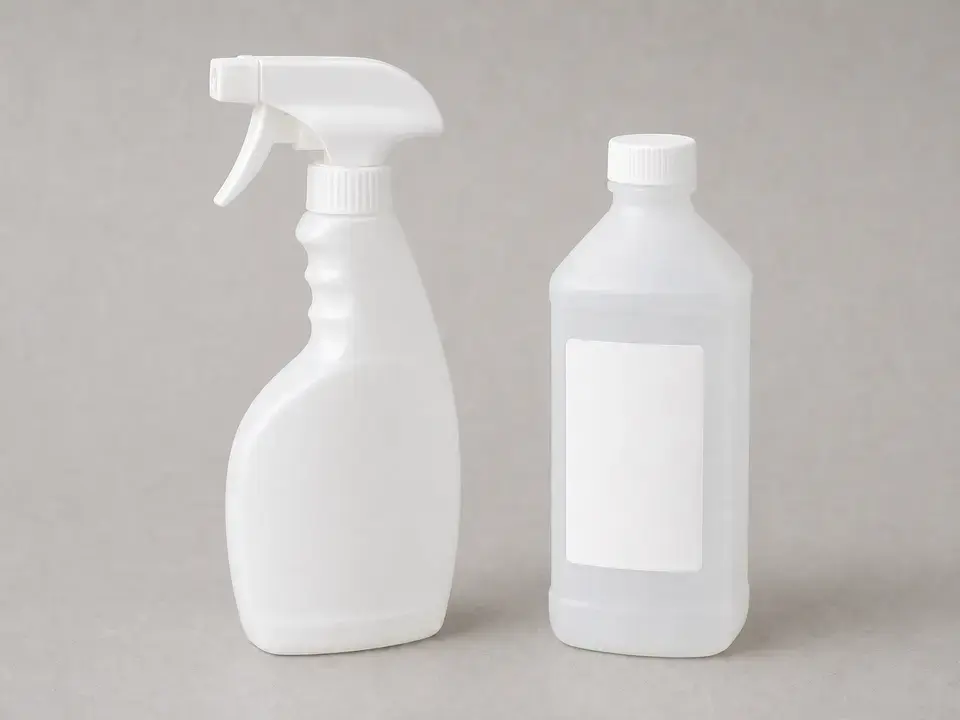
Use it for: Cleans the mounting surface so the new weatherstripping can stick and seal properly.
Shop adhesive remover
Use it for: Lets you measure the old seal length and compare the replacement before cutting.
Shop tape measures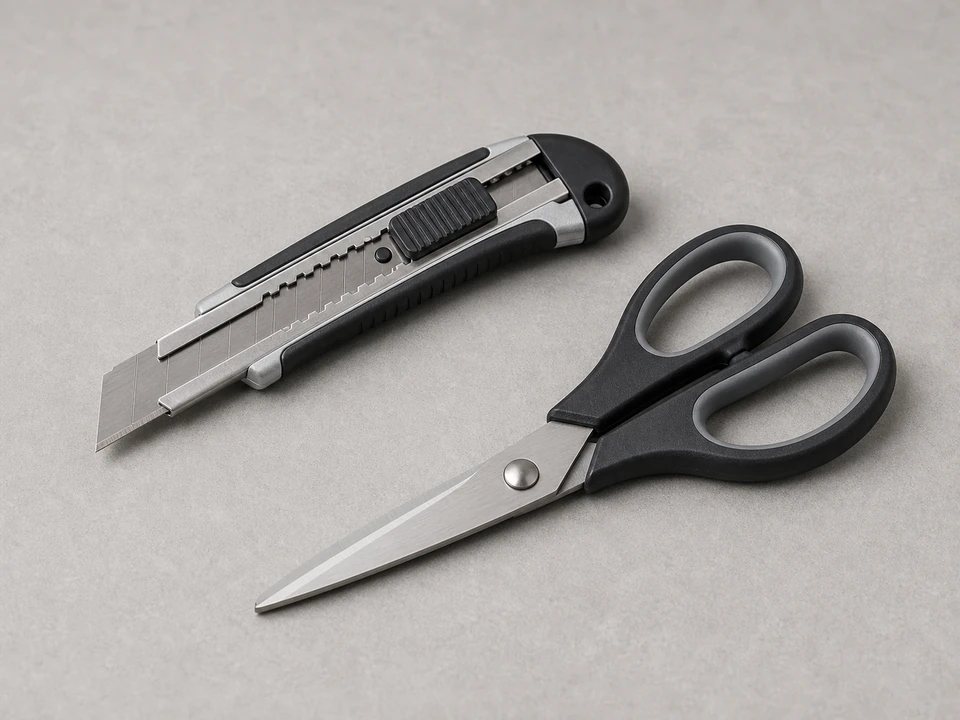
Use it for: Cuts the new weatherstripping cleanly to length.
Shop utility cutting toolsAs an Amazon Associate I earn from qualifying purchases. Repair Riot may earn a commission at no extra cost to you.
If it works: The old weatherstripping is clearly worn, damaged, missing, or no longer sealing evenly.
If it doesn’t: If the seal still looks healthy and contact is even, look for a different cause such as a bent lid, damaged curb flashing, loose hardware, or water entering from above the hatch.
If it works: You have a safe work setup and a replacement seal that matches the old one closely enough to fit and compress properly.
If it doesn’t: If you cannot match the seal profile or mounting style, remove a small sample of the old material and use it to compare before buying replacement weatherstripping.
If it works: The old weatherstripping and loose residue are fully removed from the mounting surface.
If it doesn’t: If adhesive is still holding firmly, apply a small amount of adhesive remover, let it work briefly, and scrape again until the surface is clean enough for the new seal.
If it works: The mounting surface is clean, dry, and smooth enough for the new seal to bond and compress evenly.
If it doesn’t: If the surface still feels dirty or sticky, clean it again before installing the new seal. A dirty surface is a common reason new weatherstripping fails early.
If it works: The new weatherstripping sits flat, follows the full perimeter, and has no visible gaps, twists, or stretched sections.
If it doesn’t: If the seal bunches up, lifts, or leaves a gap, pull that section back up right away and reset it before closing the hatch.
If it works: The hatch closes normally, the seal compresses evenly, and there are no obvious gaps, drafts, or fresh signs of water getting past the hatch edge.
If it doesn’t: If leaks or drafts continue, recheck for a missed gap, wrong seal thickness, bent hatch components, or a roof or flashing problem outside the weatherstripping.
Match the profile, length, mounting style, and opening compatibility before ordering.
As an Amazon Associate I earn from qualifying purchases. Repair Riot may earn a commission at no extra cost to you.
Replace it if it is cracked, flattened, brittle, loose, missing in spots, or no longer leaves an even compression mark when the hatch closes.
No. The replacement needs to match the old seal's profile, thickness, mounting style, and enough length to go around the opening properly.
Put the new seal where the original one was mounted. The goal is to recreate the original contact path so the hatch closes and compresses the seal evenly.
The leak may be coming from a bent hatch lid, damaged curb, failed flashing, or the wrong seal size rather than the weatherstripping itself.
Some replacement weatherstripping is self-adhesive and some is not. Use the mounting style the hatch was designed for, and make sure the surface is clean and dry before installation.