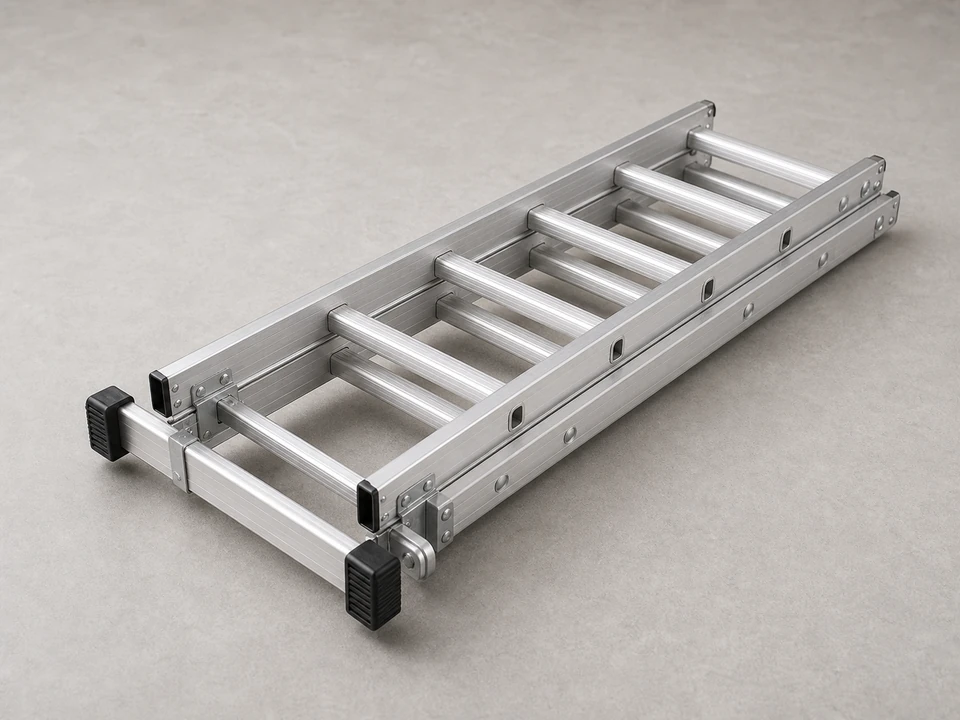
Extension ladder
Use it for: To reach the roof edge more safely and get materials up without overreaching.
Shop extension laddersTo replace a roof tarp, first confirm the tarp is the problem and not a larger roof failure, then remove the loose or torn cover, dry and clear the area as much as possible, and fasten a new tarp so water sheds over the damaged section instead of under it.
A roof tarp is a temporary weather cover, not a permanent repair. The goal is to keep water out until proper roof work can be done. Work only in safe conditions, keep the tarp tight, and stop if the roof feels unstable or the damage is larger than a simple temporary cover can handle.
Before you start: Match the replacement part to your exact roof before ordering.
Use it for: To reach the roof edge more safely and get materials up without overreaching.
Shop extension ladders
Use it for: To protect your hands from sharp roofing edges, splinters, and rough tarp material.
Shop work gloves
Use it for: To trim damaged tarp material or cut the new tarp to a manageable size if needed.
Shop utility knives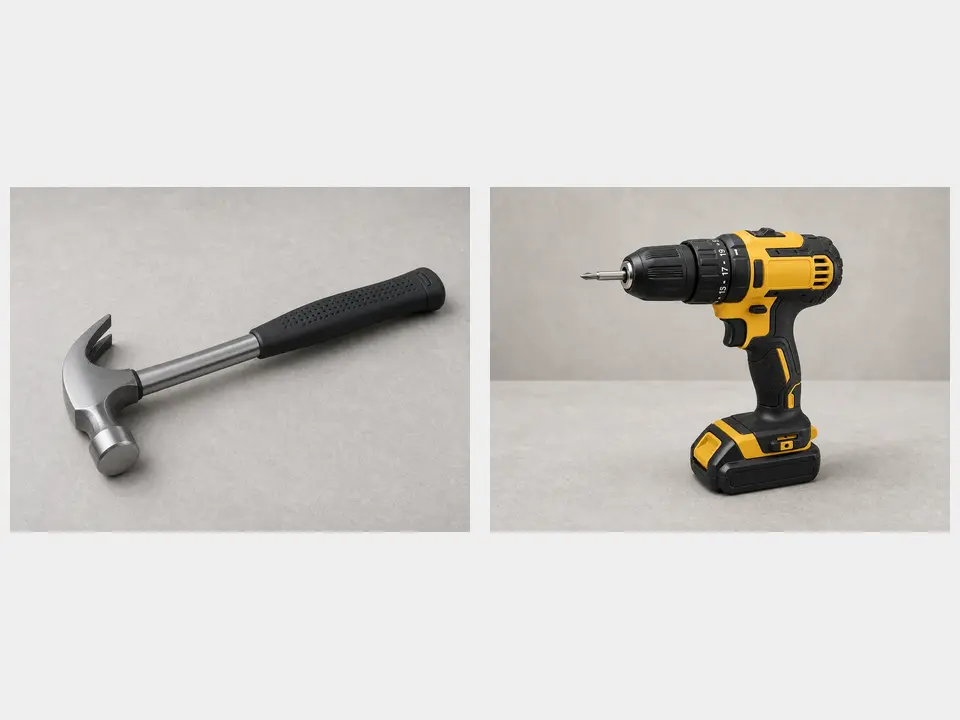
Use it for: To fasten wood strips or roofing fasteners that hold the tarp in place.
Shop hammer and screw gun options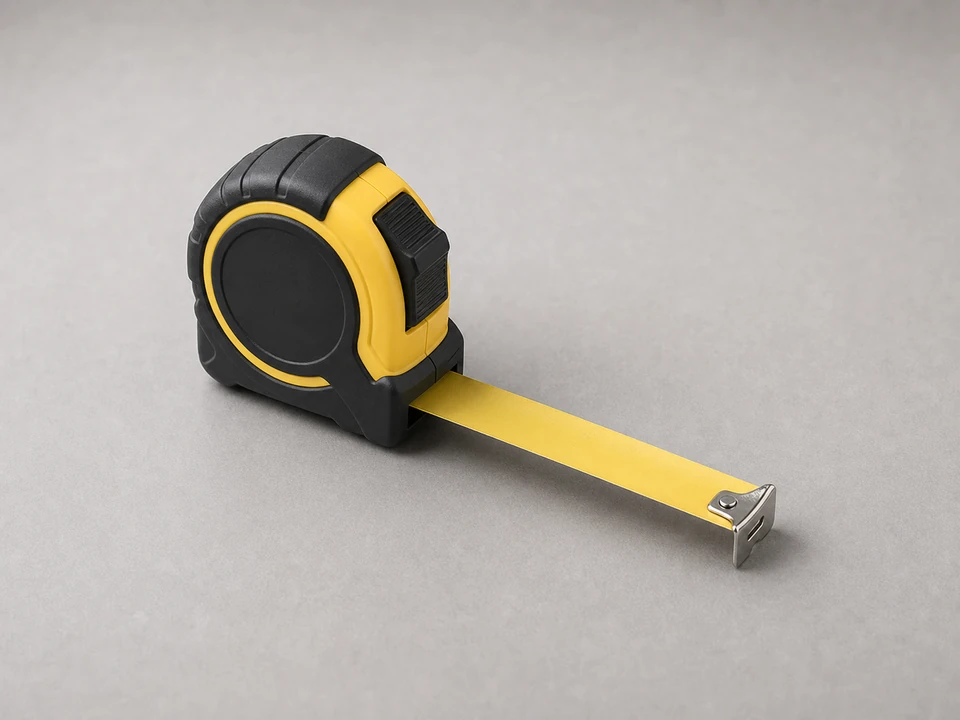
Use it for: To size the damaged area and make sure the new tarp extends far enough past it.
Shop measuring tapes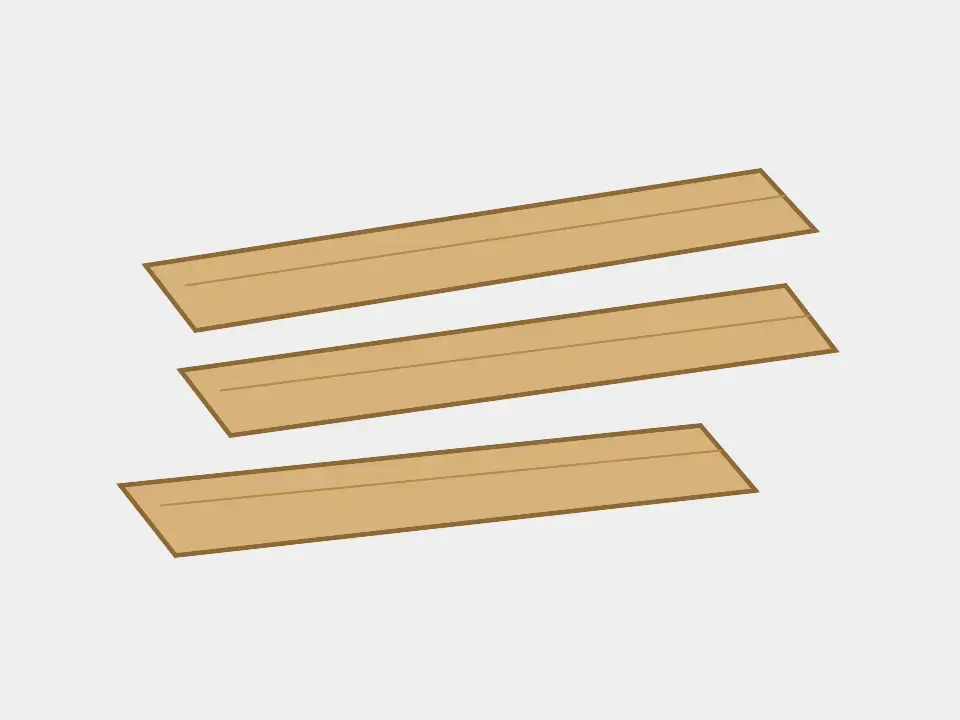
Use it for: To sandwich and secure the tarp edges so wind is less likely to pull it loose.
Shop furring stripsAs an Amazon Associate I earn from qualifying purchases. Repair Riot may earn a commission at no extra cost to you.
If it works: You know the old tarp has failed and a new temporary cover is a reasonable next step.
If it doesn’t: If the tarp still looks secure and the leak is continuing, the water may be entering somewhere else on the roof and this may not be the right repair.
If it works: Your tools and replacement tarp are ready, and you can work without rushing.
If it doesn’t: If you cannot stage the materials safely or keep three points of contact on the ladder, get help before continuing.
If it works: The damaged section is exposed, cleared, and ready for the new tarp.
If it doesn’t: If old fasteners are stuck or wood strips are split, remove what you safely can and place the new tarp over a smooth, stable surface.
If it works: The new tarp is centered, smooth, and placed to move water downhill off the damaged section.
If it doesn’t: If the tarp will not lie flat or cover the area with enough overlap, use a larger tarp instead of trying to stretch a small one.
If it works: The tarp is firmly attached, tight across the roof, and supported at the edges so it can shed water and resist wind better.
If it doesn’t: If the tarp keeps pulling loose, the fasteners may not be biting into solid material or the tarp may be undersized for the area.
If it works: The tarp stays in place, sheds water properly, and the interior stays dry in real use.
If it doesn’t: If water still gets in, the leak path may extend beyond the tarped area or the tarp may need to be repositioned and secured with better overlap.
Match the replacement part to your exact roof before ordering.
As an Amazon Associate I earn from qualifying purchases. Repair Riot may earn a commission at no extra cost to you.
Only as a temporary fix. A well-secured tarp may last for a while, but sun, wind, and standing water wear it out. Plan for permanent roof repair as soon as possible.
It is safer to wait for dry, calm conditions. Wet roofing is slippery, and a tarp is harder to position and fasten correctly when water and wind are working against you.
Big enough to cover the damaged area and extend well past it on all sides, especially uphill. If the tarp barely reaches the damage, it is usually too small.
They are often the most practical way to hold the tarp without tearing it. Wrapping the tarp edge around a strip helps spread the load and reduces flapping in wind.
The tarp may be too small, positioned too low, or allowing water under the top edge. The leak may also be entering from a different part of the roof and showing up farther inside.