
Screwdriver set
Use it for: To remove the handle screw, trim screws, and any retaining hardware.
Shop screwdriver setsTo replace a shower stem assembly, shut off the water, remove the handle and trim, pull out the old stem, install the matching replacement, then test that the shower turns on, off, and seals without dripping.
A worn stem assembly can keep a shower from shutting off fully or make the handle hard to turn. This job is usually manageable for a careful homeowner if the replacement matches exactly and the valve body inside the wall is still in good shape.
Before you start: Match the replacement part to your exact shower before ordering.
Use it for: To remove the handle screw, trim screws, and any retaining hardware.
Shop screwdriver sets
Use it for: To loosen and tighten the stem assembly without needing a full wrench set.
Shop adjustable wrenches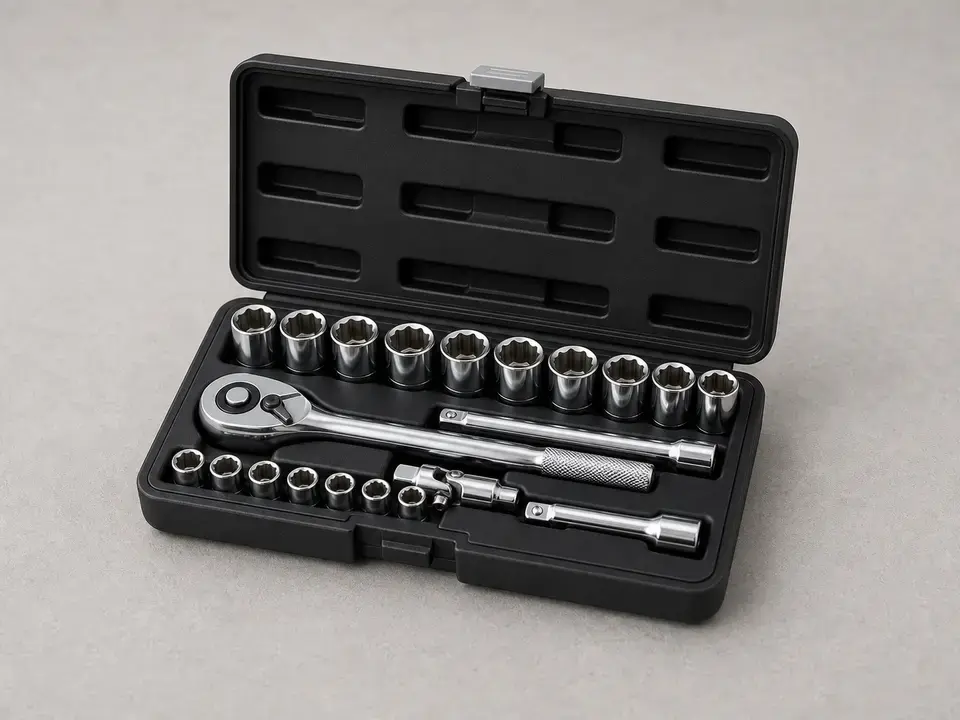
Use it for: To reach recessed stem nuts on some shower valves.
Find shower stem sockets
Use it for: To pull clips, small washers, or stubborn trim pieces.
Shop needle-nose pliers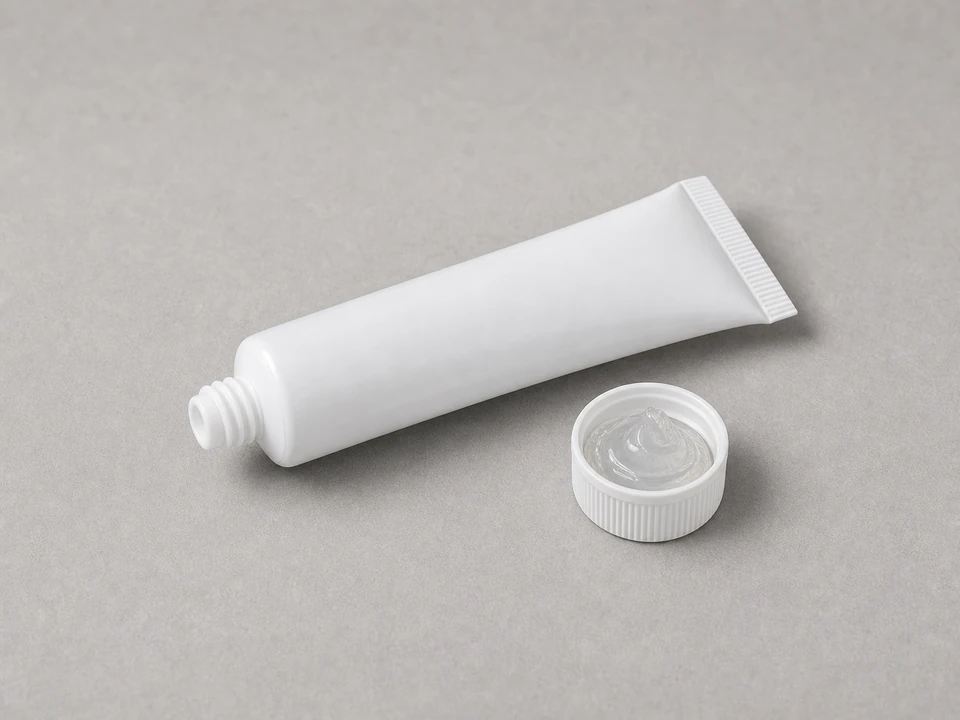
Use it for: To lightly lubricate seals and threads where appropriate during reassembly.
Find plumber's grease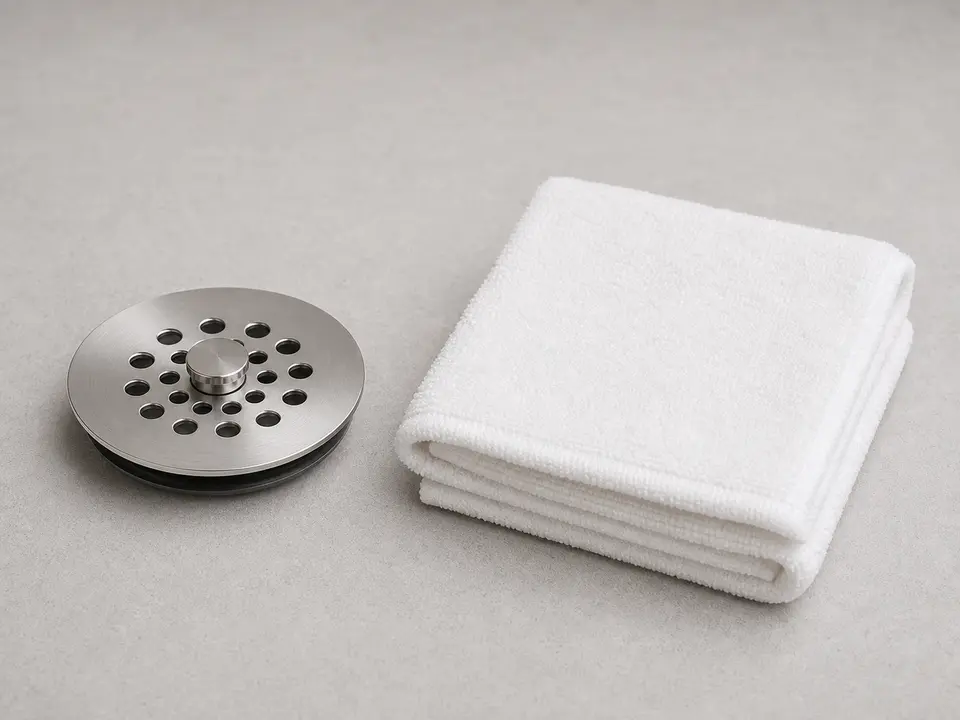
Use it for: To protect the tub or shower floor and keep screws from falling down the drain.
Shop drain coversAs an Amazon Associate I earn from qualifying purchases. Repair Riot may earn a commission at no extra cost to you.
If it works: The symptoms fit a worn or damaged shower stem assembly, and you have a matching replacement ready.
If it doesn’t: If the handle is the only damaged part, replace the handle hardware first. If the replacement does not match the old stem exactly, pause and get the correct part.
If it works: The water is off, pressure is relieved, and the work area is protected.
If it doesn’t: If water still flows at the shower after the shutoff, find the correct shutoff before taking the valve apart.
If it works: The old shower stem assembly is out, and the valve opening is accessible and reasonably clean.
If it doesn’t: If the stem is stuck, apply steady pressure with the correct tool and try again. Recheck for hidden retaining clips or nuts before forcing it.
If it works: The new stem assembly is installed straight, seated properly, and tightened without forcing it.
If it doesn’t: If the stem will not thread in smoothly by hand, remove it and realign it. Cross-threading can ruin the valve body.
If it works: The shower is reassembled and the handle turns smoothly through its normal range.
If it doesn’t: If the handle rubs, sits crooked, or will not turn fully, remove it and check that the stem is fully seated and the trim parts are stacked correctly.
If it works: The shower turns on and off normally, the handle feels right, and the shower shuts off without leaking or dripping.
If it doesn’t: If there is still dripping, remove the stem and confirm you have the exact replacement and that its seals are installed correctly. If the part matches and the leak remains, the valve seat or valve body may also be worn.
Match the replacement part to your exact shower before ordering.
As an Amazon Associate I earn from qualifying purchases. Repair Riot may earn a commission at no extra cost to you.
Common signs are a shower that keeps dripping after shutoff, a handle that is hard to turn, or a valve that will not fully open or close. If the handle itself is loose or stripped, that may be a separate problem.
Yes. The replacement needs to match the old stem's size, thread pattern, length, and handle connection. A close-looking part can still fit wrong or leak.
First make sure all retaining hardware is removed. Then use the correct stem socket or wrench and apply steady pressure. If it feels like the valve body may twist or crack, stop and get help rather than forcing it.
Usually no unless the replacement instructions specifically call for it. Many stem assemblies seal with washers or seats rather than thread tape. A light coat of plumber's grease on seals is more common.
The new part may not be an exact match, the seals may not be seated correctly, or another internal sealing surface may also be worn. If the stem is correct and installed properly, the valve seat or valve body may need more repair.