
Shower repair

How to Replace Shower Valve Stem Washer

If your shower keeps dripping when the handle is fully off, worn shower valve stem washers are a common cause. Replacing them usually means shutting off the water, removing the handle and stem, swapping the old washers for matching new ones, and testing for a clean shutoff.

This is a straightforward repair on many older compression-style shower valves. The key is matching the new washers to the old ones and checking the valve seat and stem while you have it apart.

Before you start: Match the washer diameter, thickness, center hole style, and screw style to the old washer before ordering.

Prepared by: Repair Riot Last updated: 2026-06-05 How we build and check guides

Safety first

  • Shut off the water fully before removing the valve stem.
  • Cover the drain so small screws and washers do not fall into the plumbing.
  • Use steady pressure on old parts; forcing a stuck stem can damage the valve body in the wall.
  • If you uncover hidden water damage or a cracked valve body, stop and repair that problem before using the shower.

Tools you may need

Screwdriver set tool

Screwdriver set

Use it for: To remove the handle screw, trim screws, and the washer screw on the stem.

Shop screwdriver set

Adjustable wrench tool

Adjustable wrench

Use it for: To loosen and remove the valve stem without chewing up the flats.

Shop adjustable wrench

Needle-nose pliers tool

Needle nose pliers

Use it for: To pull small screws, washers, or packing pieces if they stick in place.

Shop needle-nose pliers

Replacement shower valve stem washers tool

Replacement shower valve stem washers

Use it for: To replace the worn sealing washers that let water pass when the shower is off.

Find matching stem washers
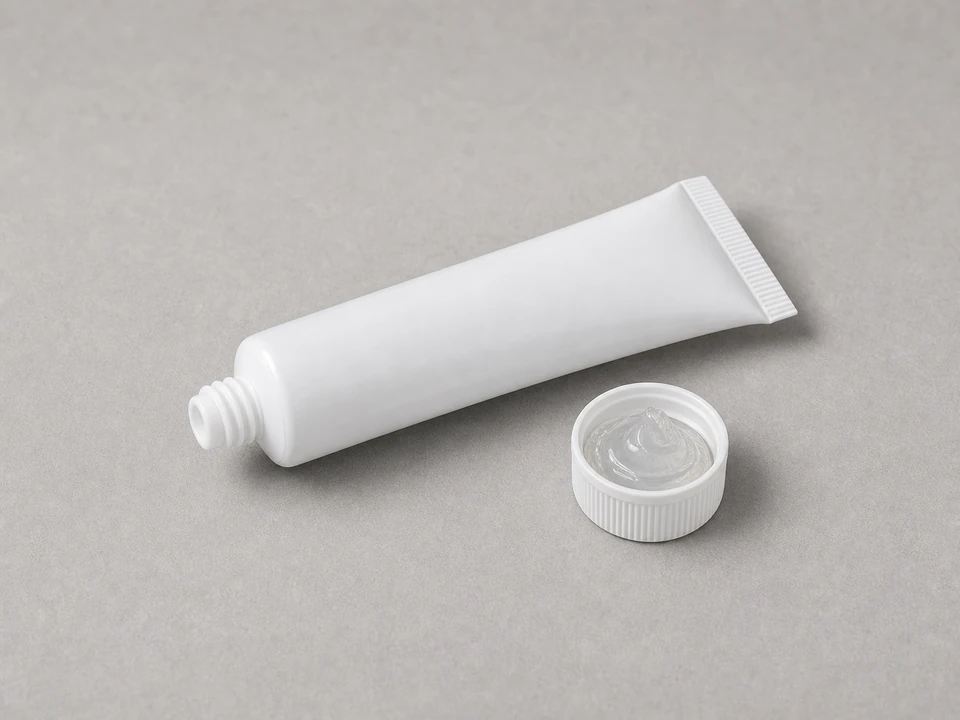
Plumber's grease tool

Plumber's grease

Use it for: To lightly lubricate stem threads and moving parts during reassembly.

Shop plumber's grease
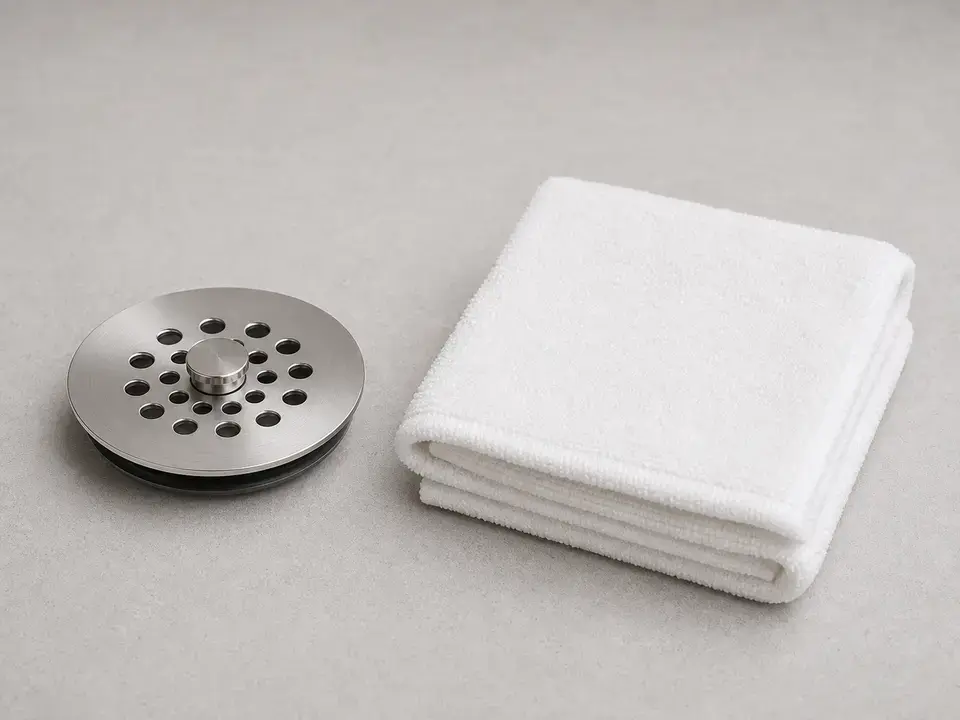
Old towel or drain cover tool

Old towel or drain cover

Use it for: To block the drain so small screws and parts do not disappear.

Shop drain cover

As an Amazon Associate I earn from qualifying purchases. Repair Riot may earn a commission at no extra cost to you.

Step-by-step fix

Step 1: Make sure the washer is the likely problem

  1. Turn the shower handle fully off and watch the showerhead for a few minutes.
  2. If the shower drips steadily when off but the handle still turns normally, worn stem washers are a reasonable first repair.
  3. Check whether the leak seems to come from the showerhead or tub spout rather than from behind the wall or around the trim plate.
  4. Look for signs that the valve is an older compression-style setup, where a stem tightens down to stop water flow.

If it works: The symptom points to a shutoff problem inside the valve, and replacing the stem washers makes sense as the next step.

If it doesn’t: If water is leaking from behind the wall, around the handle, or from a cracked valve body, this is probably not just a washer replacement.

Stop if:
  • Water is already leaking into the wall or ceiling below.
  • The valve body looks cracked, badly corroded, or loose in the wall.
  • You cannot identify a removable stem and the valve does not appear to use a washer-style shutoff.

Step 2: Shut off the water and open the valve

  1. Shut off water to the shower at the nearest fixture shutoff if you have one, or shut off the home's main water supply.
  2. Open the shower valve to relieve pressure and confirm the water flow stops.
  3. Put a towel over the drain or close the drain so screws and washers cannot fall in.
  4. Lay another towel in the tub or shower floor to protect the finish and catch parts.

If it works: The water is off, pressure is relieved, and the work area is protected.

If it doesn’t: If the shower still runs after the shutoff, find the correct shutoff before taking the valve apart.

Stop if:
  • You cannot fully shut off the water to the valve.

Step 3: Remove the handle and pull out the valve stem

  1. Pry off the handle cap if there is one, then remove the handle screw and pull the handle off.
  2. Remove the trim plate if it blocks access to the stem bonnet or packing nut.
  3. Use an adjustable wrench to loosen the stem assembly at the flats and turn it out carefully.
  4. Pull the stem straight out and keep the parts in order so reassembly is easier.

If it works: The valve stem is out where you can inspect the washer at the end.

If it doesn’t: If the stem is stuck, apply steady pressure and try again without forcing the trim or twisting the piping in the wall.

Stop if:
  • The stem will not move and forcing it may damage the valve body or piping in the wall.
  • The wall opening is wet, moldy, or shows hidden damage once the trim is removed.

Step 4: Replace the old washer with a matching new one

  1. Look at the washer on the end of the stem and remove the small screw holding it in place.
  2. Take off the old washer and compare its diameter, thickness, and center hole to the replacement.
  3. Install the new washer in the same orientation and tighten the screw snugly without stripping it.
  4. Wipe mineral buildup off the stem tip and inspect the stem threads and rubber parts for obvious wear.
  5. Apply a light coat of plumber's grease to the stem threads and moving surfaces, not to the washer face.

If it works: The stem has a new washer that matches the old one and is secured properly.

If it doesn’t: If the new washer does not match exactly, pause and get the correct size before reassembling.

Stop if:
  • The washer screw is broken off in the stem.
  • The stem tip is badly worn, bent, or damaged enough that a new washer cannot sit flat.
  • The valve seat inside the body looks deeply pitted or damaged.

Step 5: Reinstall the stem and put the trim back together

  1. Thread the stem back into the valve body by hand first so it does not cross-thread.
  2. Tighten it firmly with the wrench, but do not overtighten.
  3. Reinstall the trim plate and handle in the same order you removed them.
  4. Turn the handle to the off position before restoring water.

If it works: The valve is back together and ready for a pressure test.

If it doesn’t: If the stem does not thread in smoothly by hand, back it out and start again to avoid damaging the valve body.

Stop if:
  • The stem cross-threads or will not seat correctly in the valve body.

Step 6: Turn the water back on and confirm the repair holds

  1. Restore water slowly and watch the handle area and trim for leaks as pressure returns.
  2. Run the shower for a minute, then turn it fully off.
  3. Watch the showerhead or tub spout for several minutes to see whether dripping stops completely or fades out and then stops.
  4. Check again around the handle and trim plate to make sure the repair did not create a new leak.

If it works: The shower shuts off cleanly and there are no leaks at the handle or behind the trim.

If it doesn’t: If the shower still drips, the valve seat or the full stem may also be worn and should be inspected or replaced next.

Stop if:
  • Water leaks from behind the wall or around the valve body after reassembly.
  • The drip is unchanged even with a correctly matched new washer, pointing to a different internal valve problem.

Replacement Parts

As an Amazon Associate I earn from qualifying purchases. Repair Riot may earn a commission at no extra cost to you.

Verify the repair

  • The shower runs normally when turned on.
  • The handle turns to off without excessive force.
  • Dripping stops after shutoff instead of continuing steadily.
  • No water appears around the handle, trim plate, wall opening, or ceiling below.

FAQ

Will replacing shower valve stem washers stop a dripping shower?

Often, yes. On older compression-style valves, worn washers are a common reason water keeps slipping past the stem when the handle is off.

How do I know if I have the right replacement washers?

Match the old washer's diameter, thickness, center hole, and screw style. A washer that is close but not exact may still leak or wear out quickly.

What if the shower still drips after I replace the washers?

The valve seat may be rough or damaged, or the stem itself may be worn. In that case, the next repair is usually servicing the seat or replacing the stem assembly.

Do I need plumber's tape for this job?

Usually not for the washer itself. This repair is mainly about the stem and washer sealing inside the valve, not threaded pipe connections.

Can I replace both hot and cold side washers at the same time?

Yes, and it is often worth doing if both stems are the same age. If one washer is worn out, the other may not be far behind.