
Screwdriver set
Use it for: To remove the handle screw, trim screws, and access parts without damaging the finish.
Shop screwdriver setsIf your shower keeps dripping after shutoff or the handle is hard to turn, replacing the shower valve stem assembly is a common fix.
This repair is usually straightforward if you can shut off the water and match the replacement stem correctly. Work slowly, protect the trim, and stop if the valve body is damaged or badly corroded.
Before you start: Match the stem length, spline or broach pattern, hot or cold side, and overall valve style before ordering.
Use it for: To remove the handle screw, trim screws, and access parts without damaging the finish.
Shop screwdriver sets
Use it for: To loosen and tighten the stem assembly or retaining nut.
Shop adjustable wrenches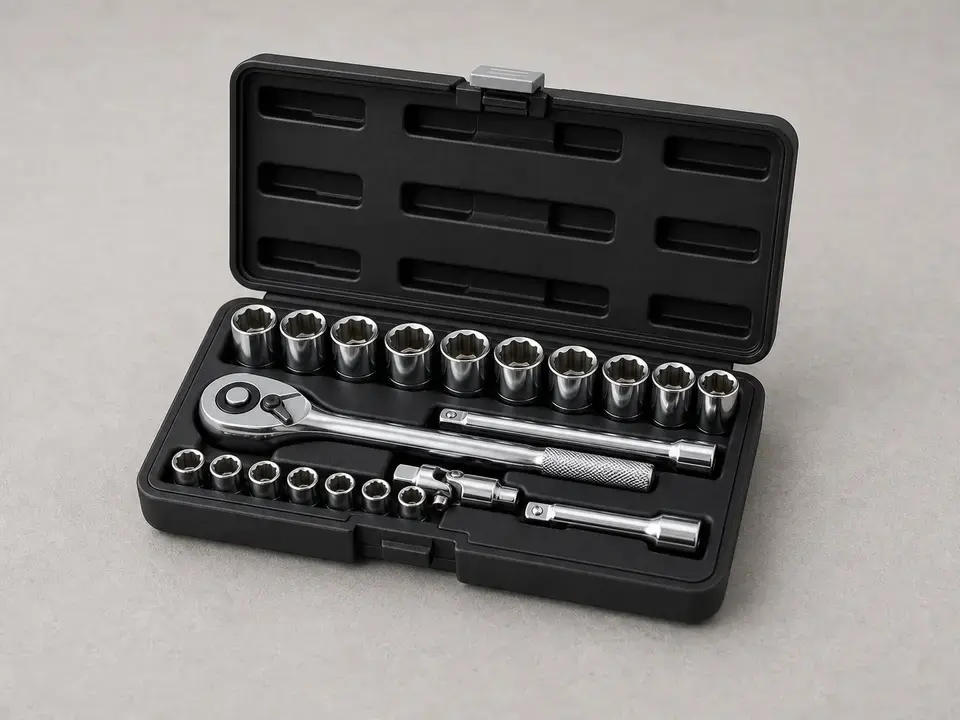
Use it for: To remove recessed valve stems or bonnet nuts inside the wall opening.
Find a shower valve socket set
Use it for: To pull clips, washers, or small parts from the valve area.
Shop needle-nose pliers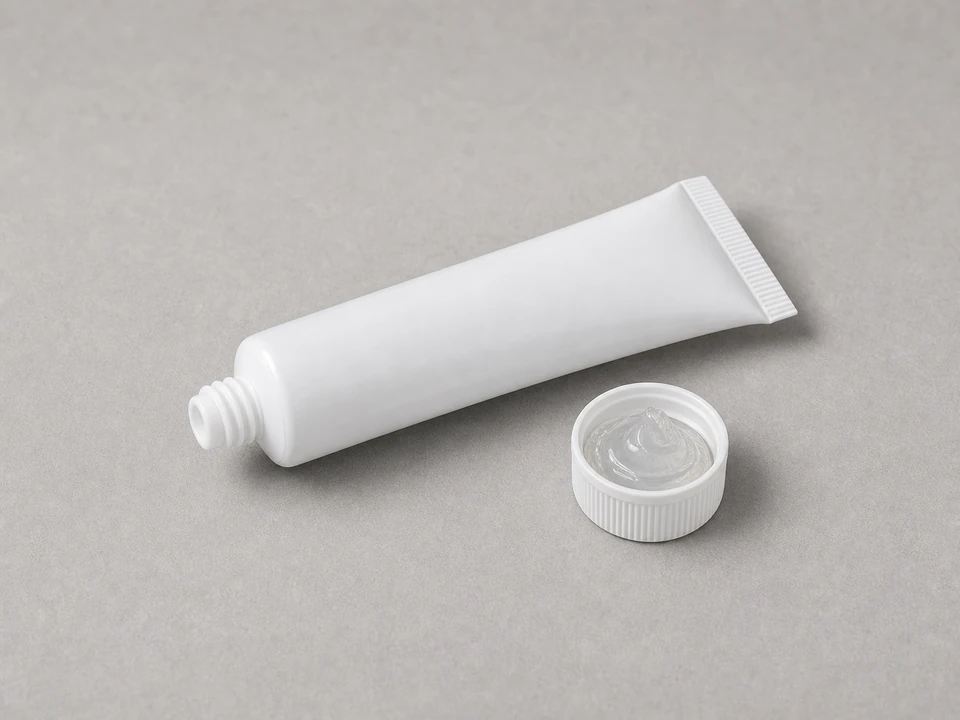
Use it for: To lightly lubricate seals and threads where appropriate during reassembly.
Get plumber's grease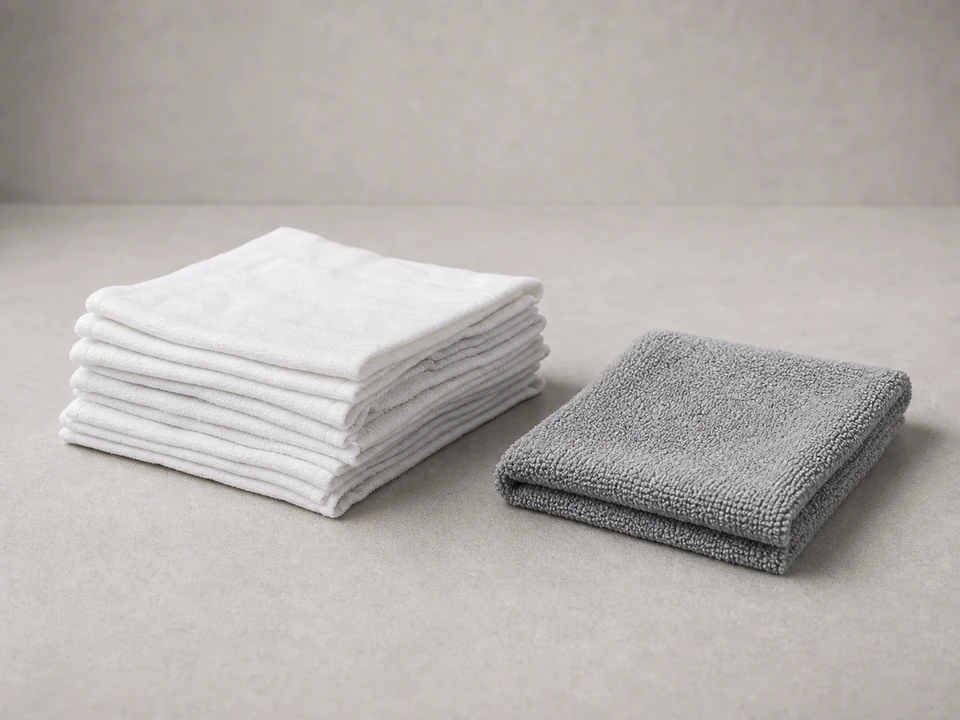
Use it for: To protect the tub or shower floor and catch small screws and trim pieces.
Shop shop towelsAs an Amazon Associate I earn from qualifying purchases. Repair Riot may earn a commission at no extra cost to you.
If it works: The symptoms match a worn shower valve stem assembly, and you have a reasonable replacement path.
If it doesn’t: If the leak appears around the shower arm, tub spout connection, or from inside the wall below the valve, diagnose that leak source before replacing the stem.
If it works: The water is off, pressure is relieved, and the stem assembly is accessible.
If it doesn’t: If the handle is stuck, use steady pulling pressure and wiggle it gently rather than prying hard against finished surfaces.
If it works: The old stem assembly is out and the valve opening is ready to inspect.
If it doesn’t: If the stem is seized by mineral buildup, apply controlled pressure with the proper socket and try again rather than using excessive force on the valve body.
If it works: The valve opening is clean and the new stem assembly matches and is ready to install.
If it doesn’t: If the new part does not match exactly enough to thread in smoothly and seat correctly, pause and get the correct replacement.
If it works: The new stem assembly is installed, the trim is back on, and the handle operates normally by hand.
If it doesn’t: If the stem will not thread in easily by hand, remove it and realign it before tightening again.
If it works: The shower shuts off cleanly, the handle works smoothly, and no water leaks from the trim or outlet after use.
If it doesn’t: If dripping continues, the valve seat or another internal valve part may also be worn, or the replacement stem may not be the correct match.
Match the stem length, spline or broach pattern, hot or cold side, and overall valve style before ordering.
As an Amazon Associate I earn from qualifying purchases. Repair Riot may earn a commission at no extra cost to you.
Common signs are a shower that keeps dripping after shutoff, a handle that is hard to turn, or water leaking from behind the handle trim. If the leak is coming from the shower arm, spout connection, or another pipe joint, the stem assembly may not be the cause.
Only if there is no local shutoff for the shower or bathroom. The key is that the valve must be fully depressurized before you remove the stem assembly.
Sometimes, but many homeowners choose the full stem assembly because it replaces the main wear parts at once and avoids reopening the valve if another part is worn too.
If the new stem is installed correctly and the shower still drips, the valve seat or another internal sealing surface may be worn or damaged. A mismatched replacement can also cause the same problem.
Mineral buildup often locks it in place. Use the correct valve socket or wrench and steady pressure. If the valve body starts twisting in the wall, stop before you create a larger plumbing repair.