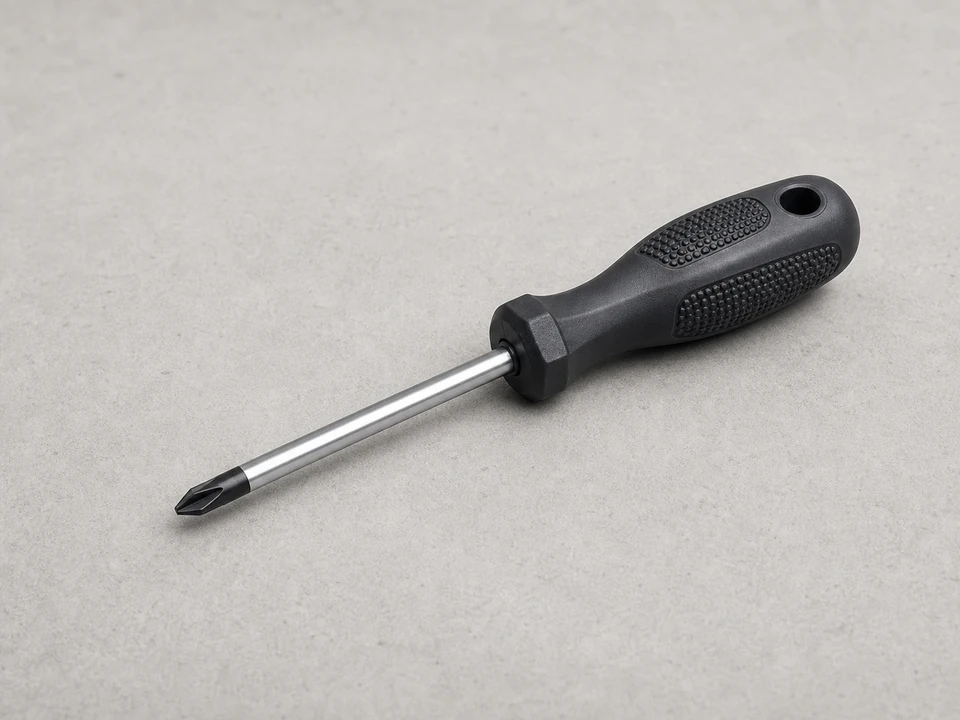
Phillips screwdriver
Use it for: Removes many shower handle and trim plate screws.
Shop Phillips screwdriversTo replace a shower trim plate gasket, remove the handle and trim plate, clean the wall and plate surfaces, install the new gasket in the correct orientation, then reinstall the trim and test for water getting behind the plate.
This repair helps when water is slipping behind the shower trim plate instead of staying in the shower. The job is usually straightforward, but take your time so you do not crack trim parts or miss hidden wall damage.
Before you start: Match the gasket shape, outside dimensions, center opening, and screw hole layout to your trim plate before ordering.
Use it for: Removes many shower handle and trim plate screws.
Shop Phillips screwdrivers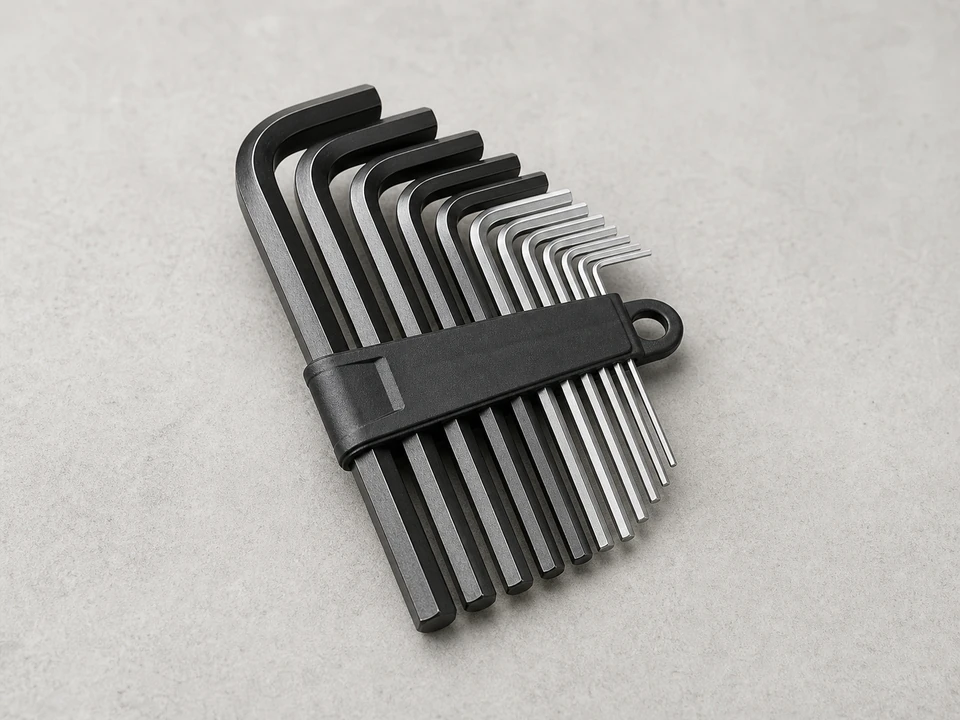
Use it for: Loosens set screws on some shower handles.
Shop hex key sets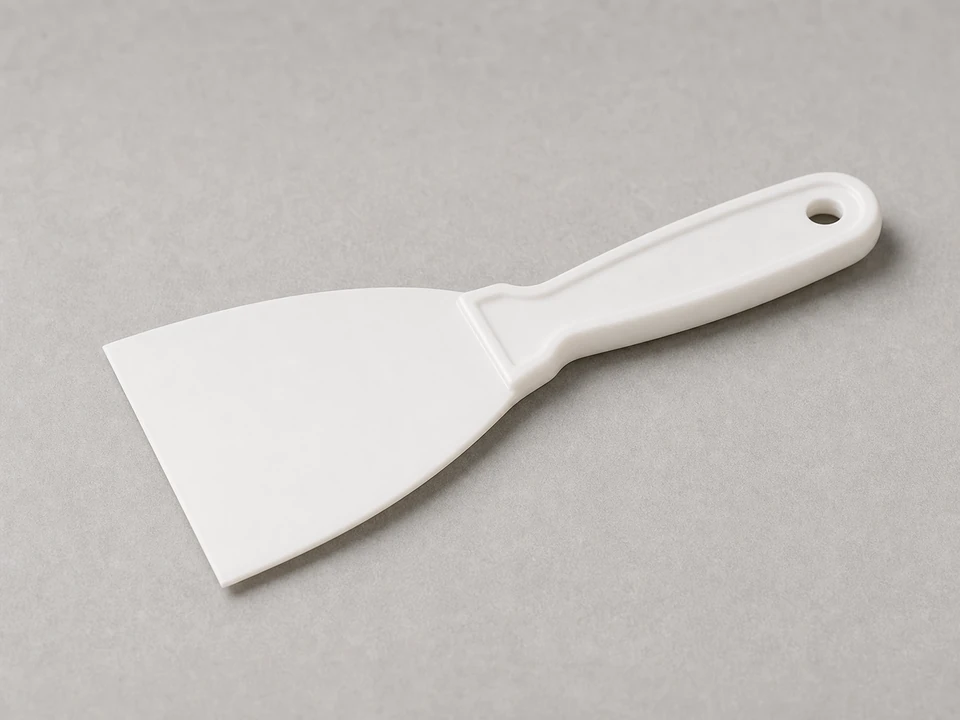
Use it for: Helps lift the old gasket or trim plate without scratching finished surfaces.
Shop plastic putty knives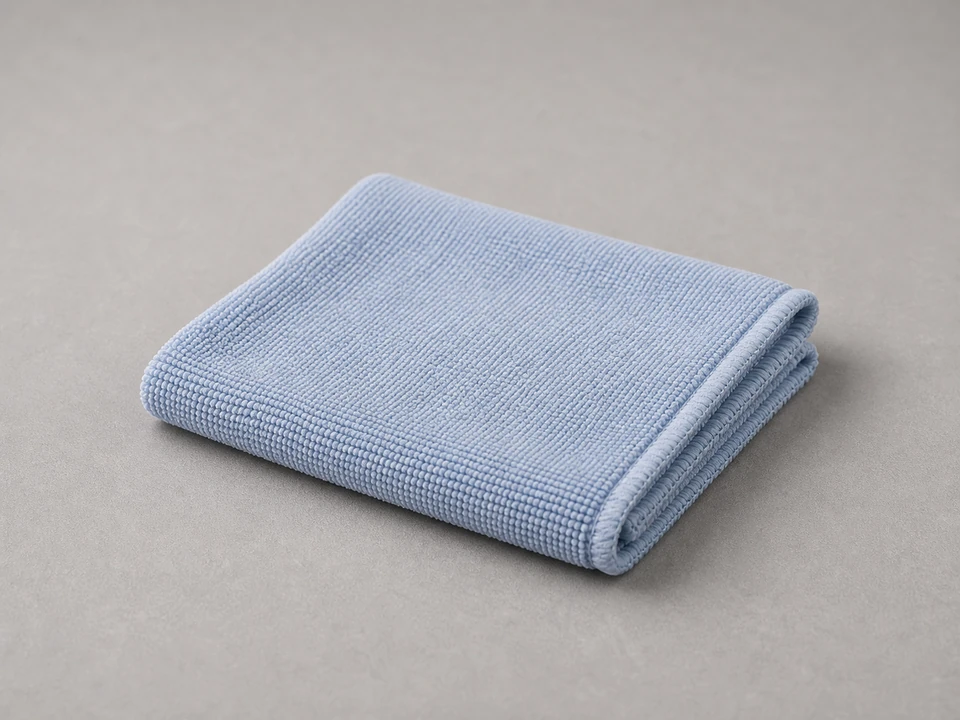
Use it for: Wipes away soap film, old residue, and water before reassembly.
Shop cleaning cloths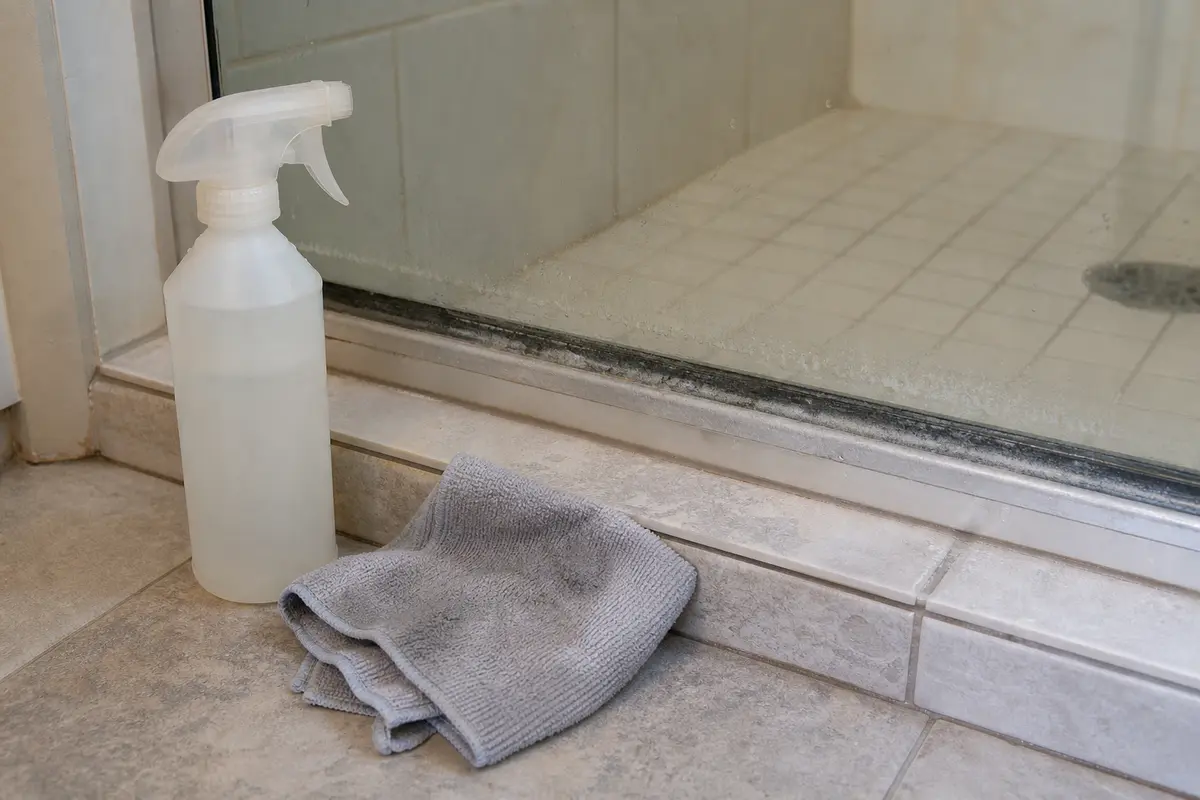
Use it for: Cleans the wall and trim plate so the new gasket can sit flat.
Shop bathroom cleaner
Use it for: Lets you inspect for moisture, staining, or damage behind the trim plate.
Shop flashlightsAs an Amazon Associate I earn from qualifying purchases. Repair Riot may earn a commission at no extra cost to you.
If it works: You have a strong reason to believe water is getting behind the trim plate and the gasket is the right part to replace.
If it doesn’t: If water leaks even when no spray hits the wall, the problem may be deeper in the valve or piping, not the trim plate gasket.
If it works: The handle is off and the trim plate is exposed.
If it doesn’t: If the handle is stuck, wiggle it gently and check again for a hidden cap or set screw before forcing it.
If it works: The trim plate and old gasket are removed, and the area behind the plate is visible for inspection.
If it doesn’t: If there is no separate gasket, compare what you removed with your replacement and confirm the trim plate was designed to use one.
If it works: The trim plate and wall are clean, dry, and ready for the new gasket.
If it doesn’t: If residue will not come off, keep cleaning gently until the gasket can sit flat and even.
If it works: The new gasket is installed evenly and the trim plate sits flat against the wall.
If it doesn’t: If the plate rocks or leaves a visible gap, remove it and check for a twisted gasket, debris behind the plate, or a mismatch in gasket shape.
If it works: No water shows up from behind the trim plate during or after the test, and the area stays dry in normal use.
If it doesn’t: If water still gets behind the plate, recheck gasket fit and plate alignment, then consider whether the leak is coming from the valve, grout, caulk joints, or another wall opening.
Match the gasket shape, outside dimensions, center opening, and screw hole layout to your trim plate before ordering.
As an Amazon Associate I earn from qualifying purchases. Repair Riot may earn a commission at no extra cost to you.
It helps block splash water from getting behind the trim plate and into the wall opening around the shower valve.
Usually no. This job normally involves only the handle and trim plate, not opening the valve or water lines.
It is better to replace it. Old gaskets often stay compressed, brittle, or misshapen and may not seal well once disturbed.
Some assemblies seal differently. If you do not find a removable gasket, confirm your trim plate was designed to use one before ordering parts.
The leak may be coming from the valve body, a pipe connection, cracked tile, failed grout or caulk nearby, or hidden wall damage rather than the trim plate area alone.