
Kitchen plumbing repair

How to Replace a Sink Sprayer Hose

To replace a sink sprayer hose, confirm the hose is the leak source, shut off the water, disconnect the old hose from the faucet connection under the sink, install the new hose and sprayer connection, then test for leaks while using the sprayer and faucet normally.

This is a manageable repair for many homeowners because the hose is usually accessible from below the sink. The main job is making sure you bought the right replacement and checking carefully for drips after the new hose is in place.

Before you start: Match the hose length, connection style, and faucet compatibility before ordering.

Prepared by: Repair Riot Last updated: 2026-06-05 How we build and check guides

Safety first

  • Shut off the faucet water before disconnecting the hose.
  • Work slowly in the cabinet so you do not strain or crack nearby supply lines.
  • Use only light tightening on plastic or mixed-material fittings to avoid cracking them.
  • Keep the cabinet floor dry while testing so fresh leaks are easy to spot.

Tools you may need

Adjustable wrench tool

Adjustable wrench

Use it for: Loosens and tightens the hose connection under the sink if it is not hand-tight.

Shop adjustable wrenches

Bucket or shallow pan tool

Bucket or shallow pan

Use it for: Catches the water left in the hose when you disconnect it.

Shop drain pans
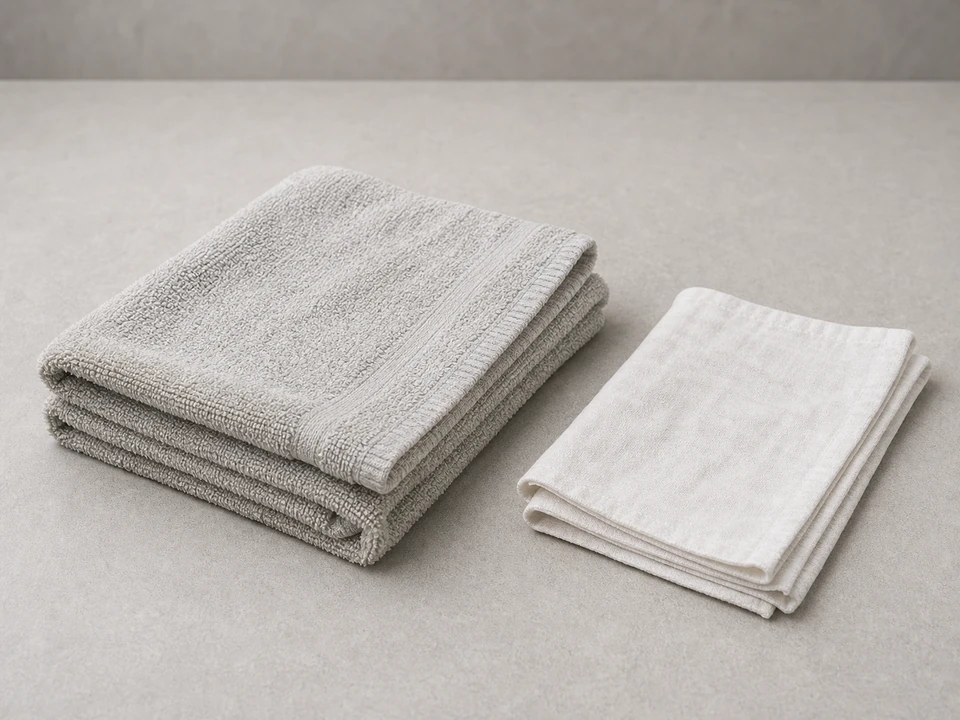
Old towels or rags tool

Old towel or rags

Use it for: Protects the cabinet floor and wipes up small spills so you can spot fresh leaks.

Shop absorbent shop towels
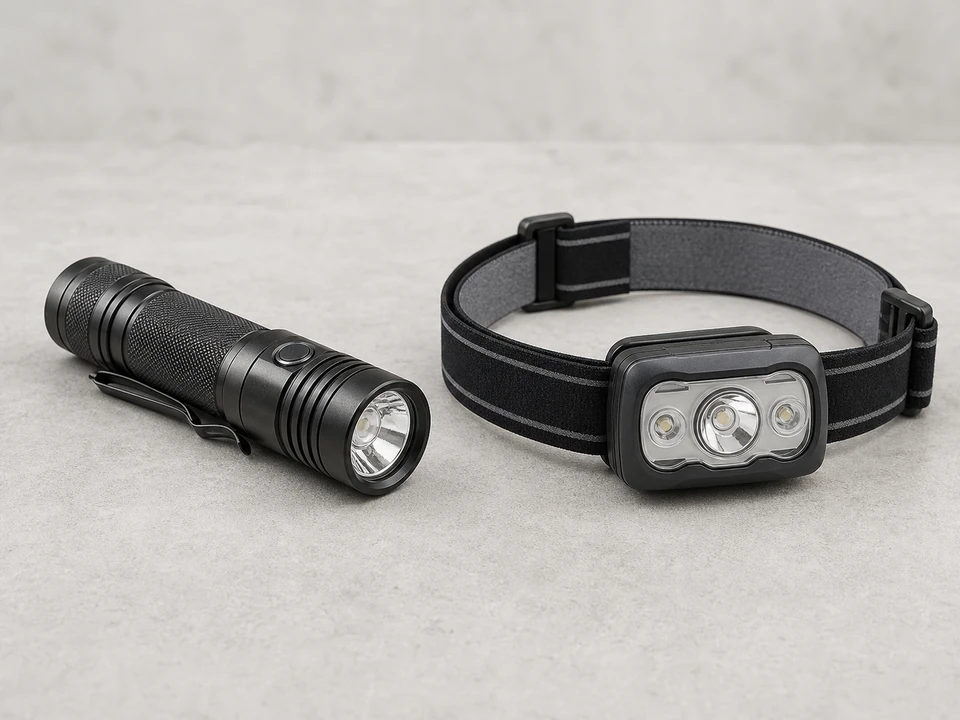
Flashlight or headlamp tool

Flashlight or headlamp

Use it for: Lets you see the hose routing and connection points clearly under the sink.

Shop headlamps

As an Amazon Associate I earn from qualifying purchases. Repair Riot may earn a commission at no extra cost to you.

Step-by-step fix

Step 1: Confirm the sprayer hose is the problem

  1. Dry the sprayer hose, the sprayer head, and the area under the sink with a towel.
  2. Run the faucet, then squeeze the sprayer trigger and watch the full length of the hose from above and below the sink.
  3. Look for water dripping from a split hose, a worn connection, or a leak that only appears when the sprayer is used.
  4. Check that the leak is not actually coming from the faucet body, shutoff valves, supply lines, or the sink drain.

If it works: You have traced the leak or damage to the sink sprayer hose or its hose-end connection.

If it doesn’t: If everything stays dry, use the faucet and sprayer several more times and check again with a flashlight. Intermittent leaks can take a minute to show up.

Stop if:
  • Water is coming from the faucet body, shutoff valve, supply line, or drain instead of the sprayer hose.
  • The cabinet floor, wall, or sink base is swollen, moldy, or badly water-damaged and needs repair before you continue.

Step 2: Shut off water and clear the work area

  1. Remove stored items from under the sink so you can work without bumping the plumbing.
  2. Close the hot and cold shutoff valves under the sink by turning them clockwise.
  3. Turn on the faucet to relieve pressure, then squeeze the sprayer trigger to drain water left in the hose.
  4. Place a bucket or shallow pan under the hose connection and lay down a towel.

If it works: The water is off, pressure is relieved, and the area is ready for a controlled disconnect.

If it doesn’t: If a shutoff valve will not fully close, stop using the sprayer and arrange for the valve to be repaired before replacing the hose.

Stop if:
  • A shutoff valve leaks around the stem or will not turn without excessive force.
  • You cannot shut off the water to the faucet safely.

Step 3: Remove the old sprayer hose

  1. Follow the sprayer hose under the sink to where it connects to the faucet or quick-connect fitting.
  2. Disconnect the hose by hand if possible. If it is threaded and tight, use a wrench or pliers carefully so you do not twist nearby tubing.
  3. Pull the old hose down and out through the faucet opening, noting how it was routed and whether it used a weight or guide.
  4. If the sprayer head is part of the hose assembly, remove it with the old hose so the new parts can go in the same way.

If it works: The old sink sprayer hose is fully removed and you know how the new hose needs to route.

If it doesn’t: If the hose seems stuck, look again for a retaining clip, quick-connect collar, or mounting guide before forcing anything.

Stop if:
  • The faucet connection is cracked, badly corroded, or breaks loose from the faucet body.
  • The replacement hose connection does not match the old hose connection style.

Step 4: Install the new hose and reconnect it

  1. Feed the new hose through the sink or faucet opening the same direction the old hose came out.
  2. Attach the new hose to the faucet connection by hand first so the threads start straight and do not cross-thread.
  3. Tighten the connection snugly. If a wrench is needed, use only enough force to secure it without crushing plastic parts or over-tightening threads.
  4. Reconnect any hose weight, guide, or clip that came with the assembly so the hose can retract and move freely.
  5. Make sure the hose hangs in a smooth loop and does not rub sharply against the cabinet, drain piping, or shutoff valves.

If it works: The new hose is connected securely and routed so it can move without kinking or snagging.

If it doesn’t: If the hose binds or will not retract smoothly, adjust the routing and weight position before turning the water back on.

Stop if:
  • The new fitting will not thread on smoothly by hand.
  • The hose kinks immediately because the replacement length or end style is wrong for the faucet.

Step 5: Turn the water back on and check for leaks

  1. Open the shutoff valves slowly while watching the new hose connection under the sink.
  2. Let the faucet run for a minute, then use the sprayer several times while checking both the connection and the hose itself.
  3. Wipe every connection dry, then check again for fresh moisture so you can tell the difference between an old spill and a new leak.
  4. If you see a small drip at a threaded connection, gently snug it a little more and test again.

If it works: The faucet and sprayer run normally and the new hose stays dry at the connection and along its length.

If it doesn’t: If a connection still drips after a careful slight tightening, disconnect it and check for a crooked thread, missing seal, or wrong connector style.

Stop if:
  • Water sprays from the connection or the hose bulges, twists, or slips loose under pressure.
  • A leak continues even though the hose is installed correctly, suggesting the faucet-side connector or sprayer assembly is damaged.

Step 6: Verify the repair holds in normal use

  1. Use the faucet and sprayer the way you normally would for a day or two, including longer sprays and repeated trigger use.
  2. Check under the sink after each use at first, then once more later when everything is dry and still.
  3. Make sure the hose retracts smoothly and does not catch on stored items or plumbing.
  4. Put items back under the sink only after you are sure the area stays dry.

If it works: The sink sprayer works normally, retracts properly, and the cabinet stays dry in real use.

If it doesn’t: If the area becomes wet again, trace the water path carefully. The remaining leak may be from the sprayer head, faucet body, or another under-sink connection.

Stop if:
  • You find hidden water damage, active mold, or repeated leaking from a different plumbing part that needs a separate repair.

Replacement Parts

As an Amazon Associate I earn from qualifying purchases. Repair Riot may earn a commission at no extra cost to you.

Verify the repair

  • No water drips from the hose connection with the faucet running.
  • No water appears along the hose when the sprayer trigger is pressed.
  • The hose moves and retracts without kinking or rubbing hard against other plumbing.
  • The cabinet stays dry after several normal uses.

FAQ

Do I need to replace the whole sprayer or just the hose?

If the hose is split, leaking at the hose end, or visibly worn, replacing the hose is often enough. If the sprayer head itself leaks or the trigger fails, you may need a hose-and-sprayer assembly.

Can I replace a sink sprayer hose without turning off the main house water?

Usually yes. Most sinks have hot and cold shutoff valves under the cabinet. If those valves do not work properly, do not continue until you can shut the faucet water off safely.

Why does the new hose not fit my faucet connection?

Sink sprayer hoses are not all the same. Connection style, thread type, quick-connect design, and hose length can differ. Match the old hose carefully before ordering.

Should I use thread tape on the sprayer hose connection?

Only use sealing materials if the replacement instructions specifically call for them. Many sprayer hose connections seal with built-in washers or connector designs rather than thread tape.

What if the leak only happens when I squeeze the sprayer trigger?

That usually points to the sprayer hose, sprayer head, or their connection rather than the faucet supply lines. Dry everything first, then test while watching the hose and sprayer closely.
