
Tape measure
Use it for: To match the replacement length, width, and spacing to the old baluster component.
Shop tape measuresTo replace a stair baluster component, first confirm the baluster itself is the damaged part and not the rail or tread, then remove the loose or broken piece, clean the mounting points, install a matching replacement, and test the railing for movement before regular use.
A baluster helps keep the handrail supported and the guard opening safe. If one is cracked, loose, bent, or missing, the repair is usually straightforward as long as the surrounding rail and stair parts are still sound.
Before you start: Match the replacement part to your exact stairs railing before ordering.
Use it for: To match the replacement length, width, and spacing to the old baluster component.
Shop tape measures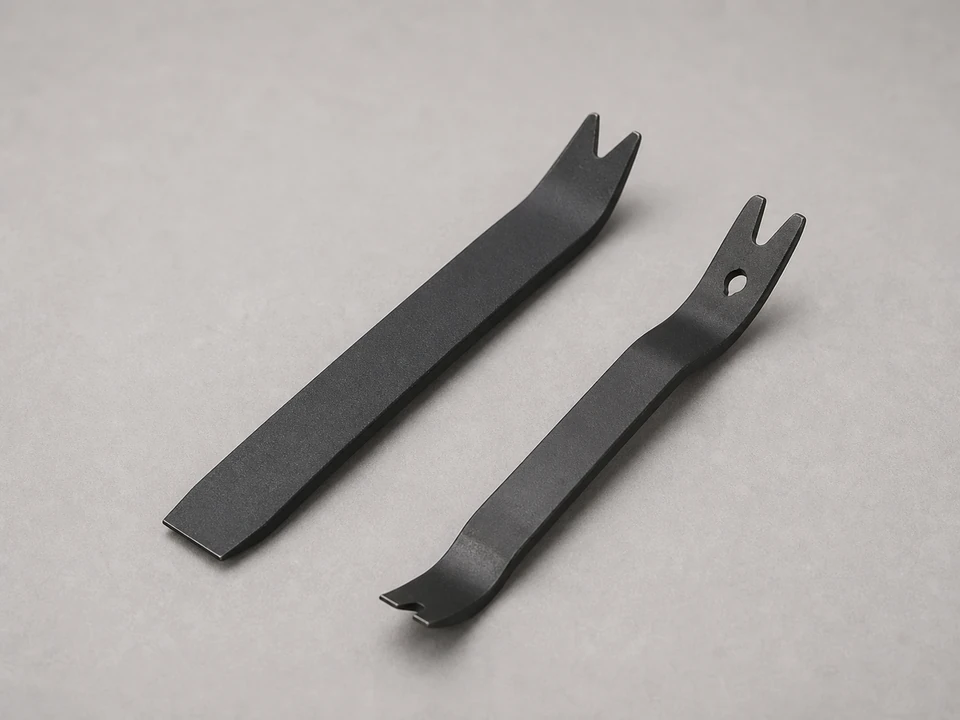
Use it for: To work the old baluster component loose without tearing up the rail or tread more than necessary.
Shop trim pullers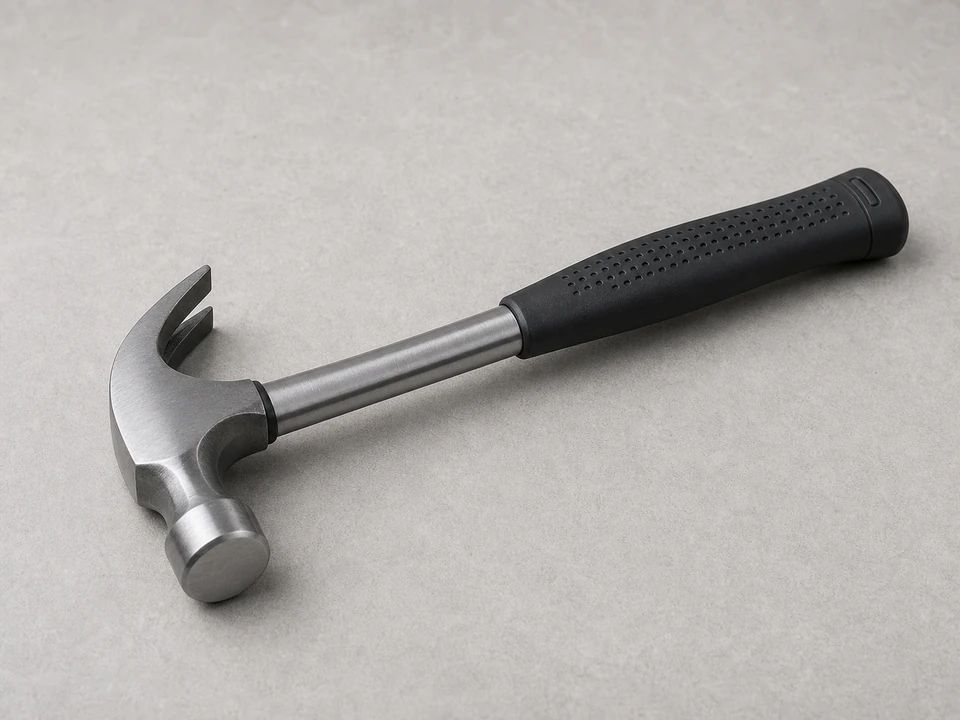
Use it for: To tap parts free and help seat the replacement gently.
Shop hammers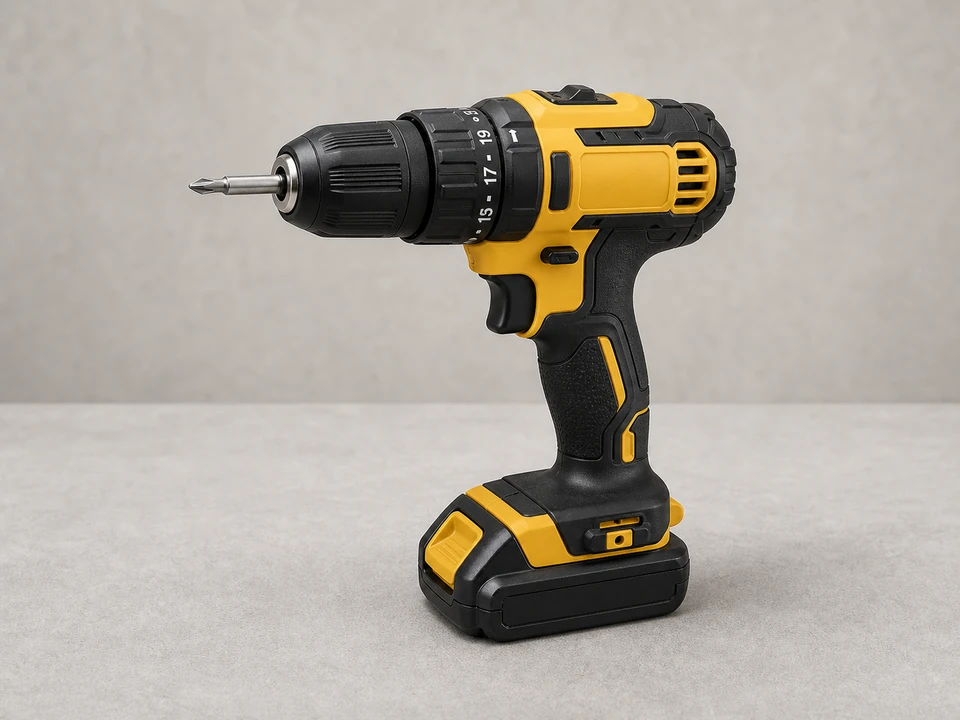
Use it for: To remove or install screws if the baluster component is mechanically fastened.
Shop drill drivers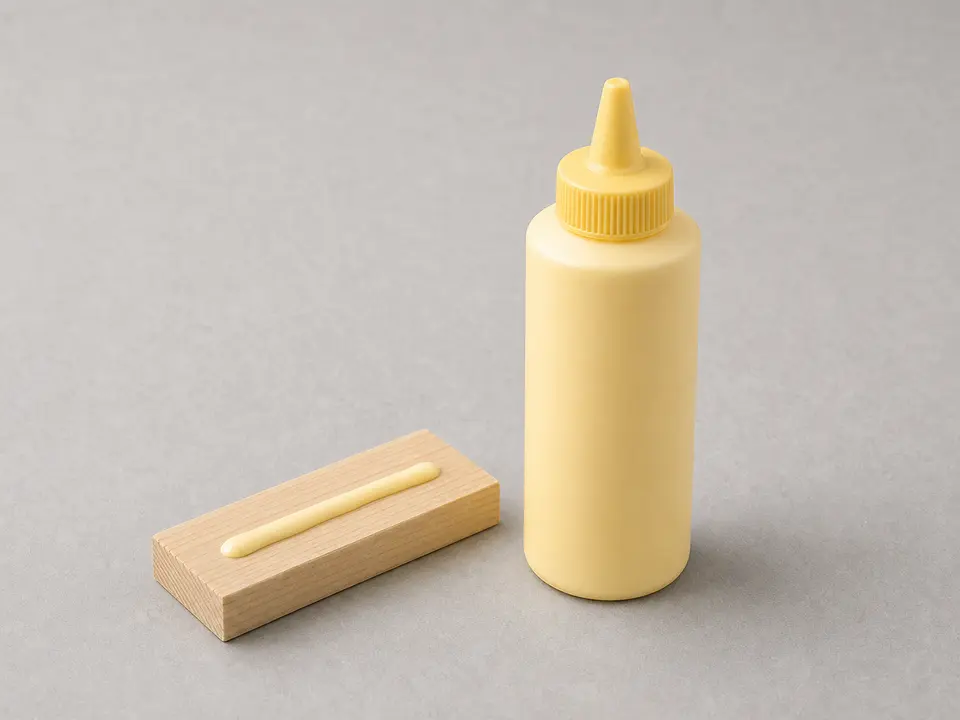
Use it for: To secure the replacement if the original installation used adhesive in the mounting holes or channels.
Shop stair repair adhesive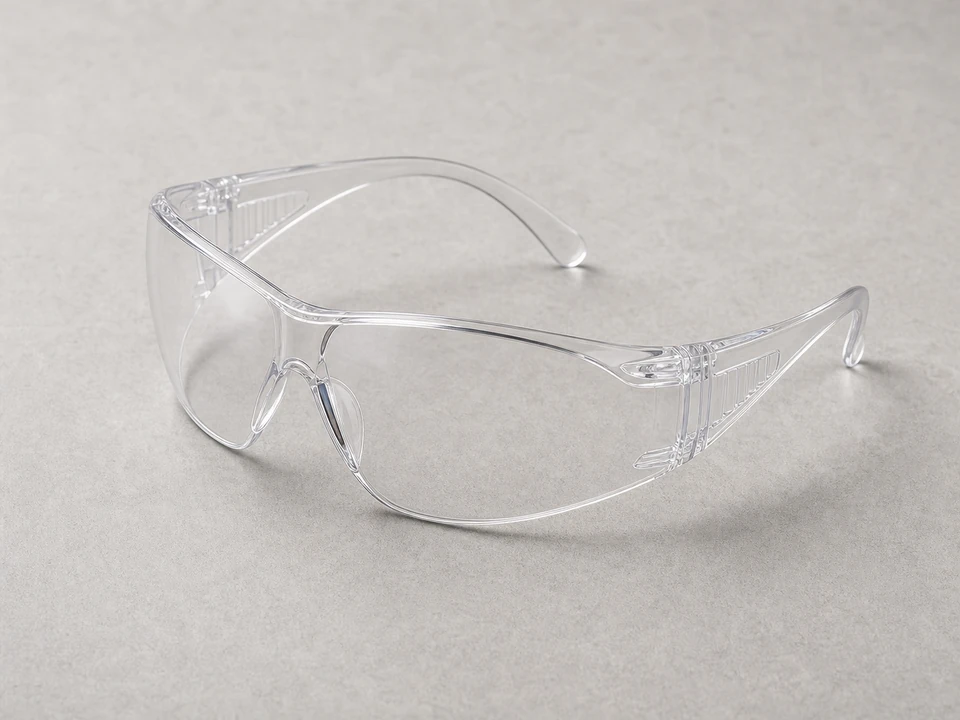
Use it for: To protect your eyes from wood chips, metal fragments, and old fasteners during removal.
Shop safety glassesAs an Amazon Associate I earn from qualifying purchases. Repair Riot may earn a commission at no extra cost to you.
If it works: You have confirmed the damaged stair baluster component is the actual failed part and you have a replacement that matches its size and attachment style.
If it doesn’t: If the handrail, newel post, or stair structure is moving along with the baluster, fix that larger problem first before replacing the baluster component.
If it works: The damaged stair baluster component is out, and the surrounding rail and stair surfaces are still usable for the new part.
If it doesn’t: If the old part will not come free, look again for hidden fasteners, paint buildup, or adhesive holding it in place before applying more force.
If it works: The mounting points are clean, the replacement test-fits properly, and the part can sit plumb without forcing it.
If it doesn’t: If the replacement does not fit, recheck your measurements and attachment style before modifying the part or the railing.
If it works: The new stair baluster component is installed, aligned with the others, and held firmly at both ends.
If it doesn’t: If the part rocks, twists, or will not stay seated, remove it and correct the fit or fastening before the adhesive sets.
If it works: The replacement looks consistent with the rest of the railing and the work area is clean.
If it doesn’t: If the new part still looks out of line, adjust it now before the finish fully cures or the adhesive fully hardens.
If it works: The railing feels solid in normal use, the new stair baluster component stays tight, and there is no unusual movement at the repair.
If it doesn’t: If you still feel movement, remove the new part and correct the loose mounting point or have the railing assembly inspected for a larger support issue.
Match the replacement part to your exact stairs railing before ordering.
As an Amazon Associate I earn from qualifying purchases. Repair Riot may earn a commission at no extra cost to you.
Yes, if the damage is limited to that one piece and the surrounding handrail, tread, and posts are still solid. If the whole railing section is loose, replacing one baluster component alone will not solve the root problem.
Match the old part's length, width, shape, and how it connects at the top and bottom. A close visual match is not enough if the attachment style is different.
Use the same basic fastening method the original installation used when possible. Many baluster repairs use a combination of a snug fit and adhesive, while some also use nails, screws, or pins.
If the hole or channel is enlarged, split, or crumbling, the new baluster component may not hold safely. That usually means the mounting area needs repair before the replacement part goes in.
You can walk the stairs carefully if the area is clear, but do not trust the railing for support until the new part is secure and any adhesive has had enough time to set. Always finish with a firm hands-on test.