
Adjustable wrench
Use it for: To loosen and tighten compression nuts or threaded connections.
Shop adjustable wrenchesTo replace a straight shutoff stop valve, turn off the main water, relieve pressure, remove the old valve, install the same connection style and size, then restore water slowly and check for leaks.
This is a good repair when the valve will not fully shut off, leaks around the body or stem, or feels seized even after a gentle attempt to operate it. The key is matching the new valve to the existing pipe and outlet connection before you take the old one off.
Before you start: Match the pipe connection type, outlet size, and shutoff orientation before ordering.
Use it for: To loosen and tighten compression nuts or threaded connections.
Shop adjustable wrenches
Use it for: To hold the pipe or valve body steady while you turn the nut with a second tool.
Shop tongue-and-groove pliers
Use it for: To catch water left in the line when the old valve comes off.
Find a drain pan or bucket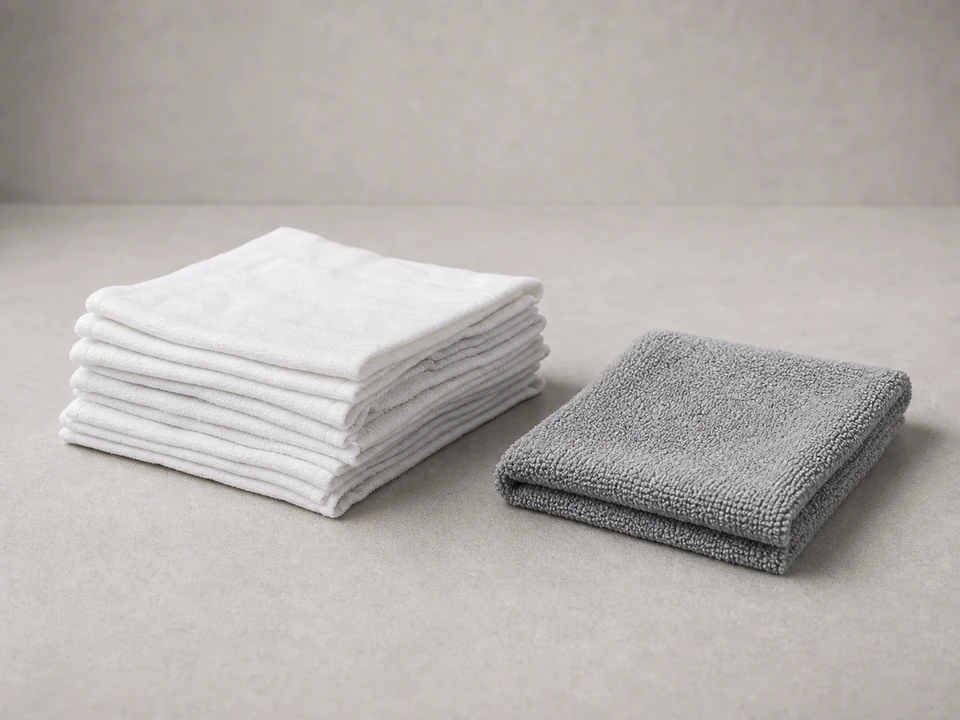
Use it for: To dry the pipe and spot small leaks during testing.
Shop absorbent shop towels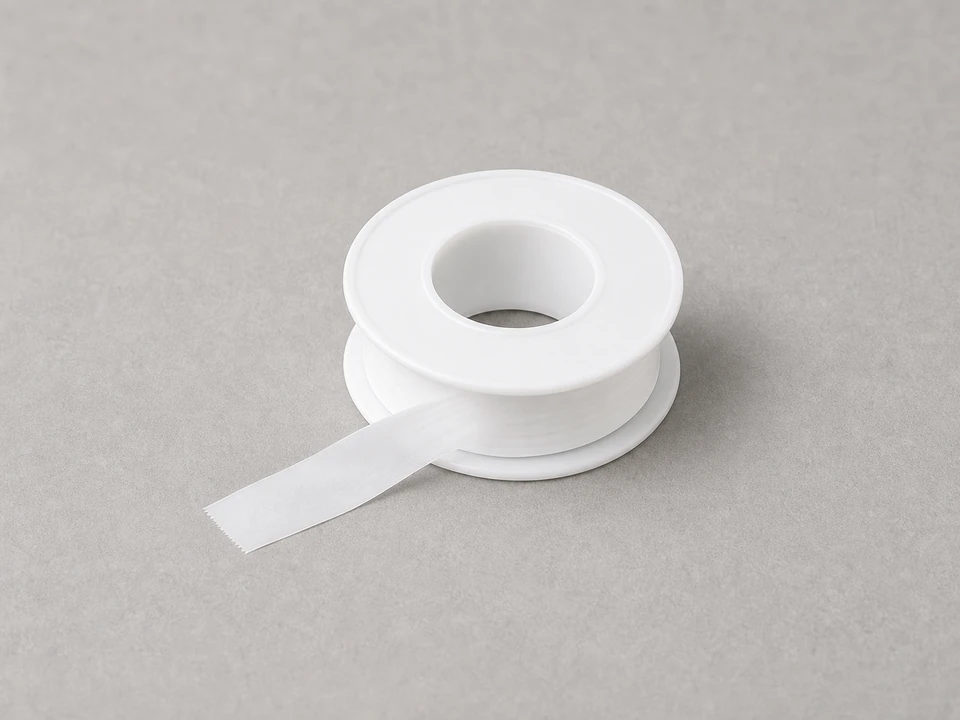
Use it for: To seal threaded pipe connections if your replacement valve uses pipe threads.
Find thread seal tape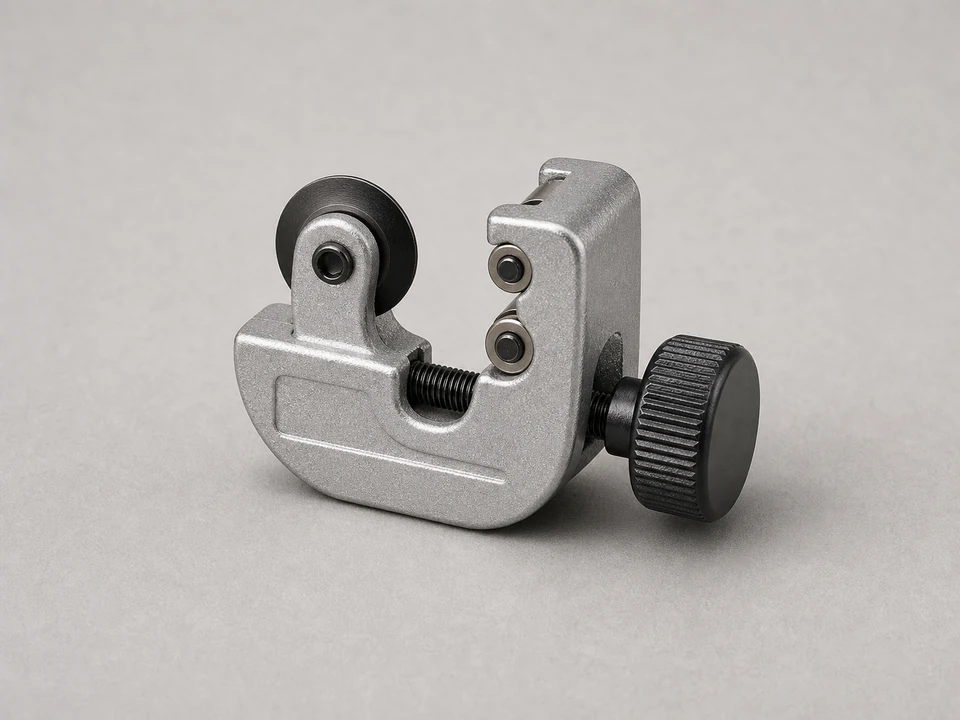
Use it for: To make a clean cut if the old compression sleeve or damaged pipe end has to be removed.
Shop a copper tubing cutterAs an Amazon Associate I earn from qualifying purchases. Repair Riot may earn a commission at no extra cost to you.
If it works: You know the valve is the failed part and you have a replacement with the same connection style, size, and straight-through orientation.
If it doesn’t: If you cannot match the connection type or size with confidence, remove the old valve only after taking clear photos and measurements so you can buy the correct replacement.
If it works: Water flow at the fixture stops and the line is depressurized enough to work on the valve.
If it doesn’t: If water keeps running steadily, the upstream shutoff is not holding. Use a different working shutoff or wait to replace the valve until the water can be fully isolated.
If it works: The old valve is off and the pipe end is clean, solid, and ready for the new valve.
If it doesn’t: If the old compression sleeve is stuck and the pipe is otherwise sound, use a sleeve puller or carefully cut back to a clean section if there is enough pipe length.
If it works: The new valve is installed squarely, supported, and aligned with the supply tube without strain.
If it doesn’t: If the valve will not seat straight or the supply tube no longer lines up, stop and correct the alignment before turning the water back on.
If it works: The valve and both connections stay dry under full house pressure.
If it doesn’t: If a connection still seeps after a careful small retightening, shut the water back off, relieve pressure, and remake that connection with fresh sealing parts or thread tape as needed.
If it works: The fixture runs normally when the valve is open, shuts off when the valve is closed, and stays dry after use.
If it doesn’t: If the fixture still will not shut off, the new valve may be defective or the problem may also involve the faucet or appliance connection downstream.
Match the pipe connection type, outlet size, and shutoff orientation before ordering.
As an Amazon Associate I earn from qualifying purchases. Repair Riot may earn a commission at no extra cost to you.
Usually no. You need the water fully isolated before removing the valve. If the nearest upstream shutoff does not hold, wait until you can shut off the main or another working branch shutoff.
Look at how the old valve attaches to the pipe. A compression valve uses a nut and sleeve on a smooth pipe. A threaded valve screws onto pipe threads. Match the new valve to the existing connection style.
It is better to use the new sealing parts that come with the replacement valve when possible. Old compression parts may not seal well with a new valve body.
Light surface buildup can sometimes be cleaned off, but deep pitting, cracks, or a badly misshapen pipe end can keep the new valve from sealing. In that case, the pipe section may need further repair before a new stop valve will hold.
A drip usually means the connection is not seated correctly, the wrong sealing method was used, or the pipe end is damaged. Shut the water back off, relieve pressure, and remake the connection rather than overtightening it.