
Adjustable wrench
Use it for: To loosen and tighten compression nuts or threaded connections.
Shop adjustable wrenchesTo replace a straight shutoff valve, first confirm the valve body or stem is the leak source, shut off the home water supply, drain the line, remove the old valve, install the matching replacement, and test it under pressure and normal use.
This is a manageable repair if the valve is exposed and the pipe is in good shape. The key is buying the same connection style and size, then checking carefully for seepage after the water comes back on.
Before you start: Match the pipe connection type, outlet size, and shutoff orientation before ordering.
Use it for: To loosen and tighten compression nuts or threaded connections.
Shop adjustable wrenches
Use it for: To hold the valve body or back up the pipe side while you turn the nut.
Shop tongue and groove pliers
Use it for: To catch water left in the line when the old valve comes off.
Find a drain pan or bucket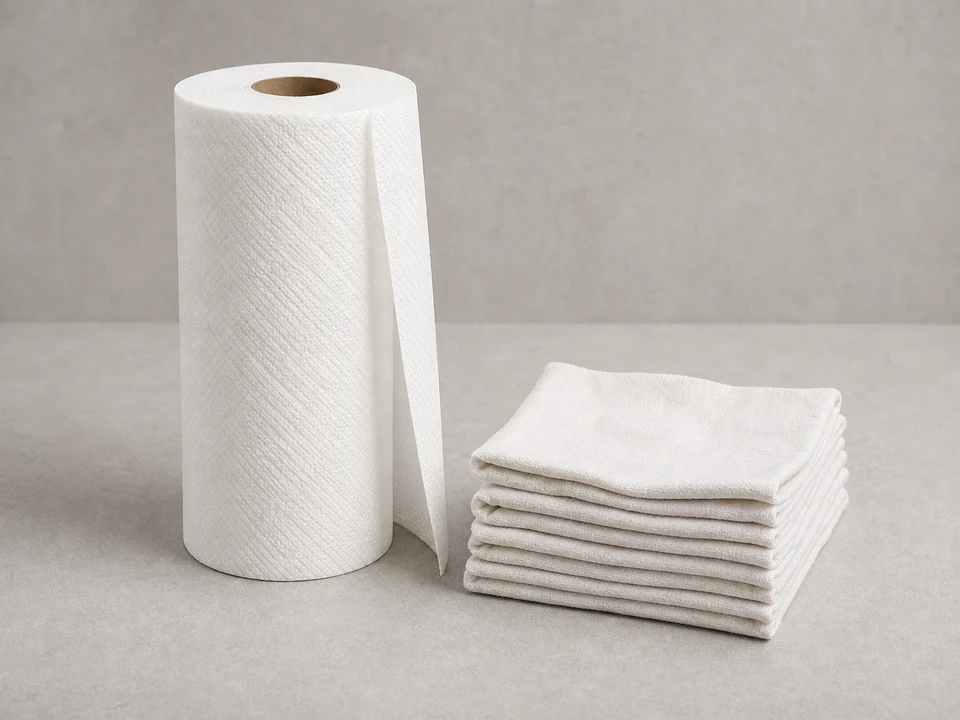
Use it for: To dry the pipe and spot small leaks during testing.
Shop absorbent shop towels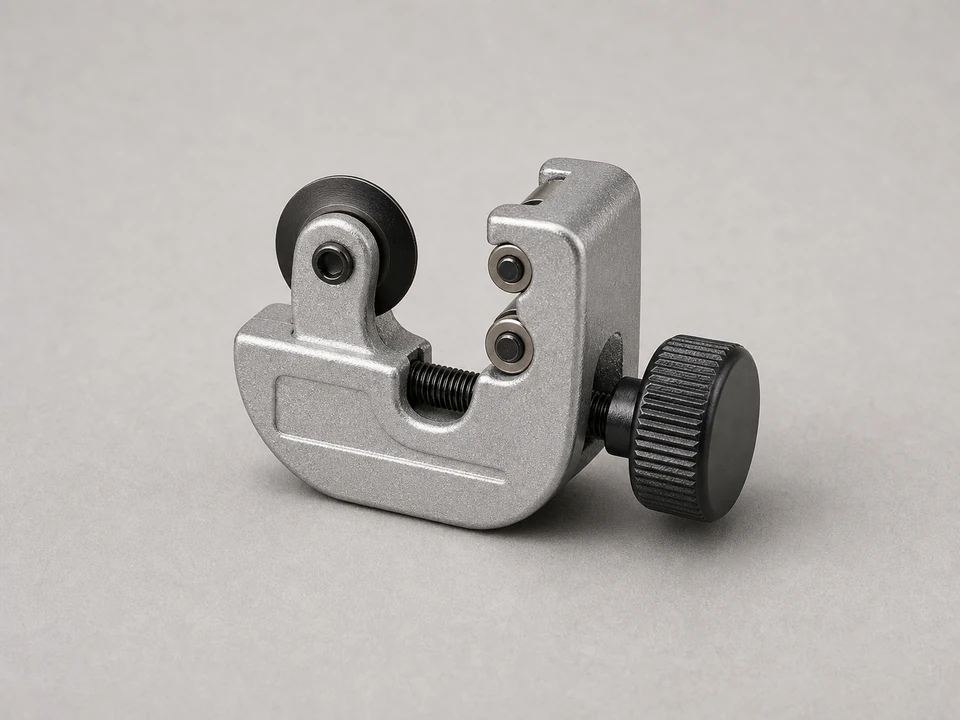
Use it for: To make a clean cut if the old valve or ferrule cannot be removed cleanly and you need fresh pipe.
Find a copper pipe cutter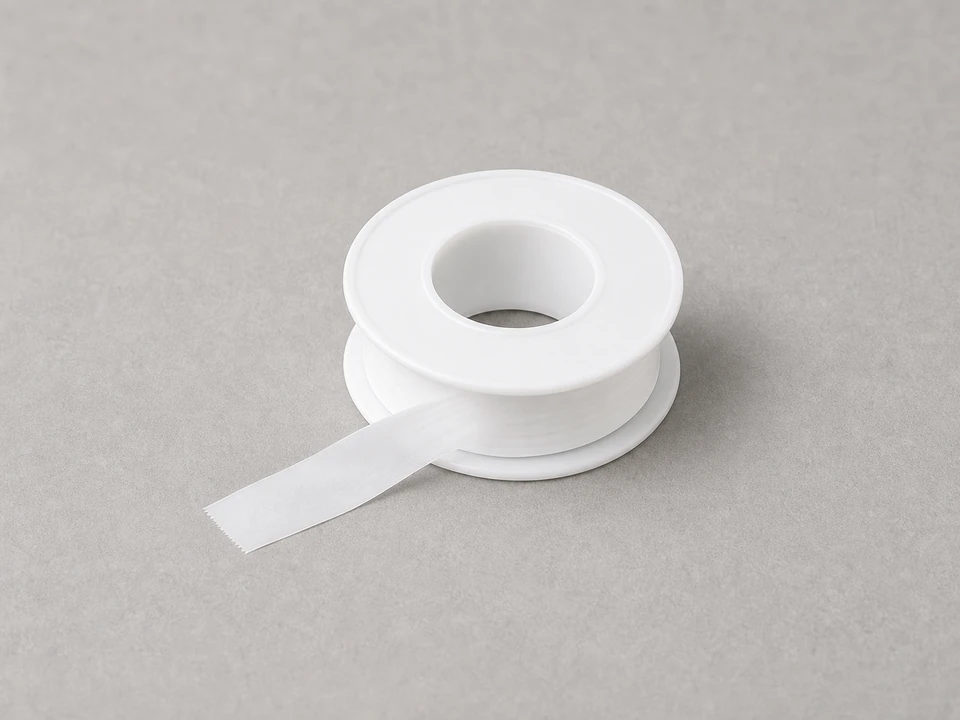
Use it for: For threaded valve connections only, not for compression sealing surfaces.
Shop PTFE thread seal tapeAs an Amazon Associate I earn from qualifying purchases. Repair Riot may earn a commission at no extra cost to you.
If it works: You have confirmed the straight shutoff valve itself is leaking, seized, or no longer shutting off reliably.
If it doesn’t: If the leak is coming from the supply tube nut or the fixture connection, address that connection first instead of replacing the valve.
If it doesn’t: If you see a small seep at a compression or threaded connection, gently tighten a little more while supporting the valve body, then dry and recheck.
If it works: The new straight shutoff valve stays dry, turns normally, and shuts the fixture supply off when needed.
If it doesn’t: If the valve still leaks through the stem or will not shut off properly, the replacement may be defective or the wrong connection style may have been installed.
Match the pipe connection type, outlet size, and shutoff orientation before ordering.
As an Amazon Associate I earn from qualifying purchases. Repair Riot may earn a commission at no extra cost to you.
If the leak is from the valve stem, valve body, or a cracked or badly corroded connection, replacement is usually the better fix. A loose connection nut may only need tightening, but a worn or damaged valve usually will not improve for long.
Sometimes, but only if the new valve is made to work with them and they are in good shape. If they are damaged, distorted, or incompatible with the new valve, use the new parts or cut back to fresh pipe if needed.
Only on threaded pipe connections. Do not put thread tape on compression sealing surfaces, because compression fittings seal by the ferrule and nut, not by tape on the threads.
If there is not enough clean, exposed pipe for the new valve to seat properly, stop and plan a larger repair. You may need to extend or rework the pipe rather than forcing the valve on.
A small drip usually means the connection is not fully sealed, the valve is not the correct type or size, or the pipe end is damaged. Dry it completely, tighten carefully while supporting the valve, and recheck. If the drip continues, the connection needs to be redone.