
Sump pump how-to

How to Replace a Sump Pump Battery Backup Battery

To replace a sump pump battery backup battery, confirm the battery has actually failed, disconnect power to the backup unit, swap in the same battery type and terminal layout, then recharge and test the backup pump under load.

This is a straightforward replacement if the battery is old, swollen, leaking, or no longer holds a charge. The main mistakes are ordering the wrong battery, reversing the cable connections, or skipping the final test.

Before you start: Match the exact battery type, count, and device compatibility before ordering.

Prepared by: Repair Riot Last updated: 2026-06-05 How we build and check guides

Safety first

  • Wear gloves and eye protection when handling the old battery and cleaning terminals.
  • Keep sparks, flames, and metal tools away from battery terminals.
  • Disconnect power to the backup charger or controller before removing battery cables.
  • Lift carefully. Backup batteries can be heavier than they look.
  • Recycle the old battery through a battery retailer, recycling center, or hazardous waste program instead of putting it in the trash.

Tools you may need

Work gloves tool

Work gloves

Use it for: Protects your hands while handling battery terminals and lifting the old battery out.

Shop work gloves

Safety glasses tool

Safety glasses

Use it for: Helps protect your eyes if there is corrosion or battery residue around the terminals.

Shop safety glasses
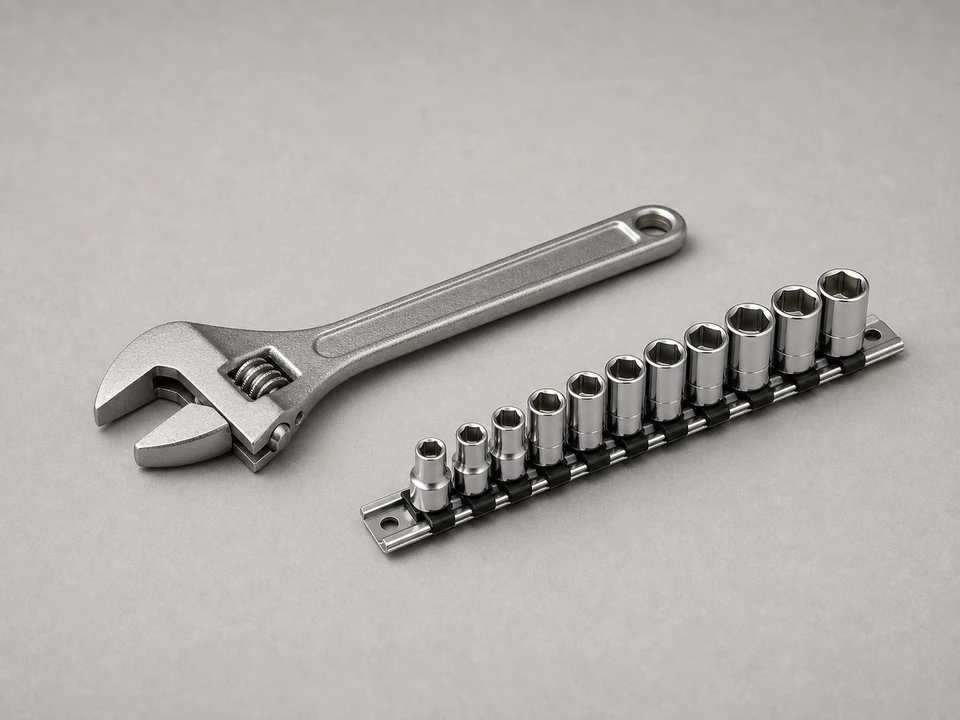
Adjustable wrench or socket set tool

Adjustable wrench or socket set

Use it for: Loosens and tightens battery terminal nuts or hold-down hardware.

Shop wrench and socket sets

Battery terminal cleaning brush tool

Battery terminal cleaning brush

Use it for: Cleans light corrosion from cable ends before reconnecting them to the new battery.

Shop battery terminal brushes

Paper towels or clean rag tool

Rags or paper towels

Use it for: Wipes dust, moisture, and light residue from the battery area.

Shop shop towels

Flashlight tool

Flashlight

Use it for: Helps you see terminal markings and cable routing in a dim basement or utility area.

Shop flashlights

As an Amazon Associate I earn from qualifying purchases. Repair Riot may earn a commission at no extra cost to you.

Step-by-step fix

Step 1: Make sure the battery is really the problem

  1. Check the backup controller or alarm panel for a battery warning, low-voltage alert, or charging fault.
  2. Look at the battery case for swelling, cracks, leaks, heavy corrosion, or a date label that shows it is well into its service life.
  3. If the main pump works on house power but the backup system will not run or alarms during a power-loss test, the battery is a likely failure point.
  4. Confirm your replacement matches the old battery's chemistry, voltage, terminal style, and physical size before you start.

If it works: You have a strong reason to replace the battery and a matching replacement ready.

If it doesn’t: If there is no battery warning and the charger, float switch, or backup pump itself seems to be the issue, diagnose those parts before replacing the battery.

Stop if:
  • The battery case is cracked, leaking, or hot to the touch.
  • There is heavy corrosion spreading onto nearby wiring or metal parts.
  • You cannot confirm the replacement battery matches the old one.

Step 2: Shut the system down and clear the work area

  1. Unplug the battery backup charger or controller from its outlet if it uses a plug-in power cord.
  2. If the backup unit is hardwired or you are not sure how it is powered, turn off the correct circuit before touching the battery cables.
  3. Keep metal tools and loose hardware off the top of the battery.
  4. Dry any standing water around the battery area so you are not working in a wet spot.

If it works: The backup unit is de-energized and the battery area is safe to work in.

If it doesn’t: If you cannot safely disconnect power to the backup unit, wait and get help before handling the battery cables.

Stop if:
  • There is active water leaking onto the battery or charger.
  • The outlet, plug, or nearby wiring looks burned, melted, or damaged.

Step 3: Disconnect and remove the old battery

  1. Take a quick photo of the cable positions so you can reconnect the new battery the same way.
  2. Remove the negative cable first, then remove the positive cable.
  3. If there is a strap or hold-down bracket, remove it and set the hardware aside.
  4. Lift the old battery straight up and out, keeping it level as much as possible.
  5. Set the old battery on a stable surface where it cannot tip over.

If it works: The old battery is out and the cable layout is documented.

If it doesn’t: If the terminals are badly corroded and will not loosen cleanly, clean them enough to remove the cables without forcing them.

Stop if:
  • The battery is stuck because the tray, cables, or surrounding parts are damaged.
  • Acid residue or corrosion is severe enough that insulation, connectors, or the battery box may need repair before reassembly.

Step 4: Clean the tray and prep the cable ends

  1. Wipe dirt and moisture out of the battery tray or box.
  2. Clean light corrosion from the cable ends and terminal hardware so the new battery gets solid contact.
  3. Check that the cable ends are not cracked, loose, or badly eaten away.
  4. Place the new battery in the tray with the terminals facing the same direction as the old one.

If it works: The battery area is clean and the new battery is positioned correctly for reconnection.

If it doesn’t: If the cable ends are too damaged to clamp tightly, replace or repair them before relying on the backup system.

Stop if:
  • The battery tray is broken or no longer supports the battery securely.
  • The new battery does not sit flat or the cables do not reach without strain.

Step 5: Install and reconnect the new battery

  1. Reinstall any hold-down strap or bracket so the battery cannot shift.
  2. Connect the positive cable to the matching positive terminal first.
  3. Connect the negative cable to the matching negative terminal second.
  4. Tighten the terminal hardware until the connections are snug and do not twist by hand, but do not overtighten and damage the posts.
  5. Double-check that positive is on positive and negative is on negative before restoring power.

If it works: The new battery is secured and the cable connections are tight and correctly oriented.

If it doesn’t: If the controller does not power back up after reconnection, recheck terminal polarity and make sure the charger or circuit is actually on.

Stop if:
  • You are unsure about terminal polarity.
  • A cable gets hot, sparks excessively, or will not tighten securely.

Step 6: Recharge and test the backup system in real use

  1. Restore power to the charger or controller and confirm it shows a normal charging or ready status after startup.
  2. Let the new battery charge as directed by the backup system before expecting full runtime.
  3. Test the backup pump by following the system's test procedure or by raising the float so the backup pump runs briefly.
  4. If your system allows it, simulate a power outage after charging and confirm the backup pump starts and moves water from the pit.
  5. Listen for alarms and watch for loose cables, error lights, or weak pump performance during the test.

If it works: The backup system charges normally and the pump runs on battery power when called for.

If it doesn’t: If the new battery charges but the backup pump still will not run, the problem may be in the charger, float switch, controller, wiring, or the backup pump itself.

Stop if:
  • The pump does not move water during the test.
  • The system shows repeated fault alarms after the new battery is installed.
  • You find hidden water damage, burned wiring, or a failing discharge setup while testing.

Replacement Parts

As an Amazon Associate I earn from qualifying purchases. Repair Riot may earn a commission at no extra cost to you.

Verify the repair

  • The controller shows normal power or charging status with no battery fault alert.
  • The battery is strapped down or otherwise secured and sits flat in the tray.
  • Terminal connections are tight, clean, and connected to the correct polarity.
  • The backup pump runs during a test and actually moves water out of the pit.
  • No new alarms, hot cables, or burning smells appear after the system has been back on for a while.

FAQ

How do I know the sump pump battery backup battery is bad?

Common signs are a battery alarm, low-voltage warning, short runtime, failure during a power-loss test, swelling, leaks, or heavy terminal corrosion. If the battery is old and no longer holds a charge, replacement is usually the right fix.

Do I need the exact same battery type?

Yes. Match the battery chemistry, voltage, terminal style, and physical size the backup system is designed for. A battery that almost fits can cause charging problems, poor runtime, or connection issues.

Which cable comes off first?

Remove the negative cable first and reconnect it last. That reduces the chance of accidental shorting while you work.

Can I use the backup pump right away after installing the new battery?

It may power up right away, but a new battery often needs time to charge before it can deliver full backup runtime. Let it charge and then run a proper test.

What should I do with the old battery?

Take it to a battery retailer, recycling center, or local hazardous waste drop-off. Do not throw it in household trash.