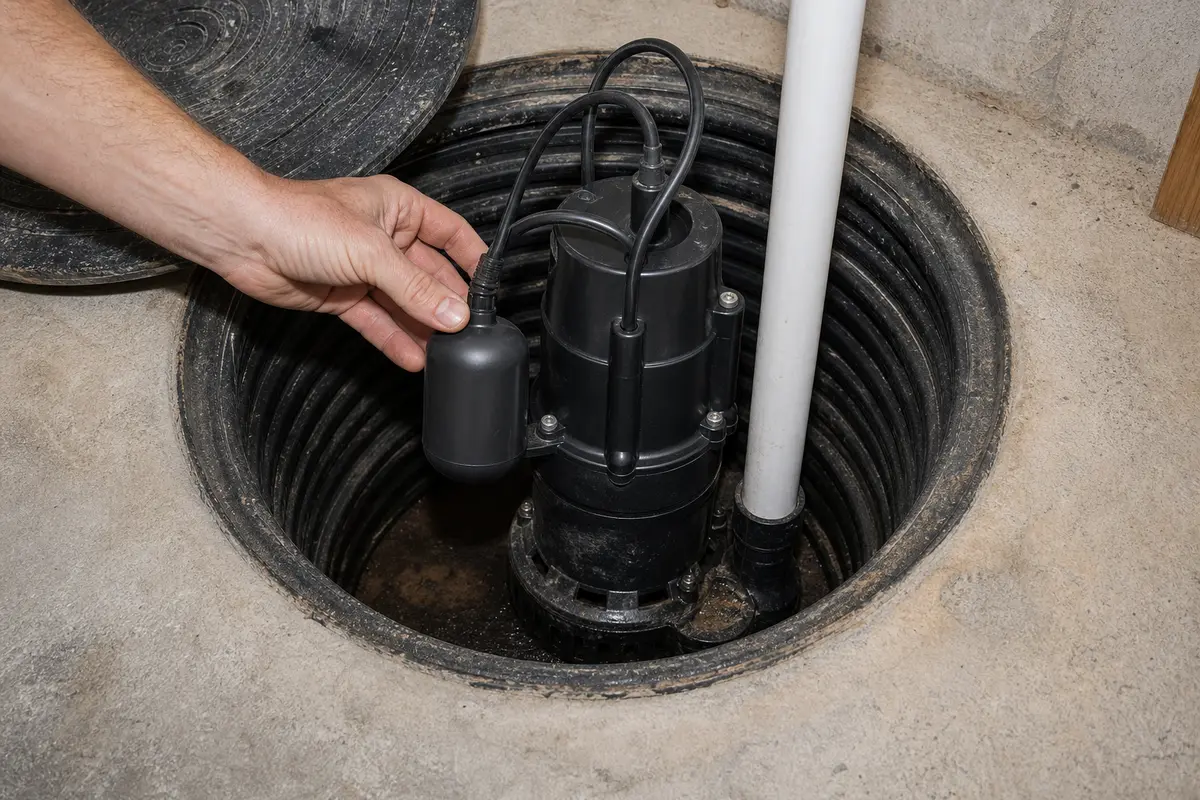
Replace the sump pump float switch when the pump runs during a bypass test, but the float no longer starts or stops it reliably. Rule out a jammed impeller, blocked discharge line, bad outlet, and tangled float cord first.
Unplug the pump before reaching into the pit. Match the switch style, voltage rating, connection method, tether length, and mounting point. After the swap, test with real water so the float proves it can cycle the pump on its own.
Before you start: Match the switch style, piggyback or hardwired control setup, voltage compatibility, and sump pump application before ordering.
Last reviewed: 2026-06-16
Make sure this is the right repair
Before replacing the sump pump float switch, confirm what failed, how the switch is controlled, and whether the pump still moves water when the float is bypassed. Do not buy a switch until the outlet, pump, and discharge line have been ruled out.
This page fits
This page fits when: The pump runs when the float control is bypassed or lifted by hand, but the switch sticks, sinks, loses travel, or no longer starts and stops the pump reliably.
Check something else when: No response during a direct test points away from the float switch. A blocked discharge line does too. Diagnose those before ordering parts.
Confirm the fit first
This page fits when: You can match the switch style, piggyback or hardwired setup, voltage rating, tether length, mounting method, and pump application before ordering.
Check something else when: If the old switch is missing, sealed inside the pump, or not clearly serviceable, identify the pump model first. Guessing on voltage or control style is not worth the risk.
Stop for hidden damage
This page fits when: The pit can be lowered, the pump can be unplugged, and the switch can be reached without working around live power or uncontrolled flooding.
Check something else when: Stop if the outlet, plug, cord, GFCI, or pit area shows electrical damage, or if water is entering faster than you can control safely.
Check the failure point and dry-fit before fastening
Use the visible damage and dry-fit check to confirm the sump pump float switch is really the piece to replace. Compare alignment, backing, and stop conditions before ordering parts or fastening anything.
Start by finding the failed sump pump float switch. Move ahead only when the surrounding material still looks sound.Dry-fit the replacement before final fastening. The switch should sit flat, line up cleanly, and leave the float room to move.
Safety first
Unplug the sump pump before touching the float, cord, or water in the pit.
Keep plugs, extension connections, and your hands as dry as possible while working around the basin.
Use gloves and clean up spilled water so the area does not become slippery.
Tools you may need
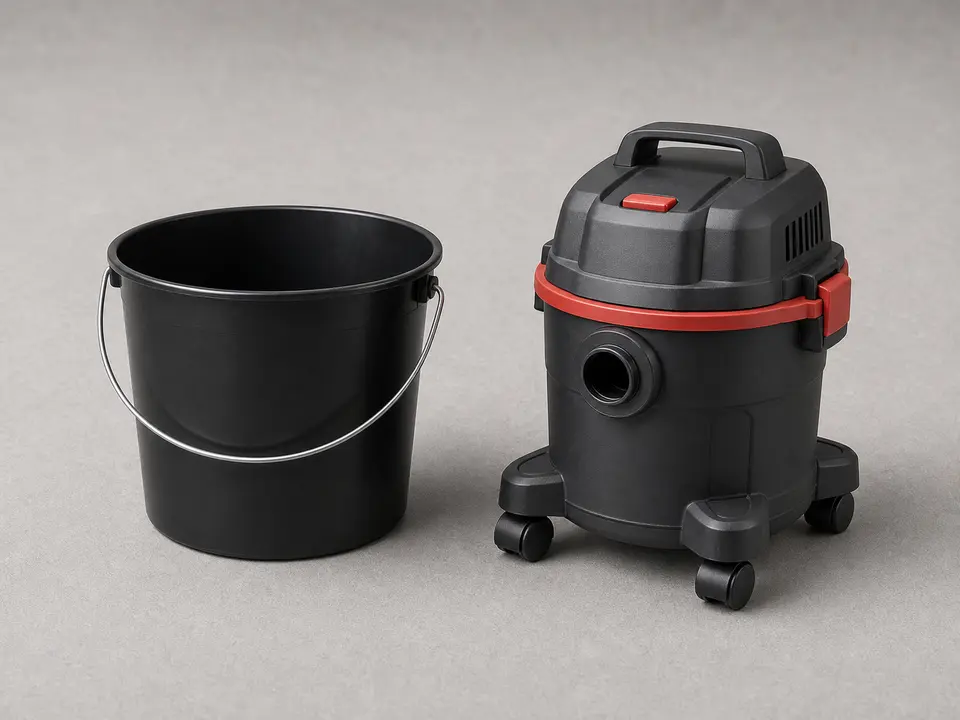
Bucket or wet/dry vacuum
Use it for: Use this when the water is above the float switch or pump handle. Lower the pit before you reach for the cord or clamp.
As an Amazon Associate I earn from qualifying purchases. Repair Riot may earn a commission at no extra cost to you.
Step-by-step fix
Step 1: Confirm the float switch is the problem
Unplug the sump pump before touching the float, cord, or water in the pit.
Look for simple causes first: a float wedged against the basin wall, debris holding it down, a tangled cord, or a check valve or discharge problem that is making the pump act strangely.
For a piggyback-style float switch, plug the pump directly into the outlet for a brief test. A pump that runs during that bypass test points back to the switch.
For a hardwired or built-in switch, leave power disconnected and move the float by hand. Check for sticking, cracks, or a float that feels waterlogged.
If it works: You have good reason to believe the sump pump float switch has failed or is no longer moving freely enough to control the pump.
If it doesn’t: A pump that will not run during a bypass or manual-lift test needs a different diagnosis. Check the outlet, pump, and discharge system before replacing the float switch.
Stop if:
The outlet, plug, cord, or pit area shows burn marks, melted insulation, or active electrical damage.
The pit is flooding faster than you can control safely.
The pump is hardwired and you are not comfortable shutting off and verifying the circuit is dead.
Step 2: Lower the water and pull the pump where needed
Use a bucket or wet/dry vacuum to drop the water below the float switch and pump handle.
Watch the inlet side of the basin while you work. If water keeps rising, pause and control the inflow before lifting the pump.
Unplug the pump, then pull it only far enough to reach the switch, tether, clamp, or piggyback plug.
Set the pump on cardboard, a tray, or a towel so grit and dirty water do not spread across the floor.
Wipe sludge from the switch mount, pump body, discharge pipe, and cord path so the new float has a clean swing area.
If it works: The water level is low enough to see the float, the cord path, and the mounting point without reaching blindly into the basin.
If it doesn’t: If the basin keeps refilling while you work, stop and deal with the water source or use a temporary pump before you open or move anything.
Stop if:
You cannot keep the plug, outlet, and your hands dry while lowering the basin water.
The pump is too heavy, slippery, or wedged in the pit to lift without losing control.
Step 3: Remove the old float switch
Trace the old float switch cord from the float to its plug, piggyback connection, or mounting point on the pump.
Take a quick photo before removal so you can match the cord path and tether length.
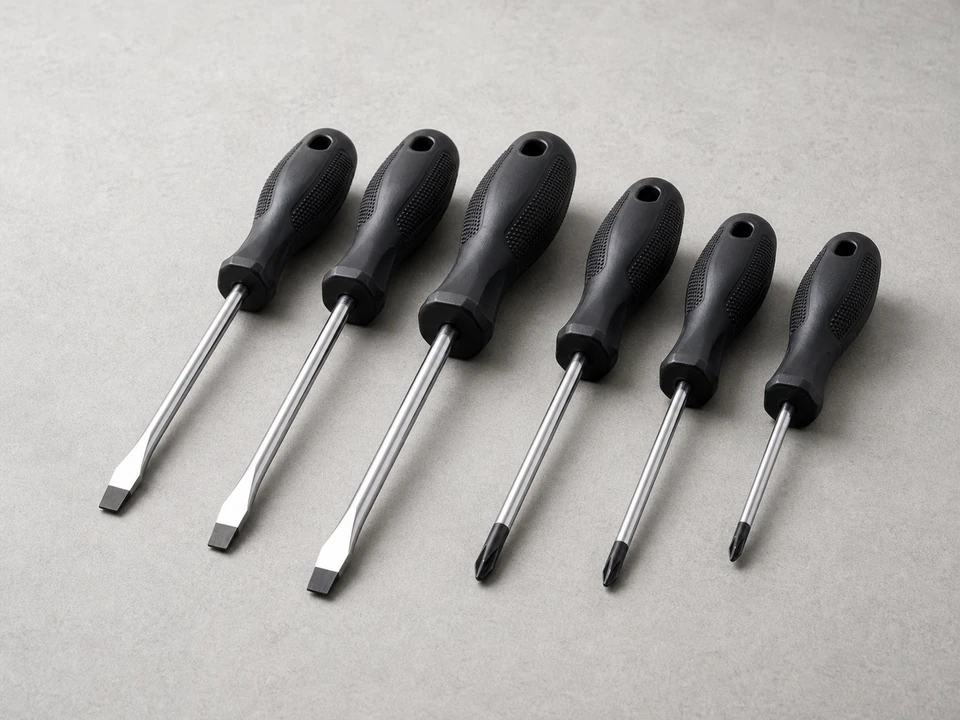
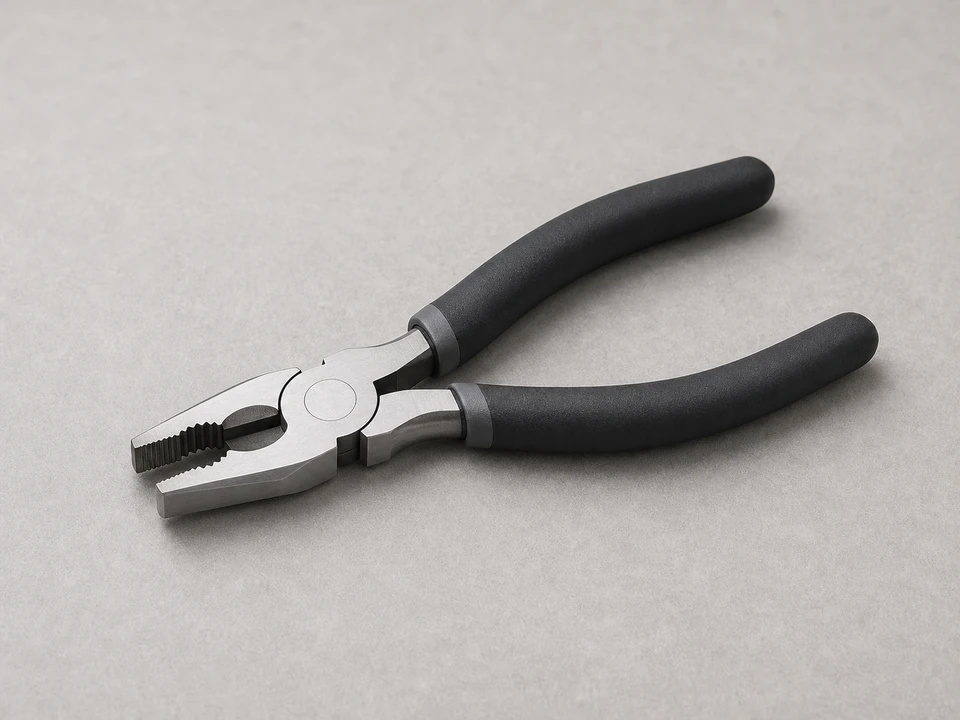
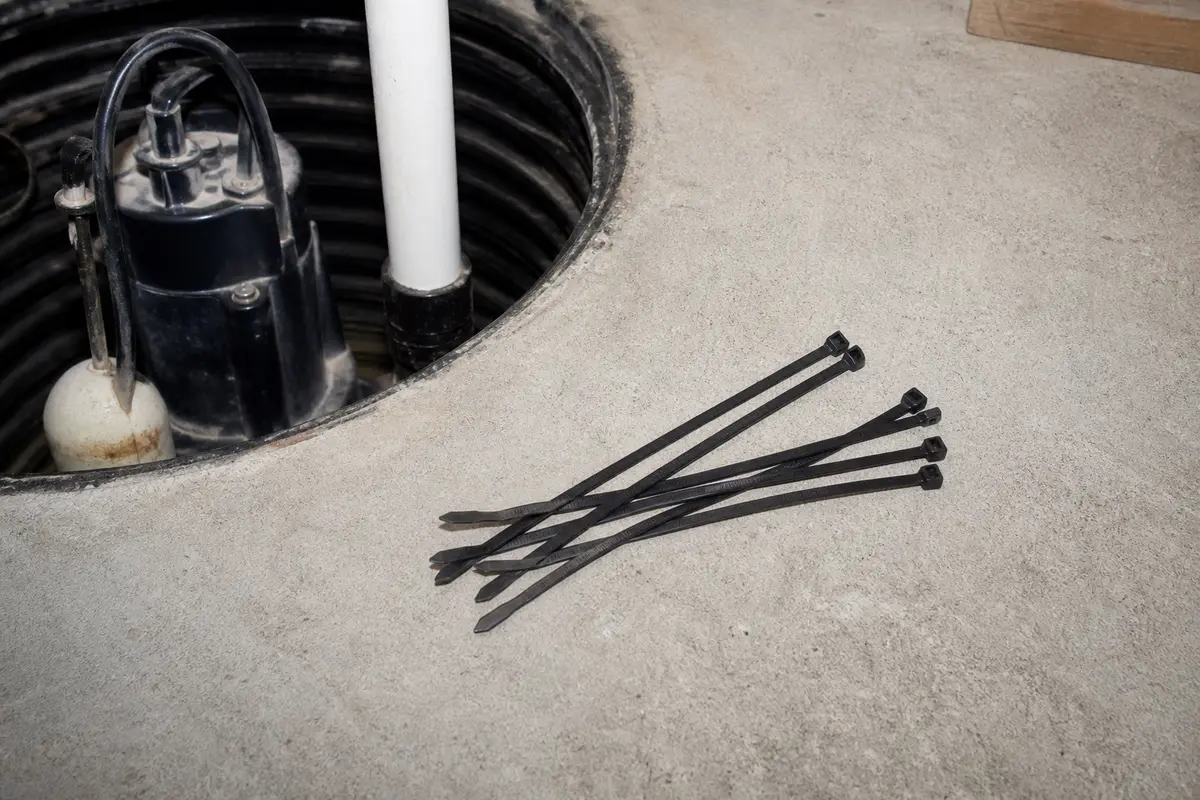
Cut any zip ties or remove clips and screws holding the old switch in place.
With a piggyback switch, unplug the pump from the switch and remove the switch from the outlet. With a pump-mounted switch, work carefully around the housing and cord strain relief.
If it works: The old switch is free, and you know whether the replacement needs a piggyback plug, a pump-mounted clip, or a hardwired connection.
If it doesn’t: If the switch disappears into a sealed pump housing or hardwired control box, do not cut wires to guess your way through it. Use the pump model number or call a pro.
Stop if:
You find cracked insulation, burned terminals, corroded connections, or a cord that feels soft or swollen.
Removing the switch would require opening a sealed pump housing or splicing wiring in a wet location.
Step 4: Install the new float switch and set the cord length
Compare the new switch to the old one before it goes in the pit. Match the piggyback plug or hardwired setup, voltage rating, tether style, mounting clip, and float shape.
Dry-fit the switch on the pump body or discharge pipe. The float should clear the basin wall, pump handle, check-valve pipe, and power cord.
Set the tether length close to the old working length, then shorten it if the float can touch the wall or wrap around the discharge pipe.
Route the cord up the pump body and secure it with zip ties. Keep the cable away from the impeller opening, sharp clamp tails, and the float's swing path.
Trim zip-tie tails flush so they do not catch the float or scrape the power cord during a pump cycle.
If it works: The new switch is mounted securely, the cord is tied back, and the float can rise and fall without hitting the wall, pump, discharge pipe, or power cord.
If it doesn’t: A float that cannot swing freely is not ready for power. Move the mount, shorten the tether, or reroute the cord before testing.
Stop if:
The replacement switch does not match the voltage, connection style, or pump control setup.
The cord routing would put the cable near the impeller opening, sharp metal, or a moving float.
Step 5: Reconnect the pump and test the switch by hand
Reconnect the pump to the new switch if it uses a piggyback plug, then plug the switch into the outlet.
After removal, set the pump back in the pit with the float facing open space.
Restore power and lift the float by hand to confirm the pump starts, then lower it to confirm the pump shuts off.
Listen for smooth startup and shutdown without chattering, humming without pumping, or repeated short cycling.
If it works: The pump starts when the float is lifted and shuts off when the float drops, without chatter, delay, or a cord snag.
If it doesn’t: A pump that hums, runs but moves no water, or sounds wrong is past a float-switch repair. Check the pump and discharge path next.
Stop if:
The GFCI trips, the plug sparks, or the cord gets warm during testing.
The pump hums without moving water or the discharge pipe shakes hard when the pump starts.
Step 6: Run a real water test and make sure the repair holds
Fill the pit with clean water slowly until the float rises enough to start the pump on its own.
Watch one full cycle: the pump should turn on, lower the water, and shut off without the float sticking or the pump continuing to run.
Check that the float does not snag on the wall, discharge pipe, power cord, or pump handle as the water level changes.
Test a second cycle if possible so you know the switch repeats the same way under normal use.
If it works: The sump pump starts and stops on its own through full water cycles, and the float moves freely every time.
If it doesn’t: Continuous running, no start, or a float that catches during the water test means the repair is not done. Recheck cord routing and tether length, then move on to the pump or discharge system.
Stop if:
Water backs up because the discharge line is blocked or frozen.
The basin fills faster than the pump can remove water, even with the new switch working.
Match the switch style, piggyback or hardwired control setup, voltage compatibility, and sump pump application before ordering.
As an Amazon Associate I earn from qualifying purchases. Repair Riot may earn a commission at no extra cost to you.
Verify the repair
The float moves freely without touching the basin wall, pump body, or discharge pipe.
The pump turns on when the water rises and shuts off when the water drops.
The cord is secured so it cannot tangle with the float or impeller area.
The pump completes at least one full automatic cycle without sticking, short cycling, or running continuously.
FAQ
How do I know if the float switch is bad and not the pump?
Lift the float by hand with the pump set up safely, or bypass a piggyback switch for a brief test. A pump that runs during that check points back to the switch. No response points toward the outlet, pump, or discharge system.
Can I replace just the float switch instead of the whole sump pump?
Yes, when the pump still runs well and the switch is a separate serviceable part. A sealed built-in switch or a tired pump can make full pump replacement the better call.
What is the difference between a piggyback float switch and a hardwired one?
Look at the connection before ordering. A piggyback switch has its own plug, and the pump plugs into that switch. A hardwired switch enters the pump controls. Verify power is off, and stop if replacement would require splicing wire in the pit.
Why does the new float switch keep getting stuck?
Look at the float while the water rises. It should clear the basin wall, discharge pipe, power cord, and pump handle. Snags usually come from a long tether, loose zip tie, debris in the pit, or a mount set too close to the wall.
Do I need to test the pump with real water after replacing the switch?
Yes. A hand test is useful, but a real water test confirms the float rises naturally, starts the pump at the right level, and shuts it off again without snagging or short cycling.
Sources and reference notes
Use these related Repair Riot pages when the symptom points beyond the float switch. A good switch will not fix a blocked discharge line, failed pump, or unsafe power problem.
Basement sump pit overflowing - Start here if the basin is rising faster than the pump can empty it. Confirm the pump and discharge path before blaming the switch.
Sump pump alarm keeps going off - Use this when an alarm is the main symptom. A stuck float is one possibility, but high inflow, backup failure, or discharge trouble can trigger the same warning.
Sump pump backflow into pit - Check this if water returns after the pump shuts off. Backflow points more toward the check valve or discharge plumbing than the float switch.
Sump pump basin filling too fast - Watch how fast the water enters the basin. Fast inflow with a working float points toward drainage load, not a bad switch.
Sump pump cycles after snow melt - During snow melt, watch whether the pump keeps up and shuts off cleanly. Check the float after the discharge path is moving water.
Sump pump cycles every minute - Rapid cycling can come from a short tether, stuck switch, bad check valve, or undersized basin. Watch the float travel and water return before replacing parts.
Sump pump GFCI trips when running - If the GFCI trips, treat it as an electrical safety problem first. Do not keep resetting power while the pump, switch, or cord is wet or damaged.
Sump pump humming not pumping - Use this when the motor hums but water does not move. That points more toward the pump, impeller, or discharge path than the float switch.