
Adjustable wrench
Use it for: To loosen and tighten the old and new valve without rounding the flats.
Shop adjustable wrenchesIf the drain valve is cracked, leaking at the body, stripped, or will not seal even with a good cap or washer, replacing the tankless water heater drain valve is the right repair.
This job is usually straightforward if you can fully shut the unit down, isolate the water, and drain pressure first. Work slowly, expect some water to spill, and stop if the valve threads or surrounding fittings are damaged.
Before you start: Match the valve size, thread type, and your heater's service port or drain port style before ordering.
Use it for: To loosen and tighten the old and new valve without rounding the flats.
Shop adjustable wrenches
Use it for: To hold the mating fitting steady while you remove the valve.
Shop tongue-and-groove pliers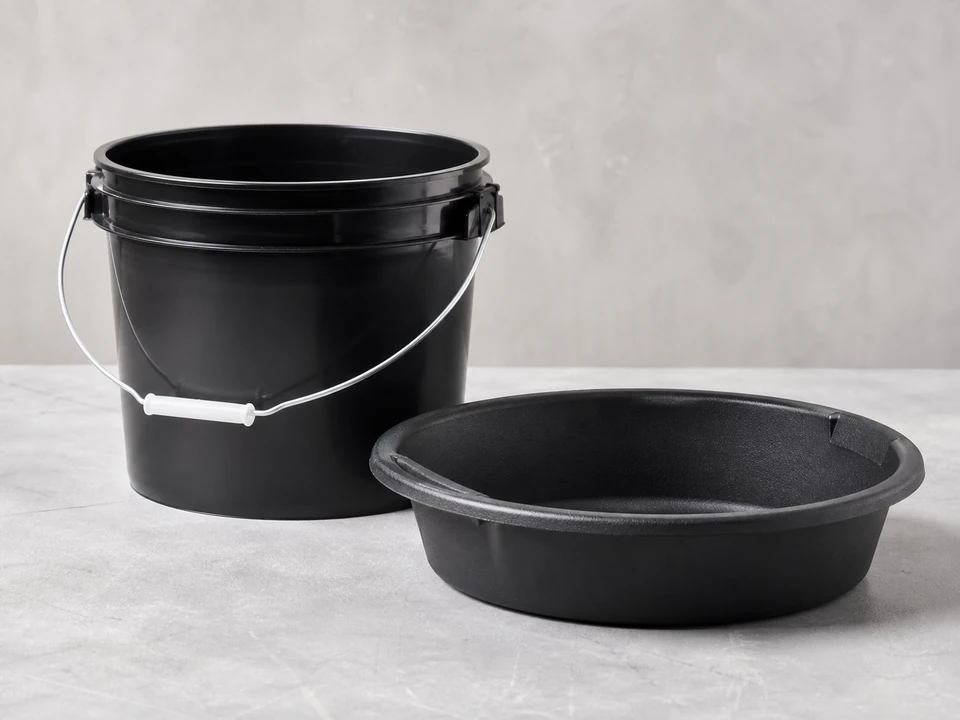
Use it for: To catch water when the heater is drained and when the valve comes out.
Shop utility buckets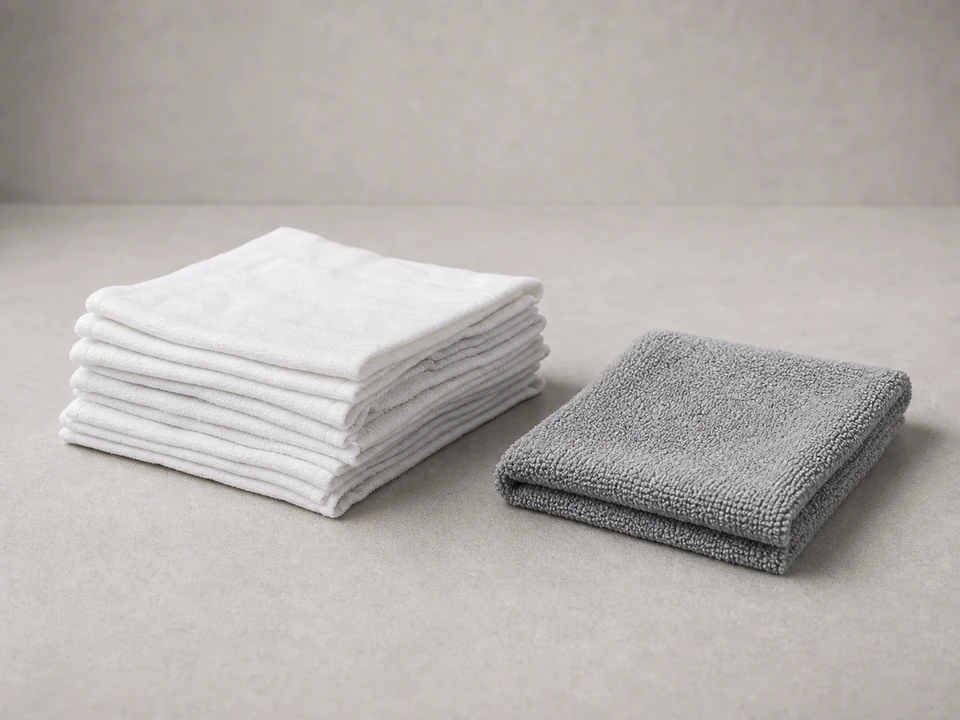
Use it for: To control small spills and dry the area for leak checks.
Shop absorbent shop towels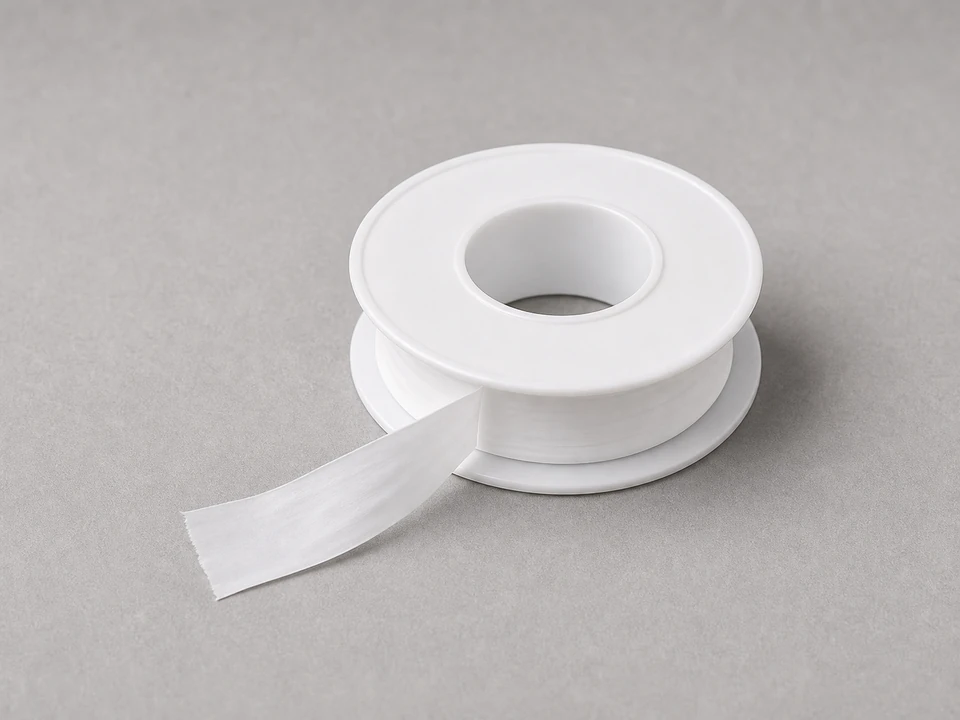
Use it for: To seal threaded valve connections if your replacement uses tapered pipe threads.
Shop thread seal tape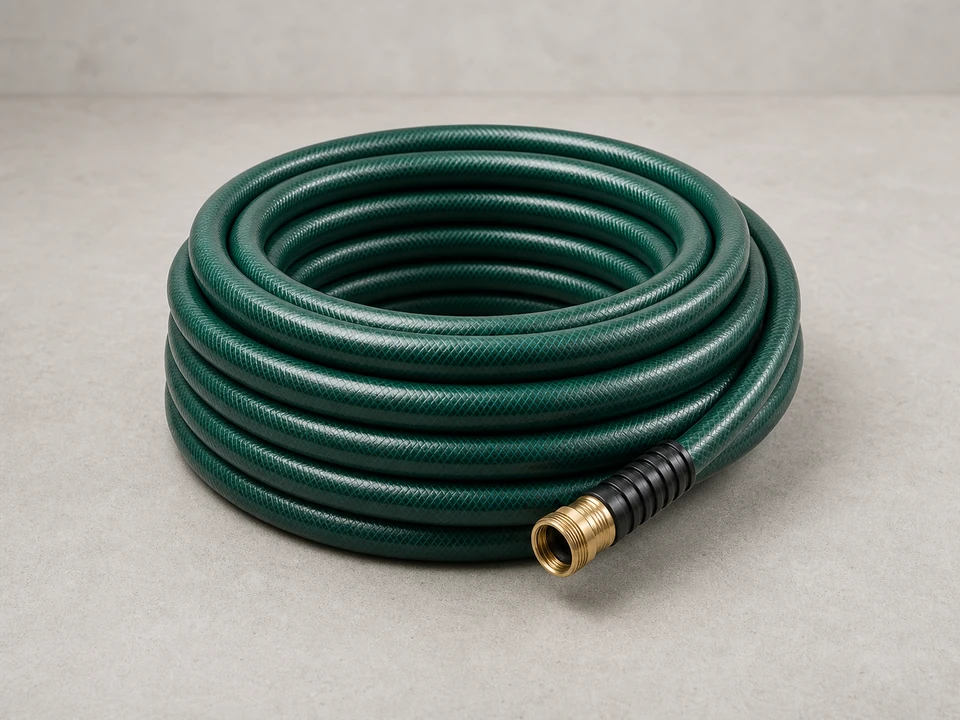
Use it for: To direct drain water into a bucket or floor drain more cleanly.
Shop short utility hoseAs an Amazon Associate I earn from qualifying purchases. Repair Riot may earn a commission at no extra cost to you.
If it works: You have traced the leak or failure to the tankless water heater drain valve itself.
If it doesn’t: Dry everything again, run water briefly, and watch for the first wet spot. If the water starts above the drain valve, this is not the right repair.
If it works: The heater is off, incoming water is isolated, and pressure has been relieved.
If it doesn’t: Recheck that the cold-water supply is fully closed and leave the hot faucet open until pressure drops.
If it works: The section around the drain valve is drained enough to remove the part with only minor spillover.
If it doesn’t: Give it a few more minutes, reposition the bucket, and confirm the water supply valve is still closed.
If it works: The old drain valve is out and the connection point is clean and ready for the replacement.
If it doesn’t: Apply steady pressure, not jerking force. If the valve is stuck, try supporting the fitting better and work it loose gradually.
If it works: The new drain valve is installed squarely, tightened properly, and closed.
If it doesn’t: Back it out and restart by hand if it does not thread in smoothly. Cross-threading will cause leaks and can damage the fitting.
If it works: The heater runs normally and the new drain valve stays dry during filling and while making hot water.
If it doesn’t: If you see a small leak at the threads, shut the unit back down, relieve pressure, and retighten or reseal the valve once. If leaking continues, the fit or threads are likely wrong or damaged.
Match the valve size, thread type, and your heater's service port or drain port style before ordering.
As an Amazon Associate I earn from qualifying purchases. Repair Riot may earn a commission at no extra cost to you.
Yes, if the leak is only from a damaged cap or missing seal and the valve body itself is intact. If the valve body is cracked, stripped, or will not shut fully, replace the whole drain valve.
Usually yes on tapered threaded connections, but not on every sealing style. Match the new valve to the old one and use the same sealing method the connection was designed for.
The most common causes are cross-threading, damaged receiving threads, the wrong valve type, or not enough sealing on a tapered thread connection. Shut the unit down and correct the fit before tightening harder.
No. Even with the supply shut off, trapped water and pressure can spill out quickly when the valve is removed. Draining first makes the job safer and much cleaner.
A failed drain valve can happen after freezing, but so can cracked internal parts and fittings. If you find leaks above the valve or inside the unit cabinet, stop and inspect for broader freeze damage.