
Adjustable wrench
Use it for: To loosen and tighten the tank bolt nuts and water supply connection.
Shop adjustable wrenchesReplace the toilet tank bolt set when water is leaking from the bolts under the tank or from the tank-to-bowl connection and the old bolts or washers are corroded, loose, or no longer sealing.
This repair is straightforward if the tank and bowl are still in good shape. The main job is to remove the tank, install the new bolts and sealing washers correctly, then tighten everything evenly so the tank seals without cracking.
Before you start: Match the replacement part to your exact toilet before ordering.
Use it for: To loosen and tighten the tank bolt nuts and water supply connection.
Shop adjustable wrenches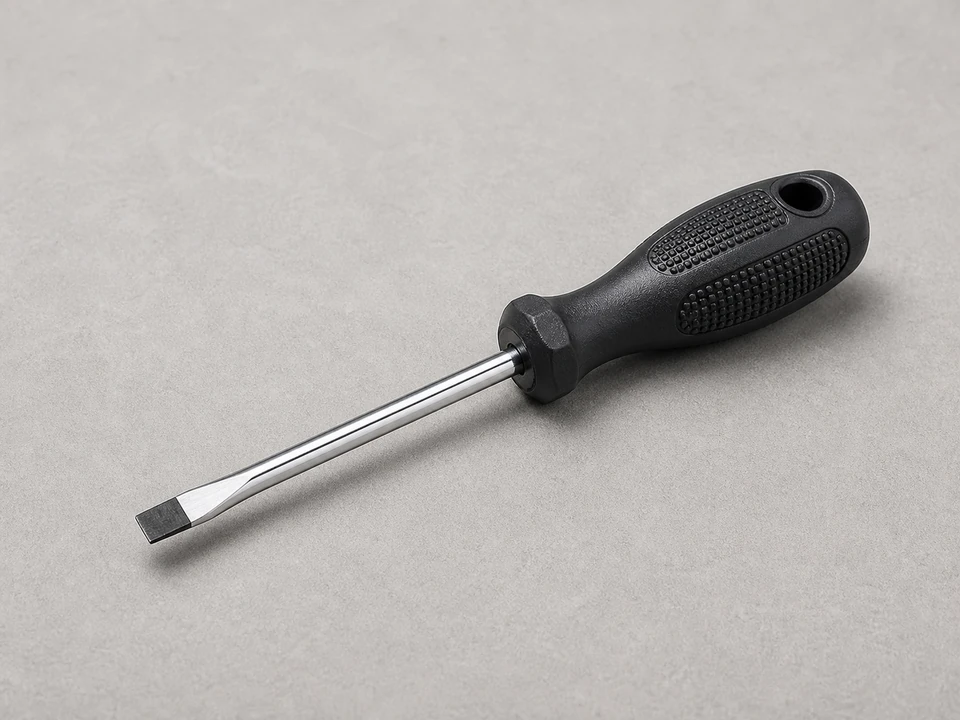
Use it for: To hold the bolt heads inside the tank while you loosen or tighten the nuts below.
Shop flat screwdrivers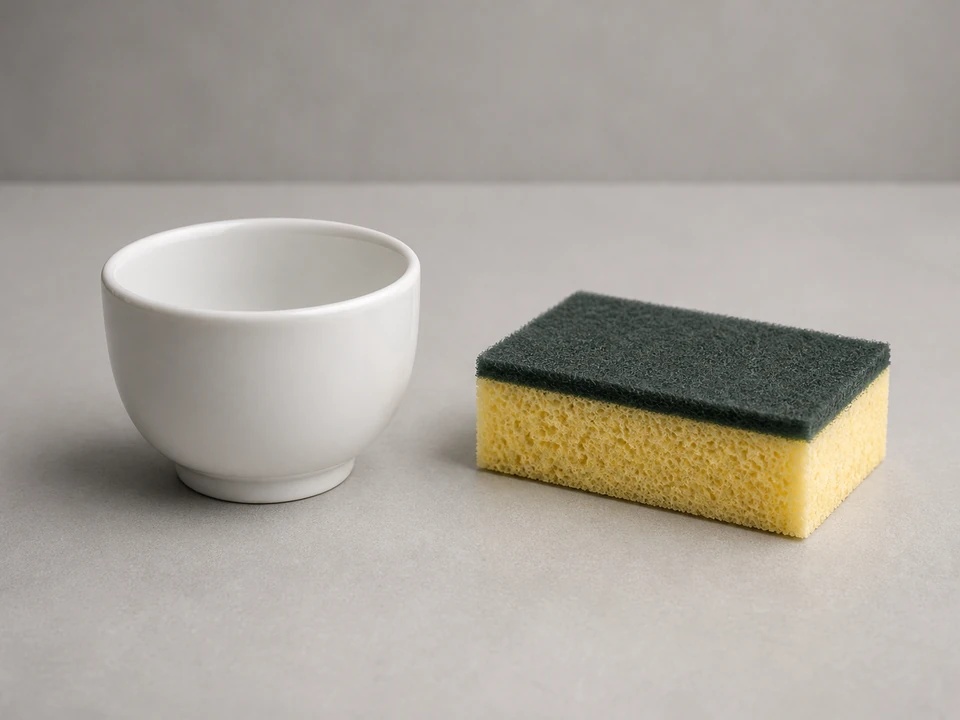
Use it for: To remove the last bit of water from the tank before lifting it off.
Shop sponges for cleanup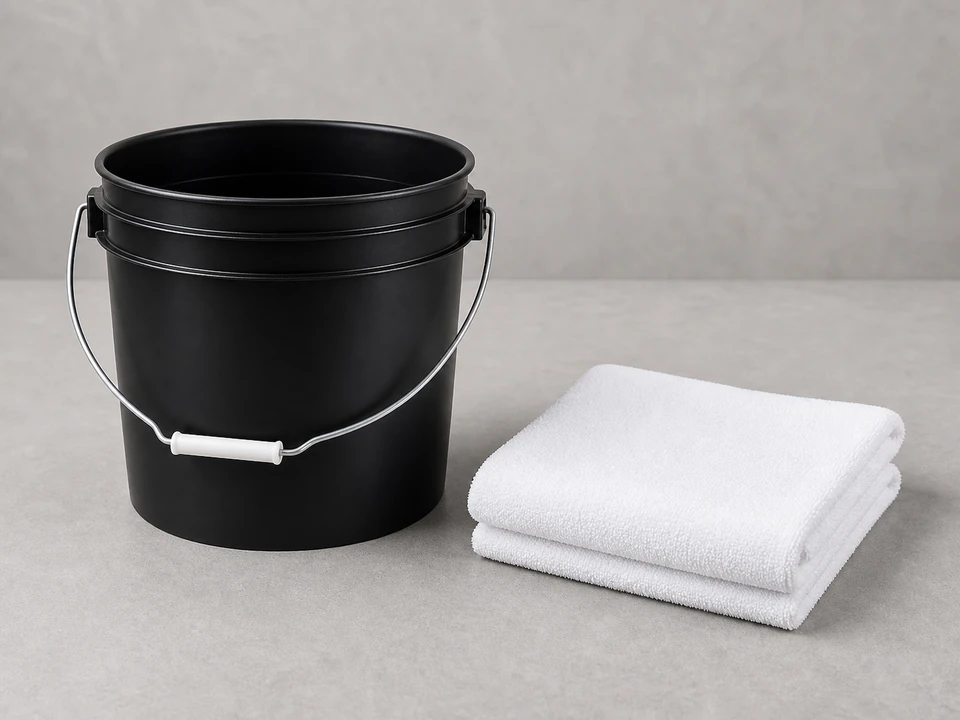
Use it for: To catch leftover water and protect the floor around the toilet.
Shop towels and cleanup cloths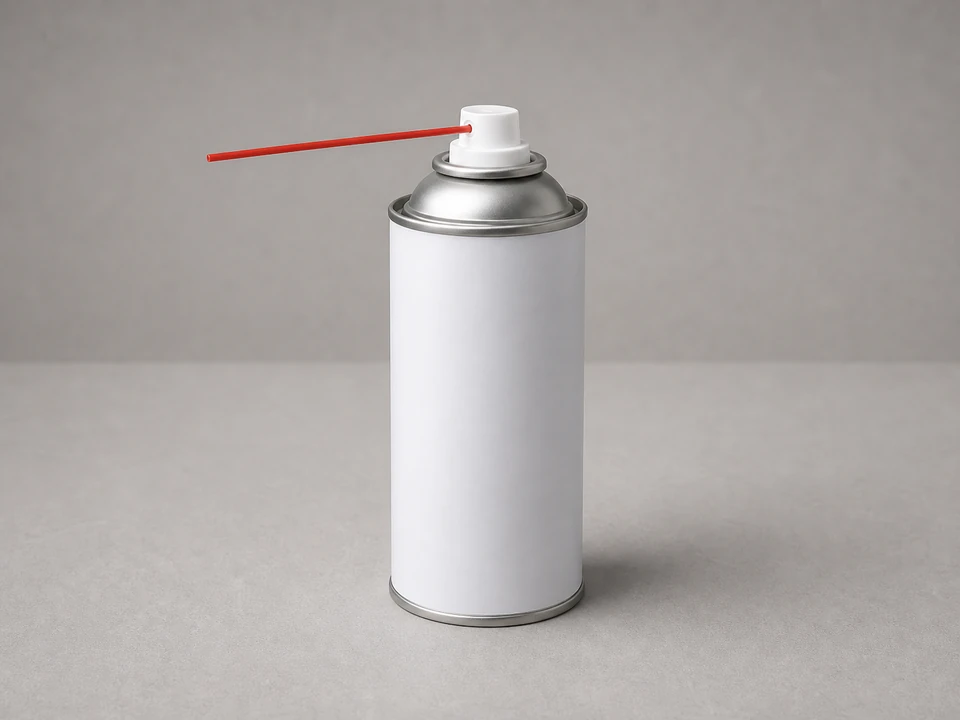
Use it for: To help free rusted or mineral-stuck nuts on older tank bolts.
Shop penetrating oilAs an Amazon Associate I earn from qualifying purchases. Repair Riot may earn a commission at no extra cost to you.
If it works: You confirmed the leak is coming from the tank bolts or their sealing washers.
If it doesn’t: If the leak is coming from the supply line, fill valve, flush valve, or a crack in the tank, fix that issue instead of replacing the tank bolt set.
If it works: The water is off and the tank is empty enough to remove safely.
If it doesn’t: If the shutoff valve does not fully stop the water, close the home's main water supply before continuing.
If it works: The tank is off and the old toilet tank bolt set has been removed.
If it doesn’t: If the nuts are badly seized, keep the tank supported and work them loose slowly rather than forcing the porcelain.
If it works: The new bolts are installed in the tank and the sealing washers are seated flat.
If it doesn’t: If the hardware stack-up in your kit is unclear, pause and follow the included diagram so the rubber washer ends up sealing against the inside of the tank.
If it works: The tank is mounted securely and evenly with the new toilet tank bolt set in place.
If it doesn’t: If the tank looks crooked, loosen the nuts slightly, re-center the tank, and tighten again in small alternating turns.
If it works: The toilet fills and flushes without leaking from the tank bolts or the tank-to-bowl connection.
If it doesn’t: If a small drip remains, recheck washer placement and tank alignment. If the leak continues after careful retightening, remove the tank and inspect for a damaged washer seat or hidden porcelain crack.
Match the replacement part to your exact toilet before ordering.
As an Amazon Associate I earn from qualifying purchases. Repair Riot may earn a commission at no extra cost to you.
Yes. Replace the full toilet tank bolt set so both sides seal the same way and tighten evenly. Mixing old and new hardware often leads to another leak soon after.
Usually no. The rubber washers are meant to make the seal. Adding sealant can make the parts seat poorly and can hide the real cause of a leak.
Tight enough to compress the washers and stop leaks, but not so tight that the porcelain is stressed. Tighten both sides gradually and evenly rather than cranking one side down at once.
The most common reasons are washer placement in the wrong order, uneven tightening, a tank that is not sitting squarely, or a hairline crack in the tank. Dry everything and watch closely during a flush to pinpoint the source.
It is better not to. Old rubber washers are often flattened or brittle, and old metal hardware may be corroded. Using the full new set gives the best chance of a lasting seal.