
Adjustable wrench
Use it for: To loosen and tighten the supply line nuts at the shutoff valve and faucet connection.
Shop adjustable wrenchesTo replace an under sink shutoff valve supply line, shut off the home water if needed, remove the old line, match the new line by length and connection size, install it without twisting, then reopen the water slowly and check for leaks.
This is usually the right repair when the flexible line is dripping at a crimp, has corrosion, kinks, or keeps leaking even after you snug the connection. If the shutoff valve body itself is leaking, the valve may need separate repair or replacement.
Before you start: Match the line length, end sizes, and connection type before ordering.
Use it for: To loosen and tighten the supply line nuts at the shutoff valve and faucet connection.
Shop adjustable wrenches
Use it for: To hold the valve body steady so you do not twist the pipe coming out of the wall.
Shop tongue and groove pliers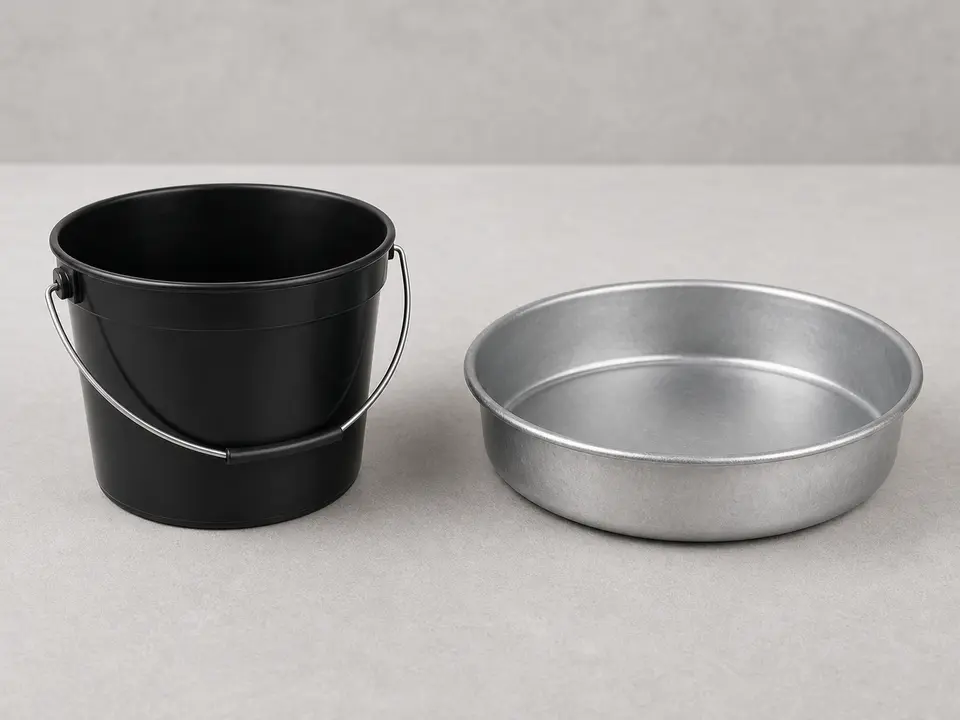
Use it for: To catch the water left in the line when you disconnect it.
Find a drain pan or bucket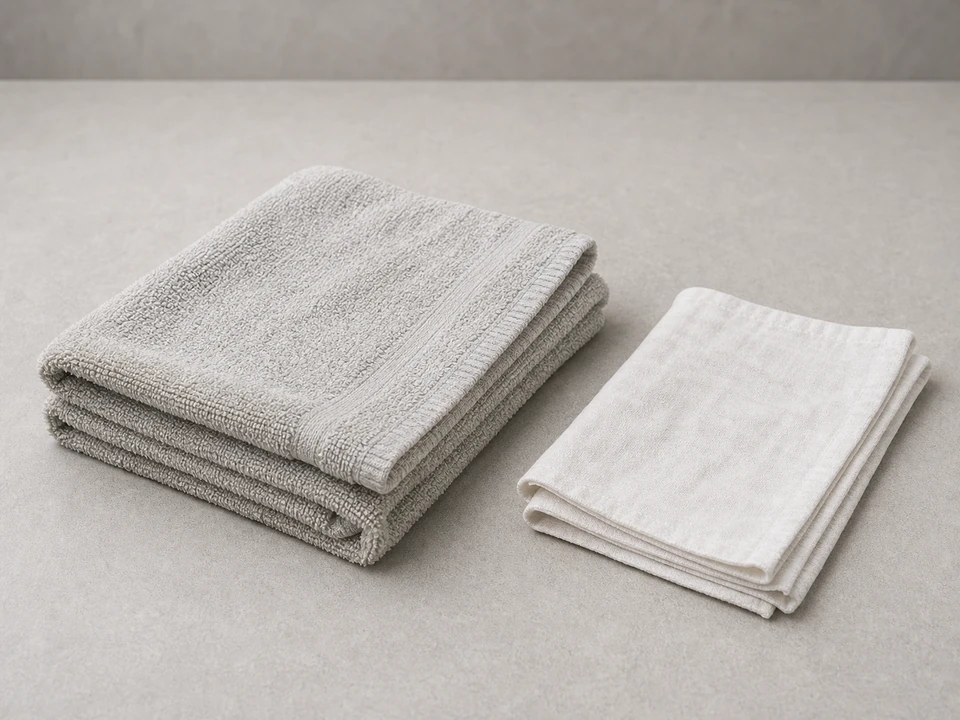
Use it for: To protect the cabinet floor and wipe fittings dry during leak checks.
Shop absorbent shop towels
Use it for: To see the back side of the valve and faucet connections under the sink.
Find a work flashlightAs an Amazon Associate I earn from qualifying purchases. Repair Riot may earn a commission at no extra cost to you.
If it works: You have confirmed the leak or damage is on the supply line or at one of its end connections.
If it doesn’t: If you cannot tell where the leak starts, wrap each area with a dry paper towel one at a time and check which one gets wet first.
If it works: Water flow has stopped or slowed to a small residual drip, and the line is safe to remove.
If it doesn’t: If water keeps running strongly from the faucet with the shutoff closed, use the main water shutoff before continuing.
If it works: The old line is off, and you know the replacement length and connection style you need.
If it doesn’t: If a nut is stuck, apply steady pressure while supporting the valve body. If it still will not move, the connection may be too corroded for a simple line swap.
If it works: The new line fits the space and both nuts thread on by hand smoothly.
If it doesn’t: If the line is too short, too long to route cleanly, or the nuts do not start easily by hand, stop and get the correct replacement.
If it works: Both ends are snug, the valve body stayed still, and the line is not twisted or kinked.
If it doesn’t: If a nut keeps turning without feeling snug, back it off and inspect the threads and fit again before reopening the water.
If it works: The line stays dry during pressurizing, while the faucet is running, and after the water sits under pressure.
If it doesn’t: If a connection seeps, gently snug that nut a little more while supporting the valve body, then dry it and test again. If it still leaks, remove the line and recheck the fit and connection type.
Match the line length, end sizes, and connection type before ordering.
As an Amazon Associate I earn from qualifying purchases. Repair Riot may earn a commission at no extra cost to you.
If the flexible line is wet along its body, leaking at a crimp, or damaged, replace the supply line. If water comes from the valve handle, valve body, or where the valve connects to the pipe at the wall, the valve is the problem.
It is better to replace it once removed, especially if it is older, kinked, corroded, or leaking. A new line is inexpensive compared with water damage from a repeat leak.
Usually no for standard supply line nuts that seal with their own built-in washer or cone-style seal. The important part is using the correct connection type and tightening it properly.
A little extra length is usually fine if the line can make a smooth bend without kinking or rubbing. Do not force a tight loop or sharp bend just to fit it in the cabinet.
The most common causes are the wrong end size, cross-threading, a damaged sealing surface, or a leak that is actually coming from the shutoff valve instead of the line.