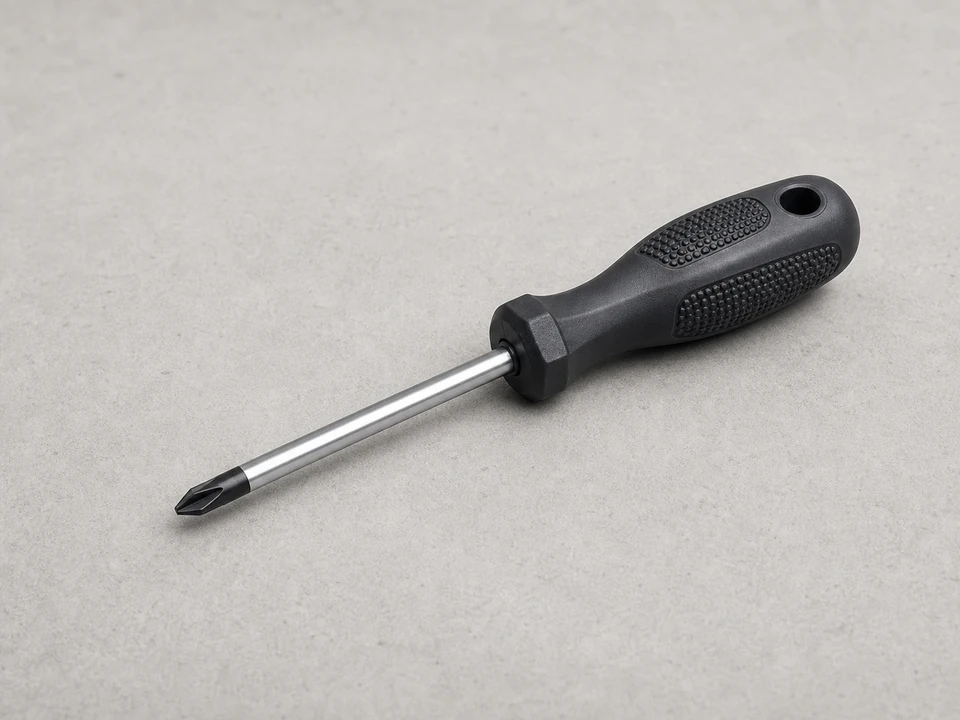
Phillips screwdriver
Use it for: Removes the screws that hold the latch or front access pieces in place.
Shop Phillips screwdriversTo replace a washer door latch assembly, unplug the washer, open the front access area around the door opening, remove the old latch, move the wire connector to the new part, reinstall it, and test a cycle to make sure the door locks and unlocks normally.
A failed door latch can keep the washer from starting, leave the door locked, or cause intermittent door errors. This repair is usually manageable for a careful homeowner because the latch sits near the door opening, but you do need to work gently around the door seal and wiring.
Before you start: Match the replacement part to your exact washer before ordering.
Use it for: Removes the screws that hold the latch or front access pieces in place.
Shop Phillips screwdrivers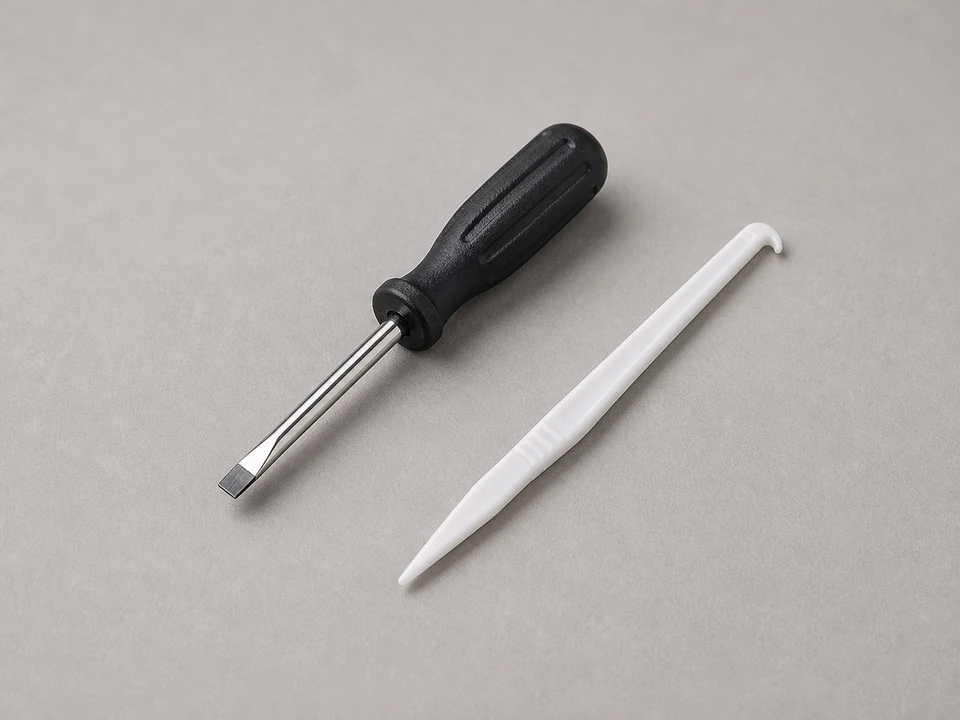
Use it for: Helps lift a spring clamp or release a wire connector tab without forcing it.
Shop small flat screwdrivers
Use it for: Useful for handling a retaining spring or guiding the latch into position.
Shop needle-nose pliers
Use it for: Protects your hands from sharp sheet-metal edges inside the cabinet.
Shop work gloves
Use it for: Lets you see the latch screws, connector, and mounting area clearly.
Shop flashlightsAs an Amazon Associate I earn from qualifying purchases. Repair Riot may earn a commission at no extra cost to you.
If it works: You have a symptom that points to the latch assembly, and the door strike and door alignment do not appear to be the main problem.
If it doesn’t: If the strike is damaged or the door is badly out of alignment, correct that issue first before replacing the latch assembly.
If it works: You can see or reach the door latch assembly and its mounting screws without forcing the door seal or cabinet.
If it doesn’t: Use a flashlight and look again for hidden screws or a retaining band before pulling harder on the seal or panel.
If it works: The old latch assembly is out, the wiring connector is undamaged, and the new part matches the old one closely.
If it doesn’t: If the connector is stuck, use a small flat screwdriver to help release the tab instead of prying on the wires.
If it works: The new latch is mounted securely, connected properly, and aligned with the door strike path.
If it doesn’t: Loosen the screws slightly and reposition the latch if the door strike does not appear to line up cleanly.
If it works: The door seal is seated evenly, the clamp is secure, and the door closes normally without rubbing.
If it doesn’t: If the seal keeps slipping out, remove the clamp and reseat the seal carefully before trying again.
If it works: The washer starts, the door locks and unlocks normally, and the machine completes the test without the original latch problem returning.
If it doesn’t: If the washer still will not sense the door correctly, recheck the connector, latch alignment, and door strike condition. If those look good, the problem may be elsewhere in the door lock circuit or control system.
Match the replacement part to your exact washer before ordering.
As an Amazon Associate I earn from qualifying purchases. Repair Riot may earn a commission at no extra cost to you.
If the door strike is broken, loose, or missing, fix that first. If the strike looks intact but the washer will not sense the door, will not lock, or keeps the door locked after the cycle, the latch assembly is a common cause.
Not always. Many washers let you reach the latch by peeling back the front edge of the door seal and removing the latch screws. Some designs use a small panel or top access instead. Use the simplest access path your washer provides.
It is better not to. An intermittent latch can stop a cycle, leave the door locked, or fail to secure the door properly during operation.
Recheck the wire connector, latch alignment, and the door strike. If those are correct, the problem may be in the wiring harness, door lock circuit, or control board rather than the latch itself.
No. If the door sags, the hinge is loose, or the front opening is bent, the strike may never meet the latch correctly. The alignment problem needs to be corrected for the new latch to work reliably.