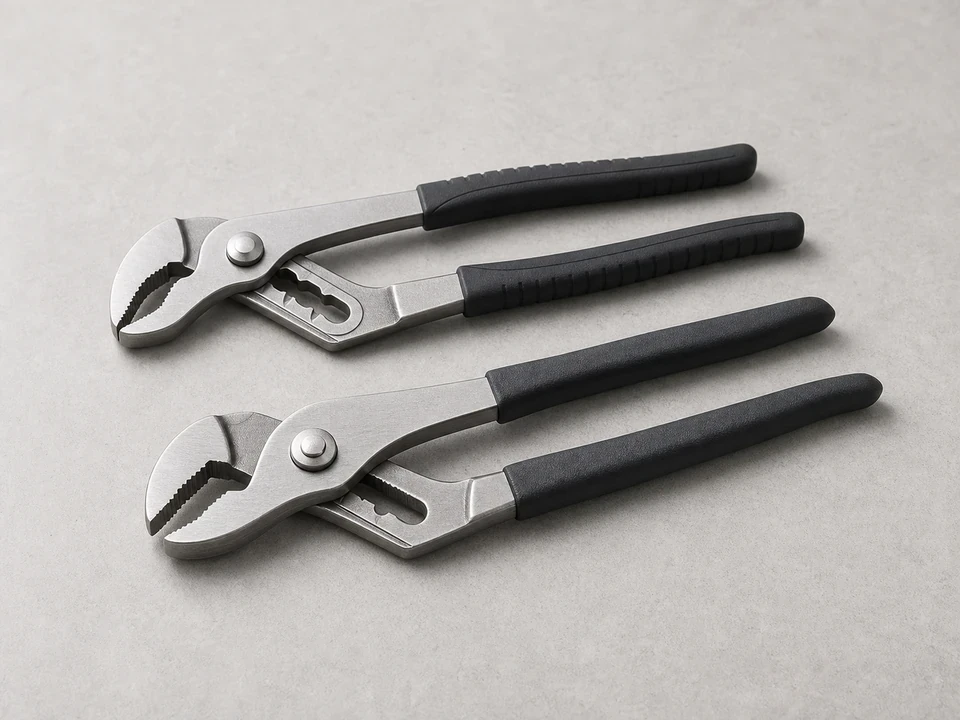
Adjustable pliers
Use it for: To loosen and snug the hose couplings without over-tightening.
Shop adjustable pliersIf your washer leaks while filling or you can see cracking, bulging, or seepage at the supply line, replacing the washer inlet hose is a straightforward fix.
This job is mostly about controlling water, working carefully behind the washer, and making sure the new hose seals cleanly at both ends. Take your time, and do a real leak check before pushing the machine back into place.
Before you start: Match the replacement part to your exact washer before ordering.
Use it for: To loosen and snug the hose couplings without over-tightening.
Shop adjustable pliers
Use it for: To catch the water left in the old hose when you disconnect it.
Shop drain pan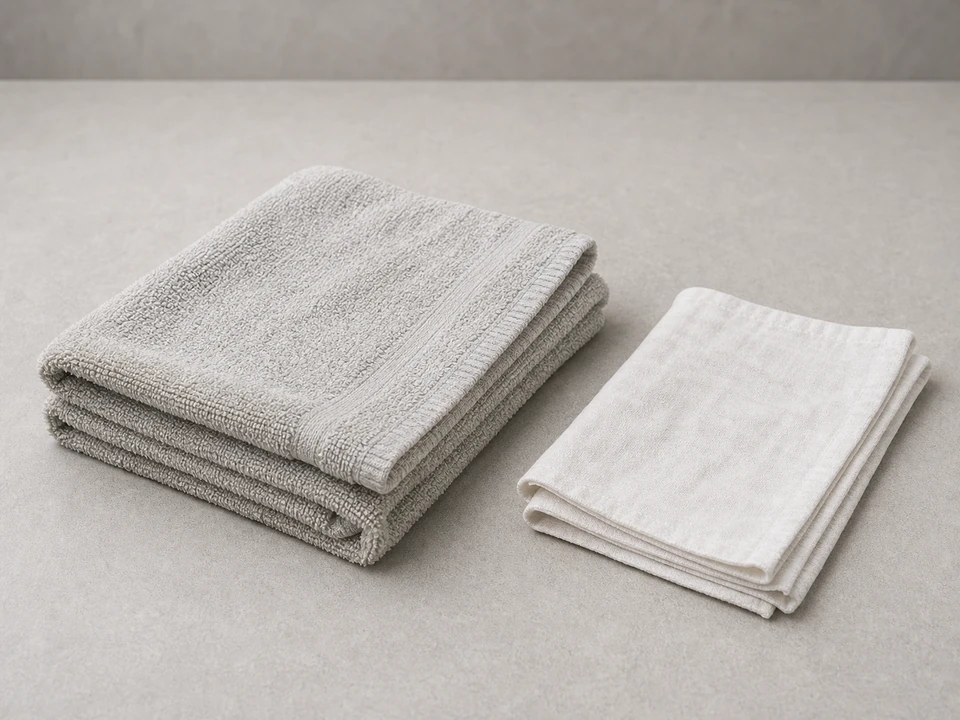
Use it for: To protect the floor and wipe up small spills.
Shop absorbent towels
Use it for: To inspect the hose connections and look for drips behind the washer.
Shop flashlights
Use it for: To protect your hands while reaching behind the washer and handling metal fittings.
Shop work glovesAs an Amazon Associate I earn from qualifying purchases. Repair Riot may earn a commission at no extra cost to you.
If it works: You have traced the leak or visible damage to the washer inlet hose or one of its end connections.
If it doesn’t: If the water is coming from the inlet valve body, internal tubing, drain hose, pump area, or the standpipe, this is the wrong repair path.
If it works: The water is off, the washer is unplugged, and the area is ready for the small amount of water left in the hose.
If it doesn’t: If a shutoff valve will not close fully, stop and address that first or have the valve repaired before disconnecting the hose.
If it works: The old hose is off and both connection points are clean and ready for the replacement.
If it doesn’t: If a coupling is stuck, apply steady pressure with pliers and support the valve so you do not twist the plumbing.
If it works: The new hose is installed squarely, both ends are snug, and the hose routing looks natural without strain.
If it doesn’t: If the coupling does not thread on easily by hand, back it off and start again to avoid cross-threading.
If it works: Both hose connections stay dry with the water turned back on and the washer still idle.
If it doesn’t: If a connection keeps seeping after a small retightening, remove the hose and check for a missing washer, debris on the sealing surface, or damaged threads.
If it works: The washer fills normally, the hose stays dry under pressure, and the floor remains dry after the machine is back in place.
If it doesn’t: If the leak is gone during fill but returns later, inspect the drain hose and standpipe next. If the leak still appears at the supply connection, recheck the hose seating and the condition of the fittings.
Match the replacement part to your exact washer before ordering.
As an Amazon Associate I earn from qualifying purchases. Repair Riot may earn a commission at no extra cost to you.
If one hose failed from age and the other is the same age and type, replacing both is often the safer move. If only one is damaged and the other is still in good condition, you can replace just the bad one.
Usually no. These hoses normally seal with a rubber washer inside the coupling, not with thread sealant on the threads.
The most common causes are a missing or crooked rubber washer, debris on the sealing surface, cross-threading, or a damaged valve or washer inlet fitting. Shut the water off and inspect the connection closely.
Hand-tight first, then a small additional snug with pliers is usually enough. Over-tightening can damage the washer or fitting and cause leaks.
It is better to use the new sealing washer that comes with the replacement hose, or a new correct-size washer if needed. Old washers can be flattened or cracked and may not seal well.