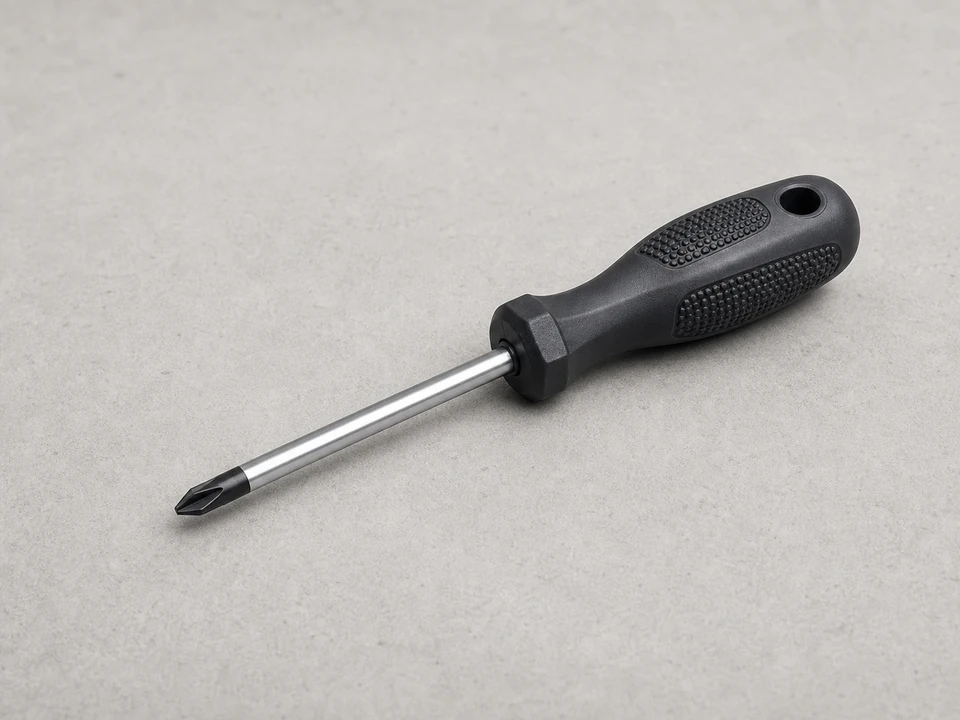
Phillips screwdriver
Use it for: To remove the control panel or top screws on many washers.
Shop Phillips screwdriversTo replace a washer water level switch, first confirm the washer is overfilling, underfilling, or not sensing water level correctly, then unplug the washer, open the control area, move the wires and pressure tube to the new switch one at a time, reinstall it, and run a fill test.
The water level switch tells the washer when enough water has entered the tub. If it sticks, loses its pressure signal, or fails internally, the washer may keep filling, stop too soon, or act erratically during the cycle. This is a manageable repair for many homeowners as long as you work with the washer unplugged and pay attention to the wire and hose connections.
Before you start: Match the washer brand and model, terminal layout, mounting style, and pressure hose connection before ordering.
Use it for: To remove the control panel or top screws on many washers.
Shop Phillips screwdrivers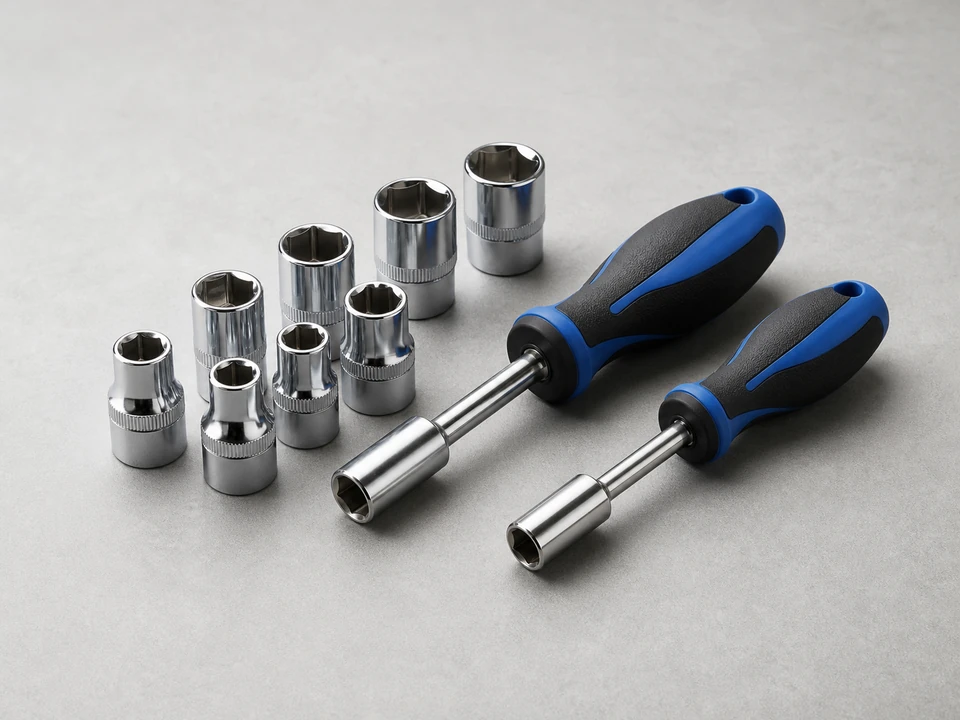
Use it for: Some washers use hex-head screws instead of standard screws.
Shop nut driver sets
Use it for: To pull wire terminals and release small hose clamps without damaging them.
Shop needle-nose pliers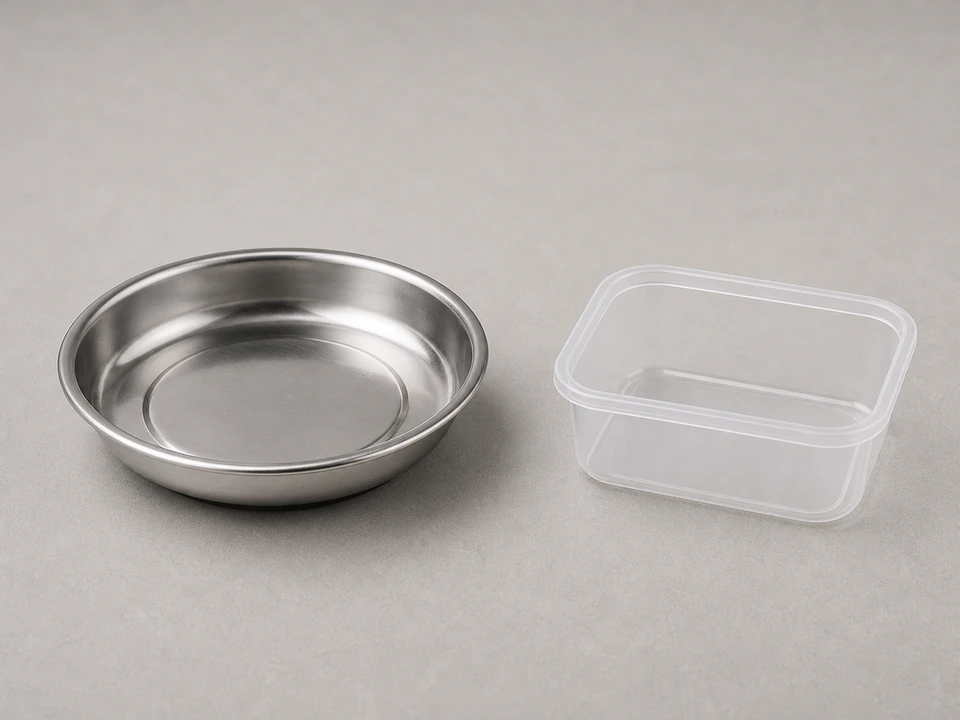
Use it for: To keep screws and clips from getting lost during the repair.
Shop magnetic parts trays
Use it for: To protect your hands from sharp sheet-metal edges inside the cabinet.
Shop work glovesAs an Amazon Associate I earn from qualifying purchases. Repair Riot may earn a commission at no extra cost to you.
If it works: You have a symptom pattern that fits a failed washer water level switch or its pressure connection.
If it doesn’t: If the washer will not fill at all, has no power, or keeps taking in water even when unplugged, troubleshoot the inlet valve, power supply, or controls before replacing the switch.
If it works: The washer is unplugged and the water level switch is exposed.
If it doesn’t: If you cannot access the control area from the top or console, look for hidden screws at the back or under trim caps and reopen the panel gently rather than forcing it.
If it works: You know exactly how the old switch is connected and are ready to transfer the connections correctly.
If it doesn’t: If the wiring or hose routing is confusing, take more photos from different angles before removing the old switch.
If it works: The old switch is out and the new switch matches the mounting, terminals, and hose connection.
If it doesn’t: If the new part does not match the old one closely, pause and verify the replacement using your washer model number before installing it.
If it works: The new switch is mounted securely with the hose and wires reconnected correctly.
If it doesn’t: If a terminal feels loose, remove it and gently tighten the connector before reinstalling so it grips the switch tab firmly.
If it works: The washer fills to the proper level, stops taking in water, and continues the cycle normally.
If it doesn’t: If the washer still overfills, underfills, or behaves the same way, recheck the pressure tube for leaks or blockage and confirm the replacement switch is correct. If those check out, the problem may be the inlet valve, wiring, or main control.
Match the washer brand and model, terminal layout, mounting style, and pressure hose connection before ordering.
As an Amazon Associate I earn from qualifying purchases. Repair Riot may earn a commission at no extra cost to you.
It senses water level in the tub through air pressure in a small tube and tells the washer when to stop filling and move to the next part of the cycle.
Yes. If the tube is blocked, cracked, or loose, the switch may get the wrong pressure signal and the washer can overfill, underfill, or fail to advance correctly.
Usually no, because this repair is done in the control area and does not normally require disconnecting the fill hoses. You still need to unplug the washer first.
The pressure tube may still be leaking or blocked, the replacement switch may be incorrect, or the water inlet valve may be stuck open. If water continues entering even with the washer unplugged, suspect the inlet valve first.
For many homeowners it is a moderate repair. The main challenge is opening the control area safely and reconnecting the wires and pressure tube exactly as they were.