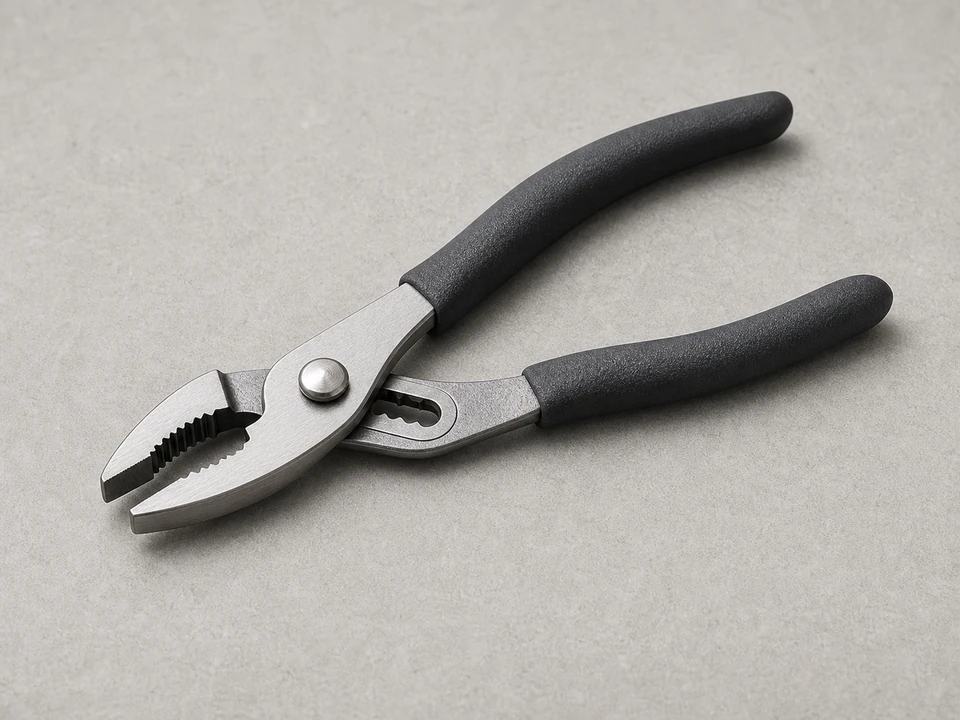
Slip joint pliers
Use it for: To loosen a stuck aerator without much force.
Shop slip-joint pliersTo replace a water faucet aerator, unscrew the old aerator from the faucet tip, match the replacement by thread type and size, then install the new aerator hand-tight and test the flow.
A clogged or damaged aerator is a common reason for weak water flow, sputtering, or a messy spray pattern at one faucet. This is usually a quick repair, but it helps to confirm the problem is only at that faucet before you swap the part.
Before you start: Match the thread size, thread type, and faucet compatibility before ordering.
Use it for: To loosen a stuck aerator without much force.
Shop slip-joint pliers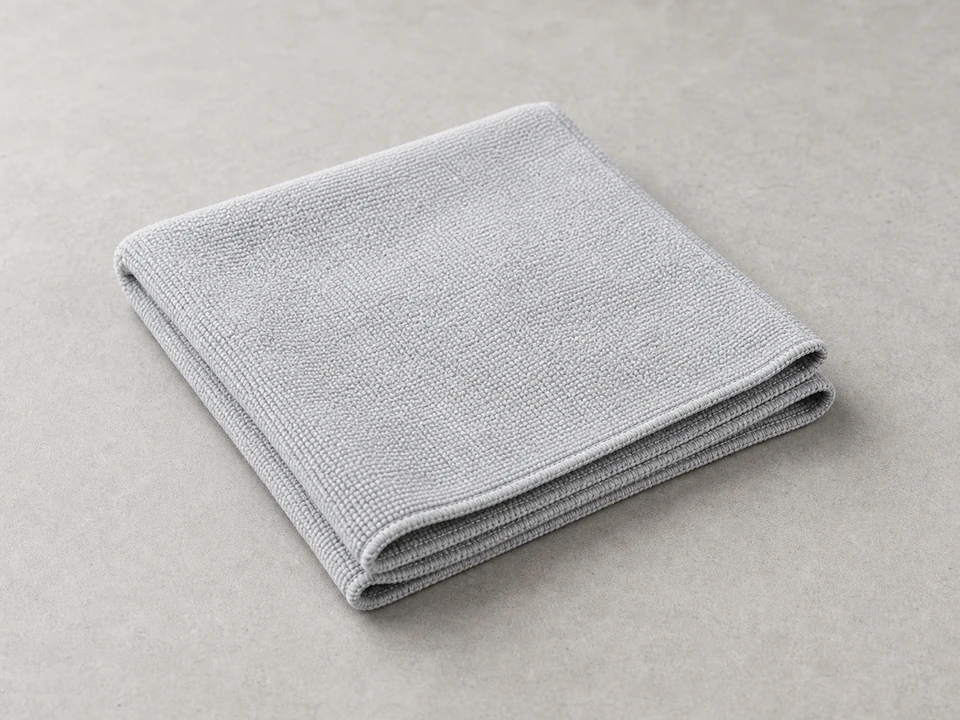
Use it for: To protect the faucet finish while loosening or tightening the aerator.
Shop rubber jar grippers
Use it for: To hold the old aerator pieces so you can compare them to the replacement.
Shop small parts bowls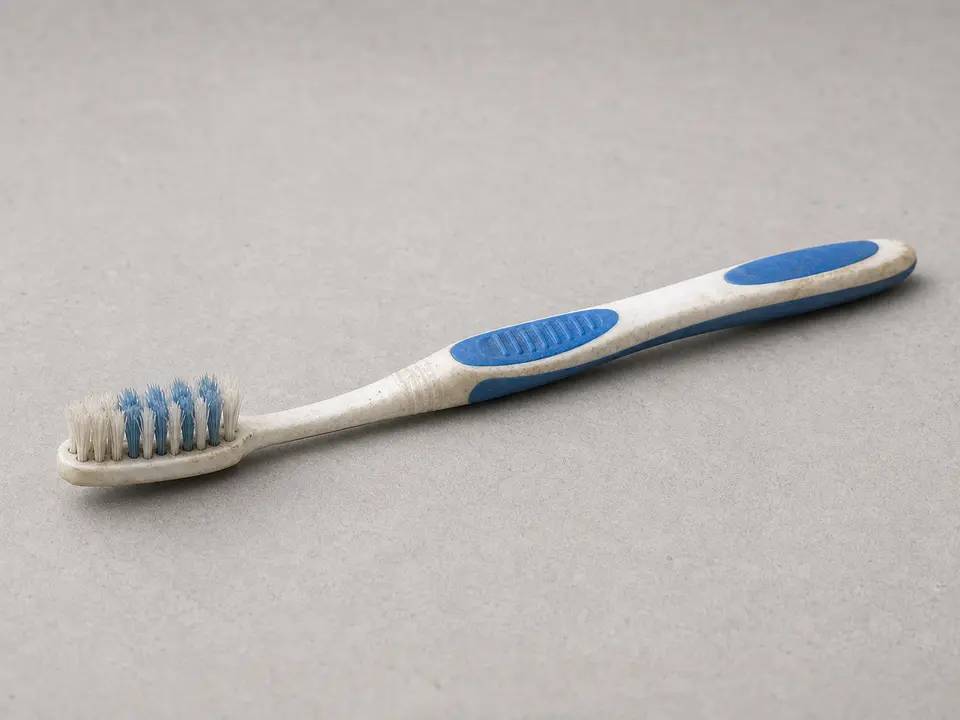
Use it for: To clean mineral buildup from the faucet threads before installing the new aerator.
Shop cleaning toothbrushesAs an Amazon Associate I earn from qualifying purchases. Repair Riot may earn a commission at no extra cost to you.
If it works: You have a faucet-specific flow problem that points to a clogged or damaged aerator.
If it doesn’t: If several fixtures have low pressure, troubleshoot the broader water supply issue before replacing the aerator.
If it works: The old aerator is off the faucet and the parts are saved for comparison.
If it doesn’t: If it will not budge, apply a little more steady pressure with protected pliers and avoid twisting the faucet spout itself.
If it works: You have a replacement aerator that matches the old one closely enough to install without forcing it.
If it doesn’t: If the new aerator does not start easily by hand or the size looks off, exchange it for the correct thread type and size.
If it works: The faucet tip is clean and ready for the new aerator.
If it doesn’t: If buildup is still blocking the outlet, keep cleaning until the threads and seating surface are clear.
If it works: The new aerator is installed straight and seated snugly at the faucet tip.
If it doesn’t: If it feels crooked or binds after a partial turn, remove it and start again by hand to avoid cross-threading.
If it works: The faucet has steadier flow, cleaner spray, and no leaking around the aerator after repeated use.
If it doesn’t: If flow is still poor, remove the aerator and recheck for the wrong fit, trapped debris, or a larger faucet or supply problem.
Match the thread size, thread type, and faucet compatibility before ordering.
As an Amazon Associate I earn from qualifying purchases. Repair Riot may earn a commission at no extra cost to you.
If only one faucet has weak flow or a messy spray pattern, the aerator is a common cause. If several fixtures are affected, the problem is probably elsewhere in the plumbing system.
Sometimes, yes. If the screen is only clogged with debris or mineral buildup, cleaning may help. Replace it if the screen is damaged, the housing is corroded, or cleaning does not restore normal flow.
The most common reasons are the wrong thread type, the wrong size, or cross-threading. Stop and compare the old and new parts closely before forcing anything.
Usually no. Most aerators should start and tighten by hand. Pliers are mainly for a stuck old aerator or a very light final snug, always with a cloth to protect the finish.
Recheck for debris trapped behind the new aerator or damage at the faucet tip. If the problem affects more than one fixture, look for a larger water pressure or supply issue instead.