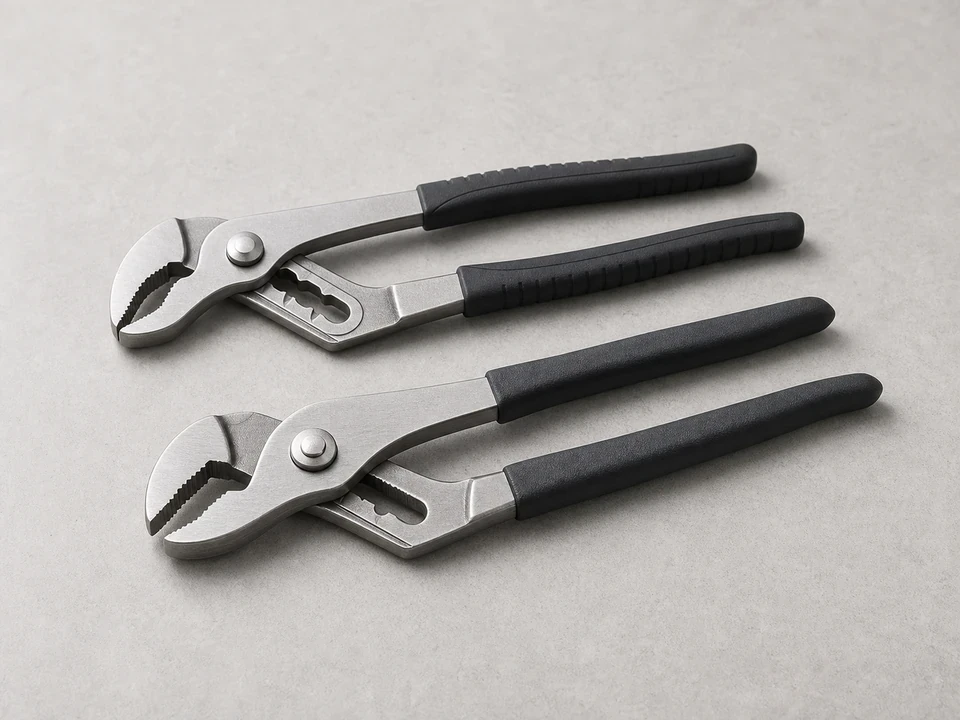
Adjustable pliers
Use it for: To loosen a stuck old cap or snug the new one gently without over-tightening.
Shop adjustable pliersIf your water heater is dripping from the drain valve outlet and the valve itself still closes, replacing the outlet cap is a simple way to add a secondary seal.
This repair is usually quick because you are only replacing the cap on the end of the drain valve, not the whole valve. The key is making sure the leak is coming from the outlet threads and not from a cracked valve body or a drain valve that will not shut off.
Before you start: Match the cap thread size to the drain valve outlet and choose one with a sealing washer or gasket. Most caps thread onto standard hose style drain outlets, but confirm before ordering.
Use it for: To loosen a stuck old cap or snug the new one gently without over-tightening.
Shop adjustable pliers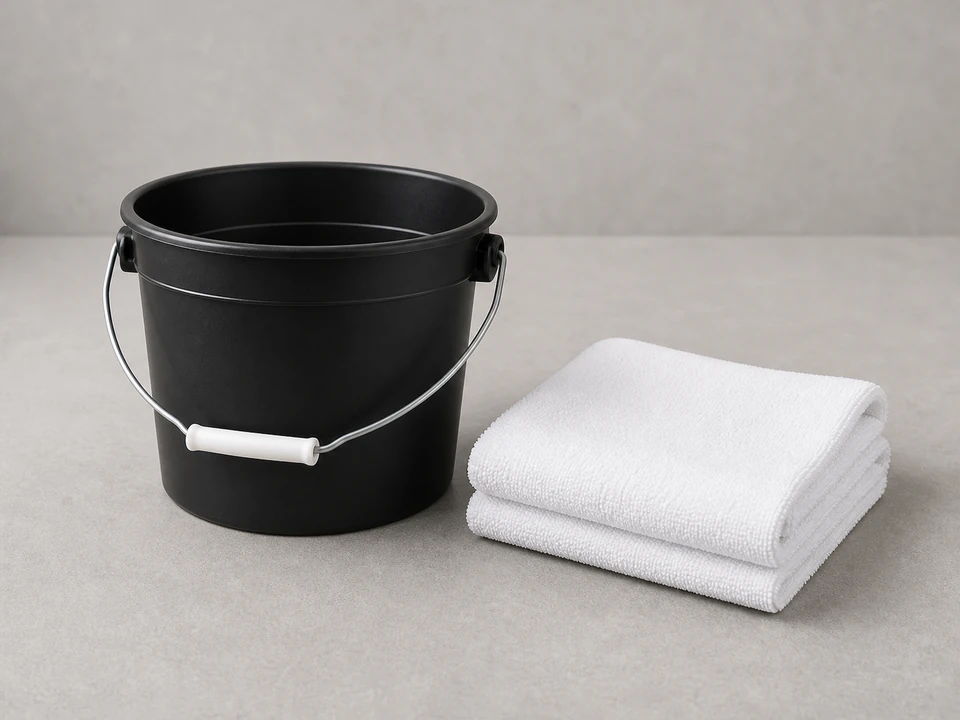
Use it for: To catch the small amount of water that may drip when the old cap comes off.
Shop utility towels
Use it for: To see whether the leak is coming from the cap, the valve body, or higher up on the tank.
Shop flashlights
Use it for: This is the new sealing cap that threads onto the drain valve outlet.
Find a replacement drain valve capAs an Amazon Associate I earn from qualifying purchases. Repair Riot may earn a commission at no extra cost to you.
If it works: You have confirmed the drip is coming from the drain outlet cap area and replacing the cap makes sense.
If it doesn’t: If water is leaking from the valve body or the valve will not close fully, the drain valve itself is the better repair path.
If it works: The area is protected and you are ready to remove the old cap with only a small amount of dripping expected.
If it doesn’t: If the water at the heater is too hot to work around safely, give the tank more time to cool before continuing.
If it works: The old cap is off and the outlet threads are clean enough for the new cap to seal.
If it doesn’t: If the cap will not come off cleanly, work it back and forth gently instead of forcing it all at once.
If it works: The new cap is seated squarely and feels snug without straining the valve.
If it doesn’t: If the cap will not thread on smoothly by hand, remove it and start again to avoid cross-threading.
If it works: The outlet stays dry and the new cap is sealing the drain outlet.
If it doesn’t: If a drip continues after a careful slight tightening, the washer may not be seated correctly or the drain valve itself may be leaking past the cap.
If it works: The cap stays dry during real use, so the repair held.
If it doesn’t: If the area gets wet again, the drain valve may not be sealing internally and replacing the full drain valve is the next likely repair.
Match the cap thread size to the drain valve outlet and choose one with a sealing washer or gasket. Most caps thread onto standard hose style drain outlets, but confirm before ordering.
As an Amazon Associate I earn from qualifying purchases. Repair Riot may earn a commission at no extra cost to you.
No. It helps when the leak is coming from the end of the drain outlet or from a bad cap washer. If the valve body is cracked or the valve does not shut off internally, the full drain valve is the real repair.
Usually no. For a simple cap replacement, you are only removing the cap at the outlet, so you normally see just a small amount of water if the valve is closed properly.
Most outlet caps seal with a washer inside the cap, not with thread sealant. A good washer and the correct cap size matter more than tape here.
The new cap may be cross-threaded, the washer may be out of place, the outlet threads may be damaged, or the drain valve may be leaking internally past the closed valve.
Yes, but only lightly. Start it by hand first, then use pliers just enough to snug it. Too much force can crack a plastic valve or damage the cap.