
Adjustable wrench
Use it for: To loosen and tighten the old and new valve or nearby fittings.
Shop adjustable wrenchesIf the T&P relief valve is dripping from the valve body, won’t reseat, or leaks after basic flushing, replacing the water heater T&P relief valve is the usual fix.
This is a moderate repair because the tank is pressurized and the water can be hot. Work only after the heater is shut down, pressure is relieved, and the tank has cooled enough to handle safely.
Before you start: Match the valve size, pressure and temperature rating, probe length if used, and connection style to your water heater before ordering.
Use it for: To loosen and tighten the old and new valve or nearby fittings.
Shop adjustable wrenches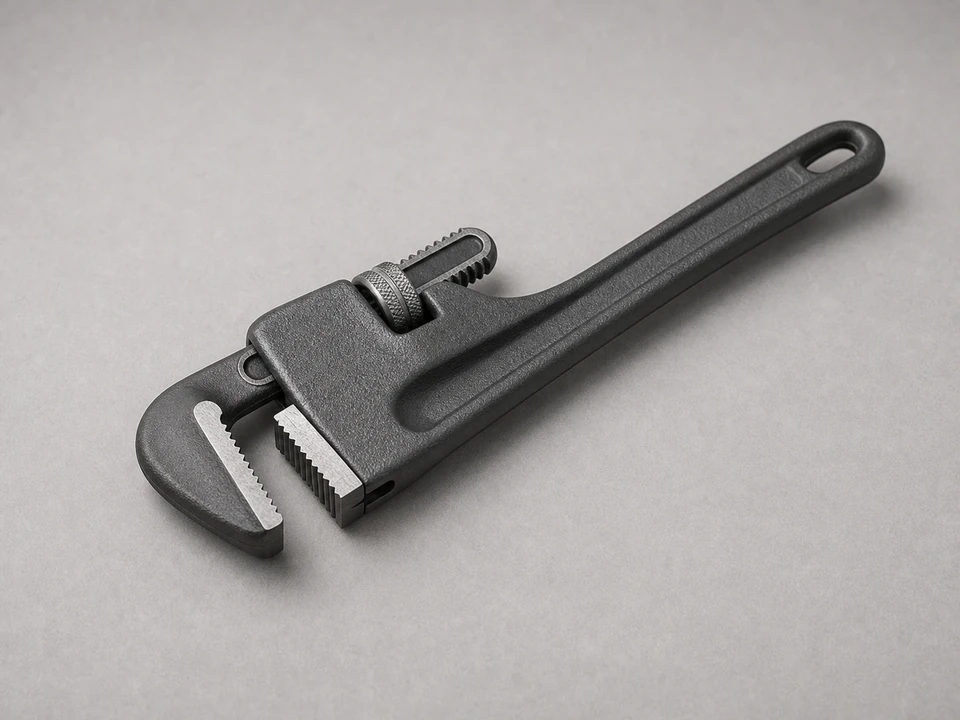
Use it for: To turn a stubborn threaded relief valve without rounding it off.
Shop pipe wrenches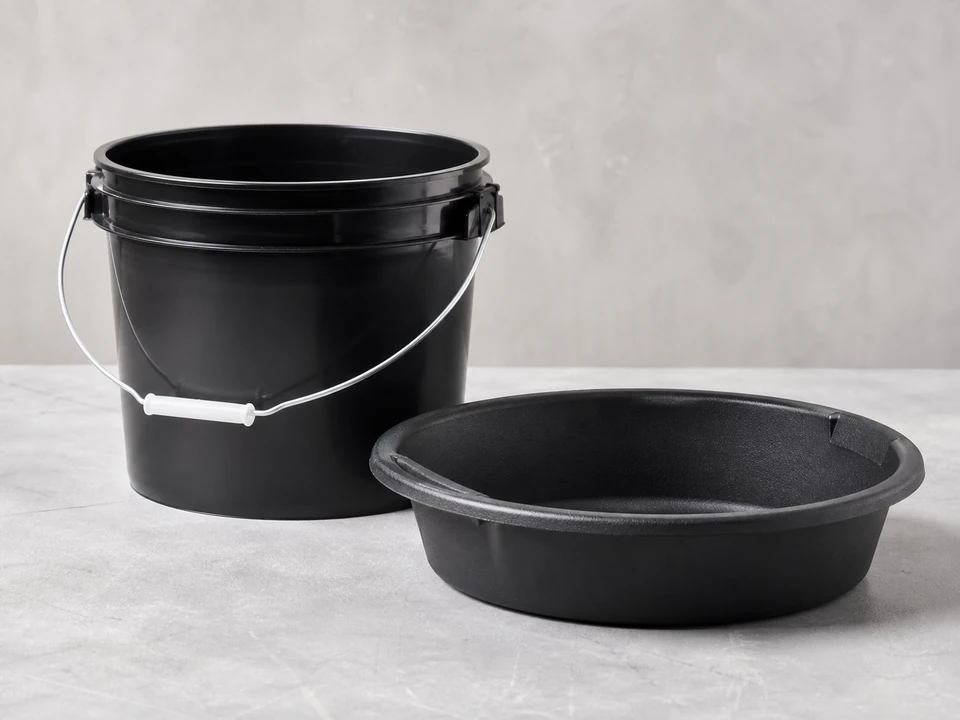
Use it for: To catch water when you drain pressure and remove the old valve.
Shop buckets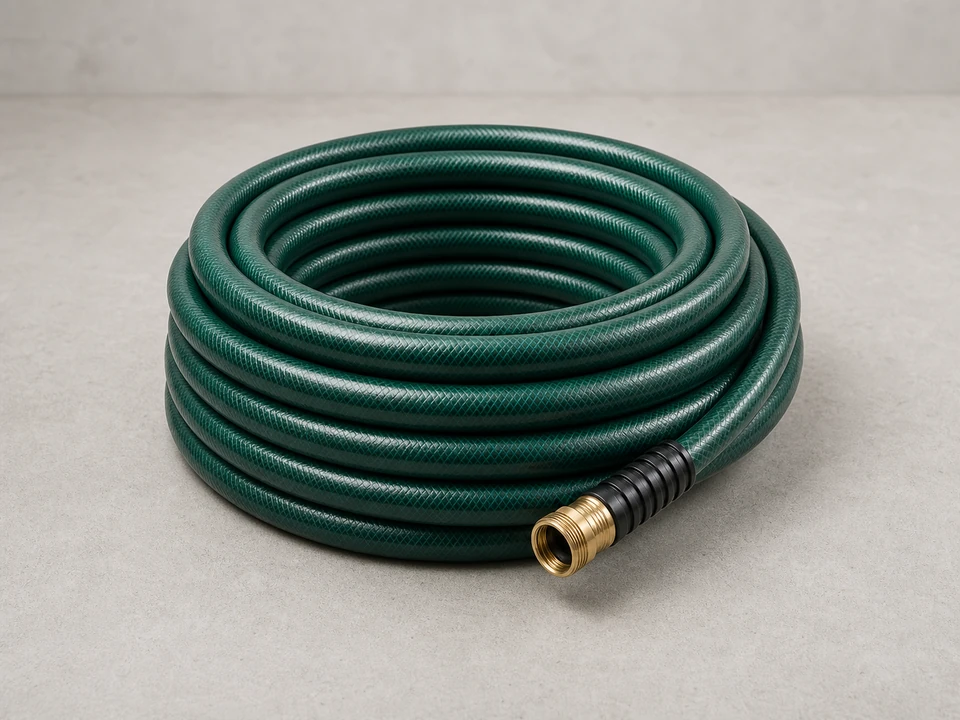
Use it for: To drain a little water from the tank to lower the water level below the valve opening.
Shop garden hoses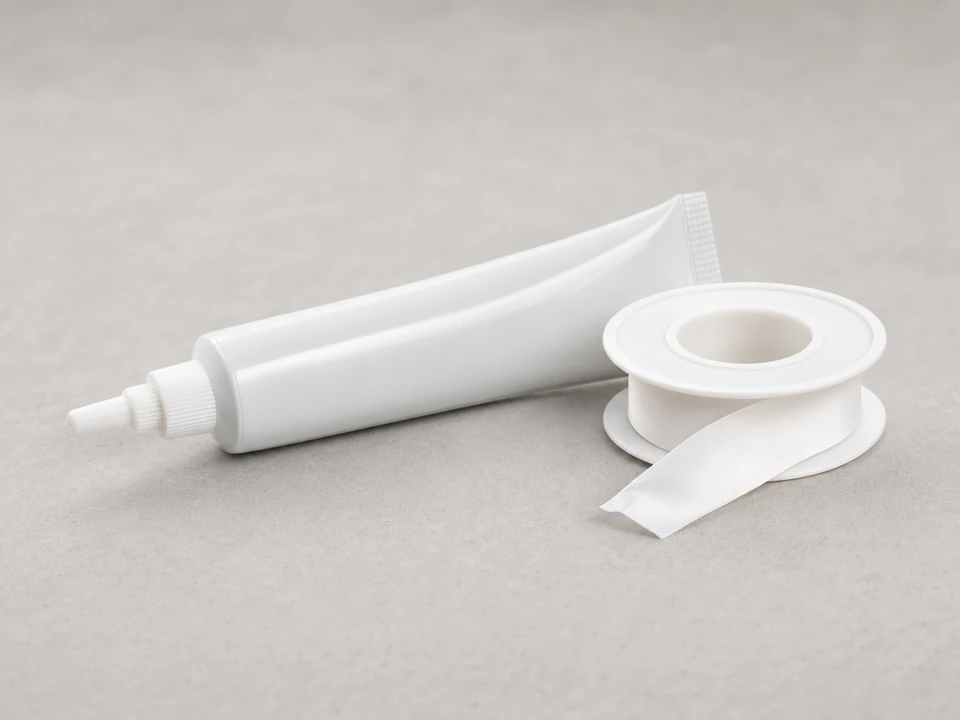
Use it for: To seal the new valve threads if the replacement instructions call for it.
Shop pipe thread sealant
Use it for: To protect your hands from hot fittings and sharp edges.
Shop work glovesAs an Amazon Associate I earn from qualifying purchases. Repair Riot may earn a commission at no extra cost to you.
If it works: You have confirmed the leak is centered at the T&P relief valve and not from the tank body or another fitting.
If it doesn’t: If the leak is coming from a nearby pipe joint, drain valve, or the tank seam, fix that issue instead or have the heater inspected.
If it works: The heater is off, incoming water is shut off, pressure is relieved, and the water level is below the relief valve.
If it doesn’t: If water keeps flowing strongly from the hot faucet or drain and will not slow down, the cold supply valve may not be closing fully.
If it works: The old relief valve is out and the tank opening is accessible and intact.
If it doesn’t: If the valve is badly seized, apply steady pressure with the correct wrench and avoid twisting connected piping.
If it works: The new relief valve is installed securely and the discharge pipe is reconnected without stress or blockage.
If it doesn’t: If the valve will not thread in smoothly by hand, back it out and realign it before tightening.
If it works: The tank is full, air is purged, and the heater is back in service without visible leaks at the new valve.
If it doesn’t: If you see seepage at the valve threads, shut the heater back down, relieve pressure again, and retighten or reseal the connection.
If it works: The valve stays dry in normal use and the original leak is gone.
If it doesn’t: If the new valve still opens or drips during heating, the heater may have excess pressure or overheating that needs further diagnosis.
Match the valve size, pressure and temperature rating, probe length if used, and connection style to your water heater before ordering.
As an Amazon Associate I earn from qualifying purchases. Repair Riot may earn a commission at no extra cost to you.
Usually yes. You only need to lower the water level below the valve opening and relieve pressure first. The exact amount depends on where the valve sits on the tank.
A new valve that still drips may be reacting to excess pressure, overheating, debris in the seat, or a poor thread seal. If the valve is discharging during heating, the problem may be beyond the valve itself.
Use the sealing method allowed by the replacement valve instructions. Many threaded valves are installed with a suitable thread sealant, but you should follow the part guidance and avoid getting sealant inside the valve.
You can if it is the correct type, undamaged, and reconnects without strain or blockage. If it is cracked, corroded, or does not fit the new valve properly, replace it.
Only if the heater is cool enough and the discharge path is in place. A valve that leaks after testing and will not reseat is a common sign that replacement is needed.