
Tape measure
Use it for: To measure the old trim and cut the replacement to length.
Shop tape measuresTo replace window head trim coil, first confirm the top trim above the window is bent, loose, rusted, or letting water behind it. Then remove the damaged coil carefully, cut and bend a matching replacement, fasten it without trapping water, and test that water sheds away from the window.
This is a manageable repair if the damage is limited to the metal wrap above the window and the wood behind it is still sound. Work from a stable ladder, take your time with measurements, and stop if you uncover rot or water damage behind the trim.
Before you start: Match the replacement part to your exact siding flashing before ordering.
Use it for: To measure the old trim and cut the replacement to length.
Shop tape measures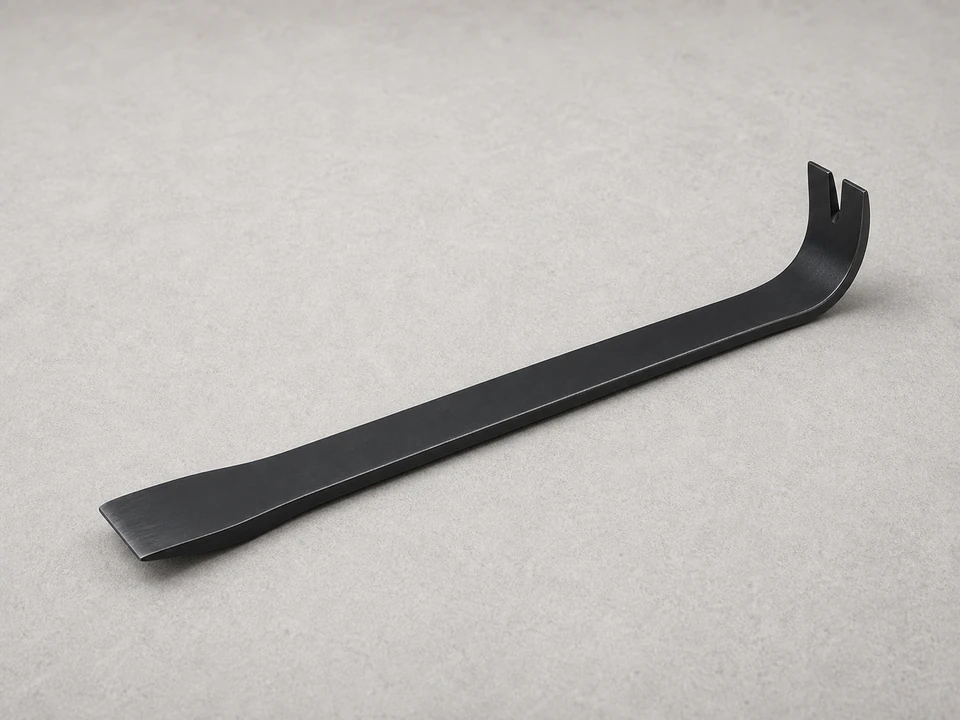
Use it for: To lift trim edges and remove fasteners without tearing up surrounding material.
Shop flat pry bars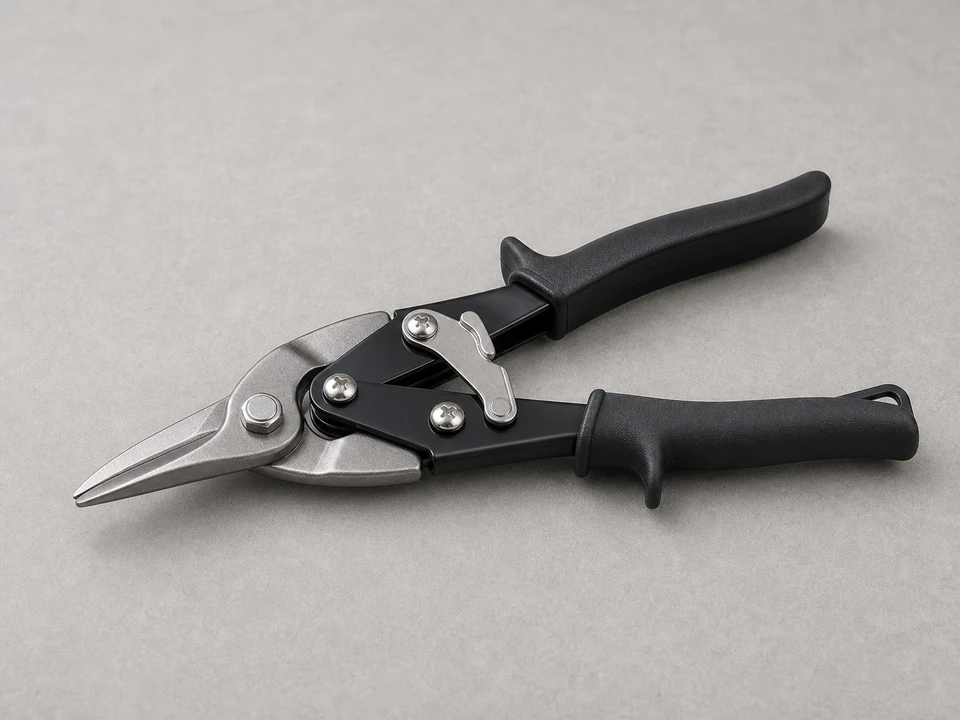
Use it for: To cut the new trim coil cleanly.
Shop tin snips
Use it for: To bend the replacement coil to match the original profile.
Shop hand seamers for trim coil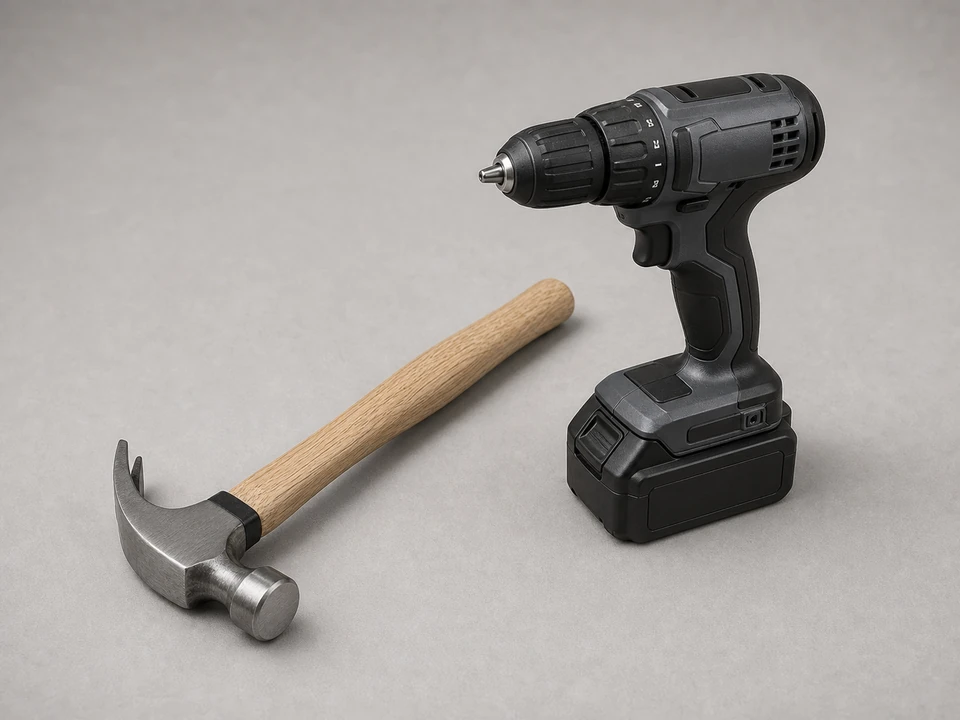
Use it for: To remove and install trim fasteners.
Shop hammer and drill drivers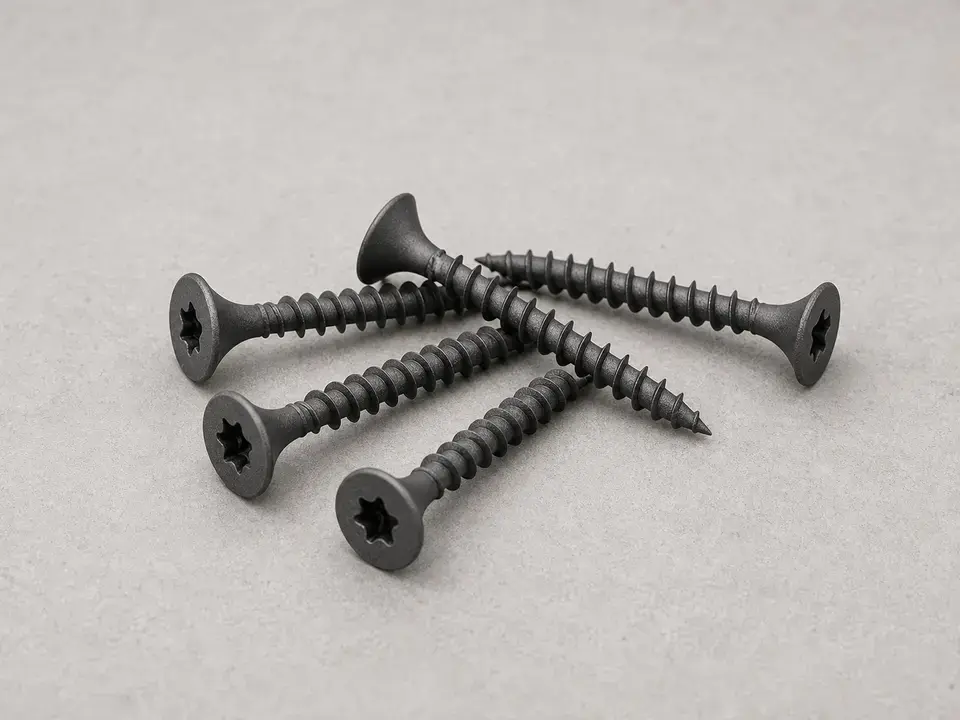
Use it for: To secure the new head trim coil.
Shop exterior trim fasteners
Use it for: To seal small joints only where the original detail called for it.
Shop exterior sealantAs an Amazon Associate I earn from qualifying purchases. Repair Riot may earn a commission at no extra cost to you.
If it works: You have confirmed the metal wrap above the window is damaged and the surrounding structure appears solid enough for a trim-coil replacement.
If it doesn’t: If the trim looks intact, trace the leak source higher up the wall, at the siding joints, or at the roof and gutter area before replacing this part.
If it works: The damaged head trim coil is off, and the area is clean enough to measure and fit the replacement.
If it doesn’t: If the trim will not release, look again for hidden fasteners or sealant holding it in place instead of forcing it and damaging the window or siding.
If it works: You have a replacement head trim coil that matches the original size and shape closely enough to shed water properly.
If it doesn’t: If the fit is off, rebend or recut the piece before fastening it. A poor fit usually leads to gaps, oil-canning, or trapped water.
If it works: The new head trim coil is secure, straight, and shaped to direct water away from the window.
If it doesn’t: If the trim ripples or rocks, back out the fasteners, adjust the bend, and refit it before tightening again.
If it works: The repair looks clean, the trim sits properly, and the water-shedding shape is intact.
If it doesn’t: If water could sit behind the trim or run inward at a joint, correct the bend or overlap now before testing.
If it works: Water sheds cleanly away from the window, the trim stays secure, and no new moisture shows up inside.
If it doesn’t: If water still gets in, the leak source may be higher in the wall or behind the siding, and the repair needs a broader flashing inspection.
Match the replacement part to your exact siding flashing before ordering.
As an Amazon Associate I earn from qualifying purchases. Repair Riot may earn a commission at no extra cost to you.
It wraps and protects the top trim area above the window and helps shed water away from the wall opening.
Yes, if the rest of the trim is sound and you can maintain the correct overlap and water-shedding direction. If the surrounding trim is loose or corroded, replacing the full piece is usually cleaner.
No. The trim should mainly rely on proper overlap and shape to shed water. Use sealant only where small side joints or cut ends originally needed it, and do not seal the bottom drip edge shut.
Stop and repair the damaged wood and any hidden water-entry problem before installing new trim coil. New metal over rotten backing will not hold or stop the leak for long.
For small repairs, a hand seamer can work if the bends are simple. For longer, cleaner bends, a brake makes it much easier to match the original profile.