
Tape measure
Use it for: To measure each trim section and add enough material for bends and overlap.
Shop tape measuresTo replace window trim coil, remove the damaged coil without tearing up the wall, measure each side carefully, bend new coil to match the window trim profile, fasten it neatly, and seal only where the original detail calls for it so water can still drain.
This repair is usually worth doing when the coil is bent, loose, cut through, or letting water get behind the trim. Work slowly around the window so the new coil looks clean and still sheds water instead of trapping it.
Before you start: Match the replacement part to your exact siding flashing before ordering.
Use it for: To measure each trim section and add enough material for bends and overlap.
Shop tape measures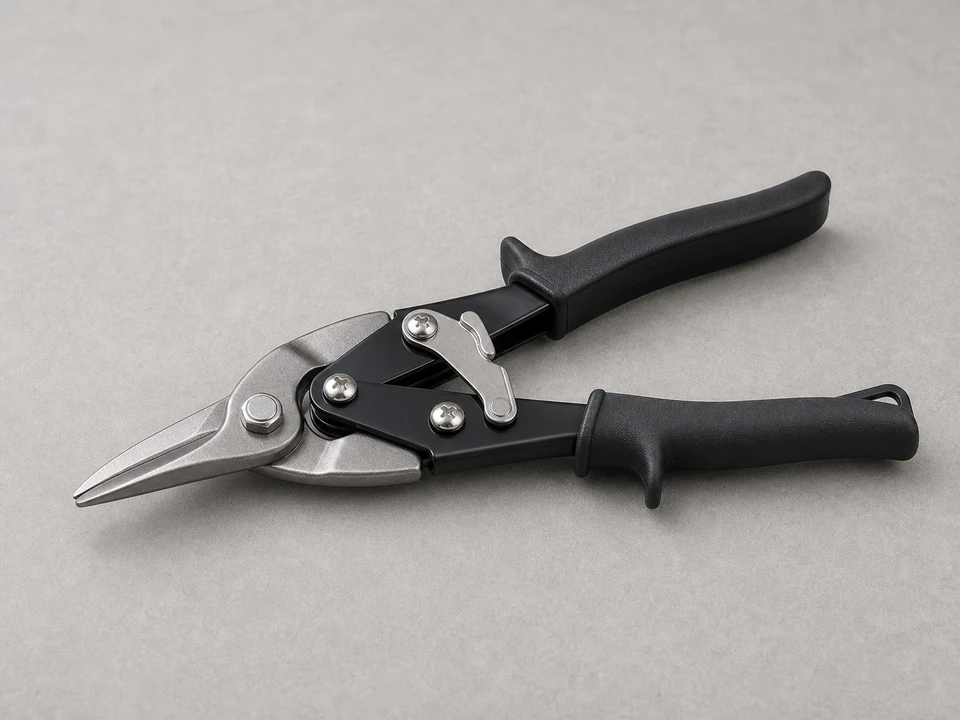
Use it for: To cut the new trim coil cleanly to length.
Shop tin snips
Use it for: To bend the coil into a neat trim shape that fits the window.
Shop metal bending tools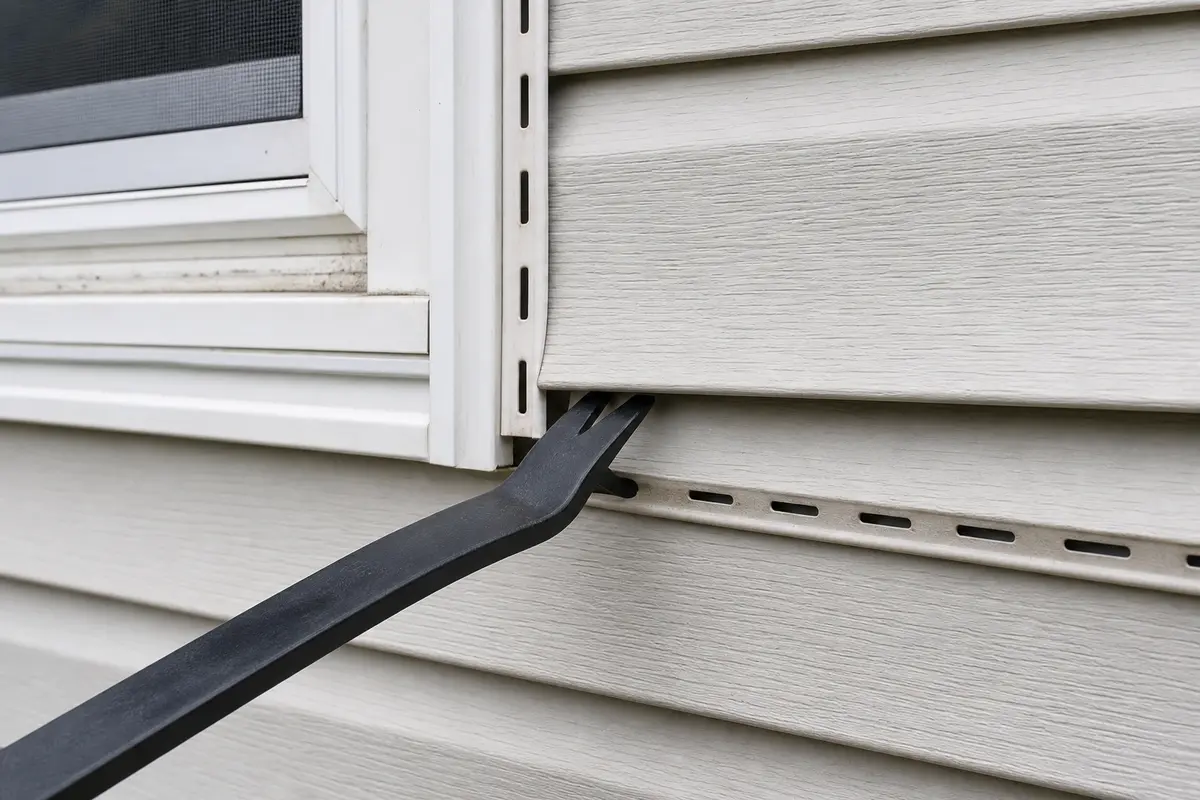
Use it for: To lift trim edges and remove old fasteners with less damage.
Shop siding and trim removal tools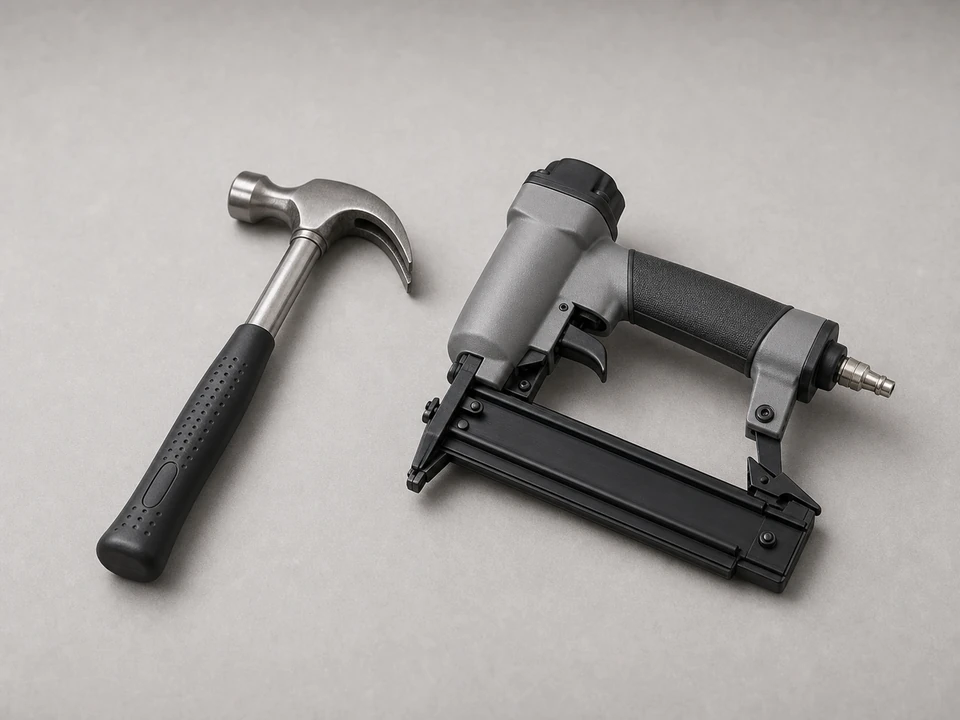
Use it for: To fasten the new coil where needed.
Shop hammers
Use it for: To seal small joints that were originally sealed, not to block drainage paths.
Shop exterior sealantAs an Amazon Associate I earn from qualifying purchases. Repair Riot may earn a commission at no extra cost to you.
If it works: You have confirmed the trim coil is damaged and the surrounding trim still looks solid enough for a straightforward replacement.
If it doesn’t: If the coil looks fine but water is getting in, inspect the top flashing, caulk joints, siding above the window, and the window itself before replacing the coil.
If it works: The old trim coil is off and the trim surface is exposed, clean, and ready to measure.
If it doesn’t: If the old piece comes off in scraps, measure the trim directly and use an undamaged side of the window as your pattern.
If it works: You have a new piece cut to size with bend lines marked and ready to form.
If it doesn’t: If your measurements seem off, hold the cut piece in place before bending and compare it to the opening and the old pattern.
If it works: The new trim coil fits the opening cleanly and sits flat without major gaps or oil-canning.
If it doesn’t: If the piece rocks, bows, or leaves uneven gaps, rebend it slightly or cut a fresh piece before fastening it permanently.
If it works: The new coil is secure, aligned with the surrounding trim, and detailed to shed water instead of trapping it.
If it doesn’t: If the coil shifts or dimples while fastening, remove the last fastener, realign the piece, and refasten with lighter pressure.
If it works: The trim stays tight, sheds water cleanly, and shows no sign of leakage or movement after testing and normal weather.
If it doesn’t: If water still gets in, the leak source may be higher up at the head flashing, siding, or window unit rather than the trim coil alone.
Match the replacement part to your exact siding flashing before ordering.
As an Amazon Associate I earn from qualifying purchases. Repair Riot may earn a commission at no extra cost to you.
Yes, if the rest of the coil is still solid and the new piece can be lapped and fitted cleanly. If several sides are bent, loose, or mismatched, replacing all visible sections usually gives a better result.
No. Trim coil should be shaped and layered to shed water. Use sealant sparingly at the same kinds of joints that were originally sealed, and avoid blocking drainage paths.
Replace or repair the damaged wood first. New trim coil will not solve hidden rot, and fastening over soft trim usually leads to a loose repair and more water damage.
For small repairs, a hand seamer can work, but a brake makes straighter, cleaner bends. If the profile is long or highly visible, a brake usually gives a better finished look.
If the coil is damaged, replacing it makes sense, but leaks can also come from head flashing, siding joints, failed sealant above the window, or the window unit itself. If the new coil does not stop the leak, inspect those areas next.