
Window repair

How to Replace Window Weatherstripping

To replace window weatherstripping, confirm the old seal is worn or missing, match the replacement profile, remove the old material, clean the channel, install the new strip without stretching it, and test the window for a snug seal.

This is a practical repair for windows that feel drafty, rattle, or let in a little water around the sash even though the window itself is still in decent shape. The key is using the right style of weatherstripping and giving it a clean surface to seal against.

Before you start: Match the profile, length, and window compatibility before ordering.

Prepared by: Repair Riot Last updated: 2026-06-05 How we build and check guides

Safety first

  • Wear gloves if the old weatherstripping has sharp staples, brittle metal backing, or dirty adhesive residue.
  • Use a stable step stool if you need extra reach, and do not lean out of the window opening.
  • Cut replacement material on a stable surface and keep the utility knife pointed away from your hand.

Tools you may need

Tape measure tool

Tape measure

Use it for: To measure the old strip and cut the new pieces to length.

Shop tape measures
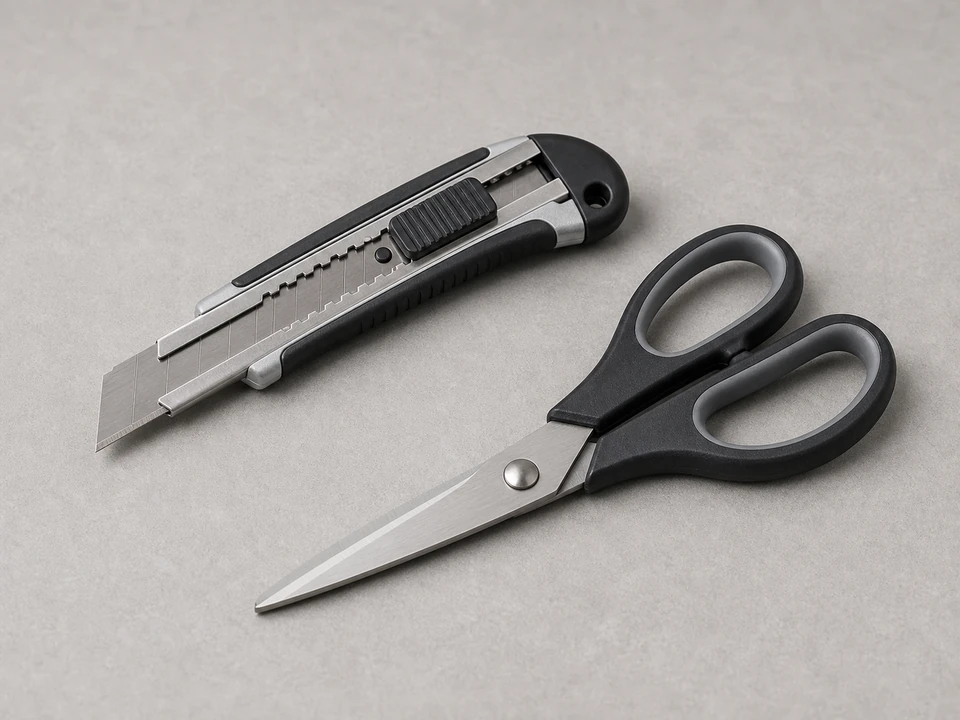
Utility knife or scissors tool

Utility knife or scissors

Use it for: To trim replacement weatherstripping cleanly.

Shop utility knives
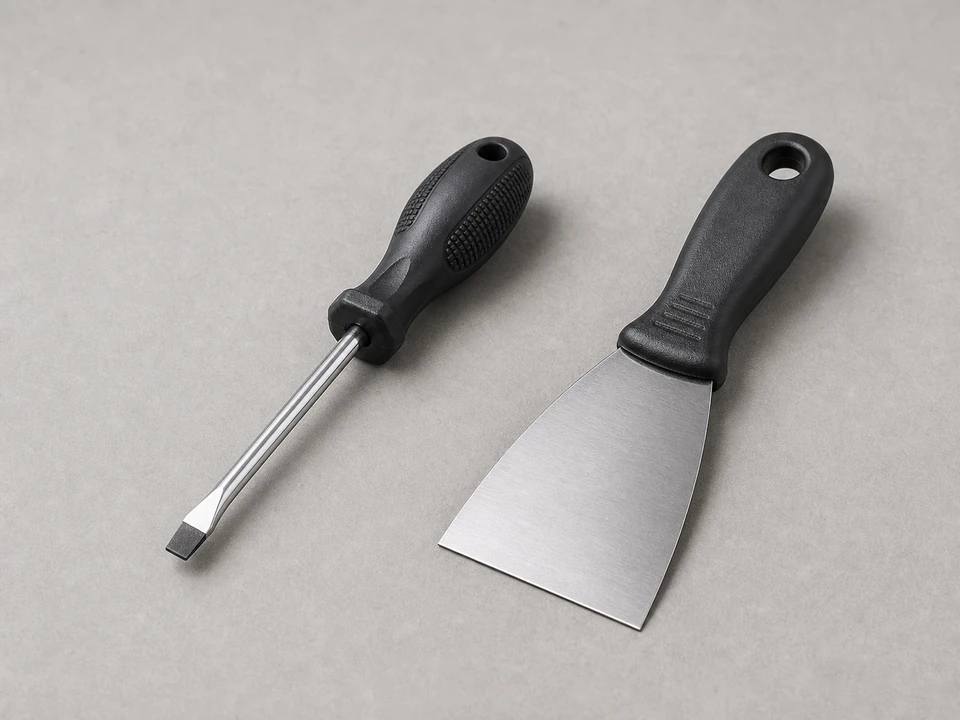
Putty knife or small flat screwdriver tool

Putty knife or small flat screwdriver

Use it for: To lift out old weatherstripping and scrape leftover adhesive gently.

Shop putty knives
Cleaning rags tool

Cleaning rags

Use it for: To wipe dirt, dust, and adhesive residue from the frame or sash.

Shop cleaning rags
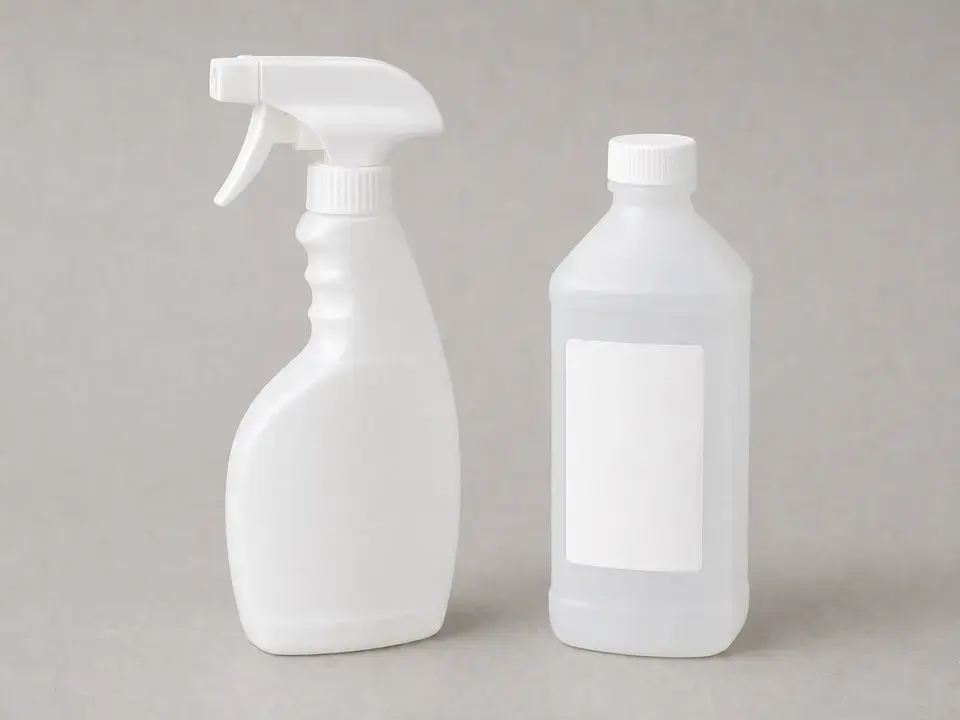
Mild cleaner or rubbing alcohol tool

Mild cleaner or rubbing alcohol

Use it for: To clean the mounting surface so the new strip sticks or seats properly.

Shop rubbing alcohol
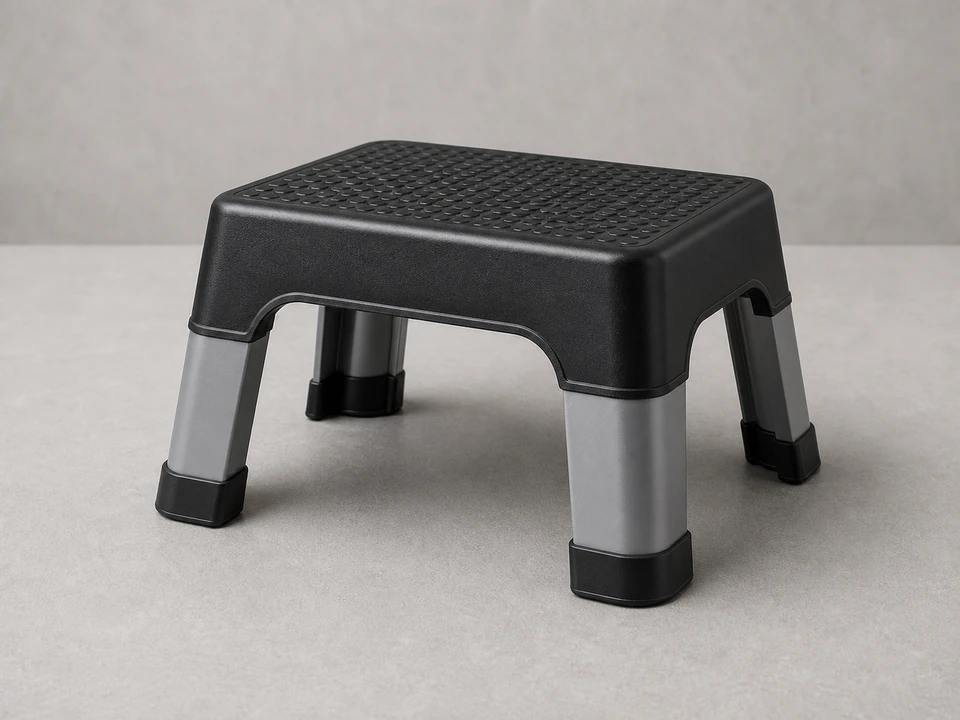
Step stool tool

Step stool

Use it for: To safely reach upper parts of the window if needed.

Shop step stools

As an Amazon Associate I earn from qualifying purchases. Repair Riot may earn a commission at no extra cost to you.

Step-by-step fix

Step 1: Confirm weatherstripping is the problem

  1. Open and close the window slowly and look for cracked, flattened, loose, missing, or brittle sealing strips around the sash or frame.
  2. Feel for drafts on a cool or windy day by moving your hand around the closed window perimeter.
  3. Check whether the window locks but still has visible gaps, light movement, or a weak seal where the sash meets the frame.
  4. Compare the worn strip to the rest of the window so you know which sections need replacement and what profile to match.

If it works: You found damaged or missing weatherstripping and the window itself still appears solid enough to seal once new strips are installed.

If it doesn’t: If the weatherstripping looks intact, check for a warped sash, loose latch, damaged frame, or failed caulk elsewhere before buying parts.

Stop if:
  • The frame or sash is rotted, badly warped, cracked, or loose in the wall.
  • The glass is broken or the window is unsafe to operate.
  • Water damage suggests a larger leak path beyond the weatherstripping.

Step 2: Match the replacement and prep the window

  1. Remove a small sample of the old weatherstripping if possible, or take clear photos of its shape and where it sits.
  2. Measure each section you plan to replace and add a little extra length so you can trim for a precise fit.
  3. Unlock and open the window enough to reach the old strips comfortably.
  4. Lay down a towel or rag on the sill to catch debris and protect finished surfaces.

Step 3: Remove the old weatherstripping

  1. Peel, pull, or slide out the old weatherstripping depending on how it is held in place.
  2. Use a putty knife or small flat screwdriver carefully to lift stubborn sections without gouging the sash or frame.
  3. Cut away torn pieces with a utility knife if they break apart during removal.
  4. Remove leftover adhesive, staples, or debris so the mounting area is as smooth as possible.

Step 4: Clean and dry the sealing surface

  1. Wipe the frame or sash where the new weatherstripping will sit.
  2. Use mild cleaner or rubbing alcohol to remove dust, oils, and adhesive residue.
  3. Dry the area completely before installing the new material.
  4. Check corners and ends for buildup that could keep the strip from sitting flat.

Step 5: Cut and install the new weatherstripping

  1. Measure each run one more time and cut the new weatherstripping to fit, keeping corners neat and square unless the product is meant to compress around them.
  2. Install one section at a time in the same location and orientation as the original.
  3. Press adhesive-backed strips down firmly along the full length, or slide press-fit strips fully into their channel.
  4. Do not stretch the material during installation, because stretched strips can shrink back and leave gaps later.
  5. Close the window gently between sections if needed to confirm the strip is not bunching or blocking normal movement.

If it doesn’t: If the window binds, remove and reposition the strip, then trim only what is necessary for a clean fit.

Step 6: Test the seal in real use

  1. Close and lock the window fully, then check that the sash pulls in evenly against the new weatherstripping.
  2. Run your hand around the edges for obvious drafts and listen for rattling when the window is shut.
  3. If the window had minor water intrusion, monitor it during the next rain or spray the exterior lightly with a hose while someone watches inside.
  4. Recheck any corners or ends that look loose and press them down again if needed.

If it works: The window closes smoothly, feels tighter, and the draft or minor leak is reduced or gone.

If it doesn’t: If air or water still gets through, inspect for gaps at the latch side, meeting rail, frame joints, or exterior caulk because weatherstripping may not be the only issue.

Stop if:
  • Water is entering through the wall, head flashing area, or damaged frame rather than around the sash seal.
  • The sash still has large uneven gaps after the new weatherstripping is installed, pointing to a window alignment or frame problem.

Replacement Parts

As an Amazon Associate I earn from qualifying purchases. Repair Riot may earn a commission at no extra cost to you.

Verify the repair

  • The window opens and closes without dragging hard on the new strips.
  • The lock engages and pulls the sash in snugly.
  • The new weatherstripping stays seated at corners and ends after a few open-close cycles.
  • Drafts, rattling, or minor seepage around the sash are improved in normal use.

FAQ

How do I know which window weatherstripping to buy?

Match the shape and mounting style first, then the length. A strip that looks close but has the wrong profile can keep the window from closing or leave gaps.

Can I replace just one section instead of all of it?

Yes, if the rest is still flexible and sealing well. If several sections are brittle or flattened, replacing all worn runs at once usually gives a more even seal.

Why should I avoid stretching weatherstripping during installation?

Stretched material can shrink back after installation and leave open gaps at the ends or corners. Set it in place naturally and trim to fit.

What if the window still leaks air after I replace the weatherstripping?

Check for a loose latch, warped sash, frame movement, or gaps in nearby caulk. Weatherstripping helps the sash seal, but it will not fix alignment or frame problems.

Do I need adhesive for all window weatherstripping?

No. Some types are adhesive-backed, while others press into a channel or slide into a track. Use the installation method that matches the replacement style you bought.