
Work gloves
Use it for: Protects your hands from splinters, rough edges, and old fasteners.
Shop work glovesTo replace a wood fence panel, confirm the panel is the actual problem, remove the damaged panel without loosening the posts, set a matching replacement in place, fasten it securely to the rails or posts, and then check that it stays straight and solid in normal use.
This is a manageable homeowner repair when the posts and main fence framing are still sound. The key is matching the new panel to the opening and fastening it without pulling the fence out of line.
Before you start: Match the replacement part to your exact fence before ordering.
Use it for: Protects your hands from splinters, rough edges, and old fasteners.
Shop work gloves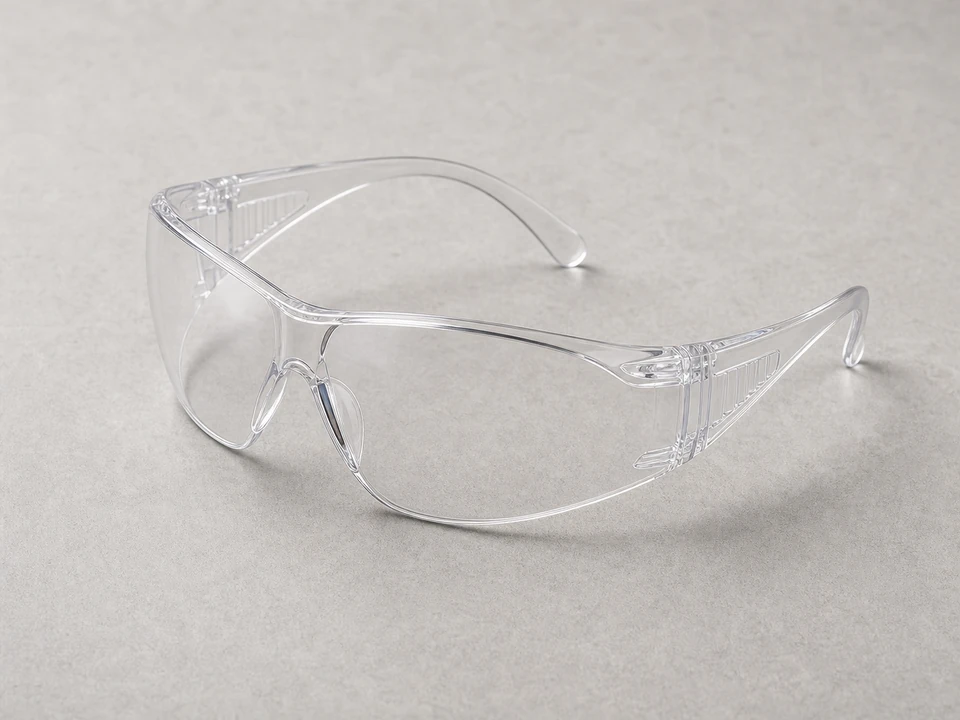
Use it for: Keeps wood chips, rust, and debris out of your eyes while removing and fastening the panel.
Shop safety glasses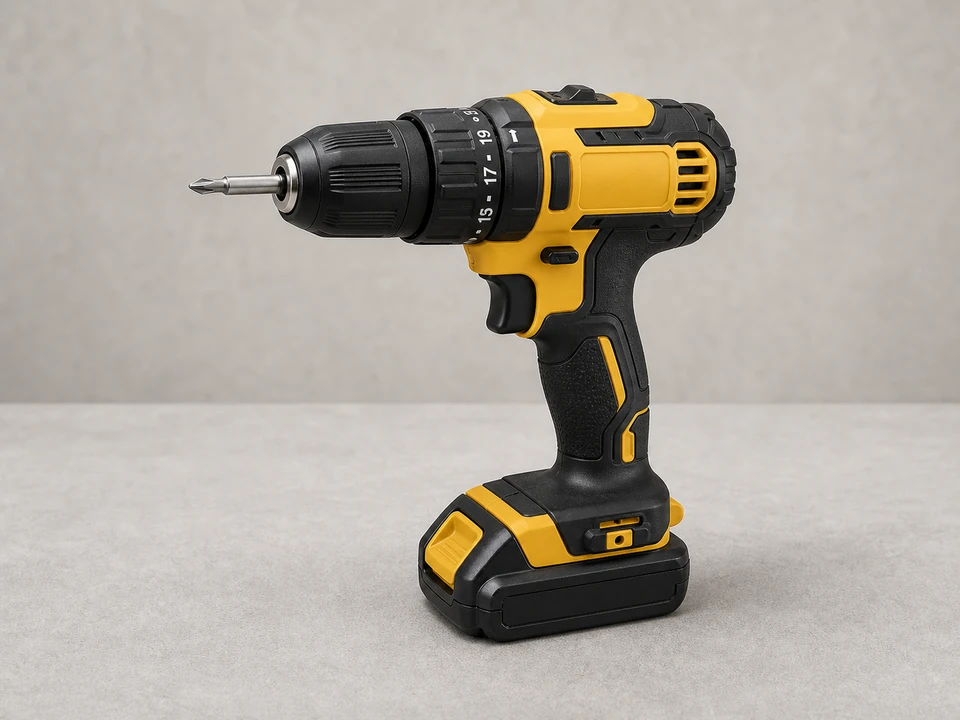
Use it for: Removes old screws and drives new fasteners into the replacement panel.
Shop drill drivers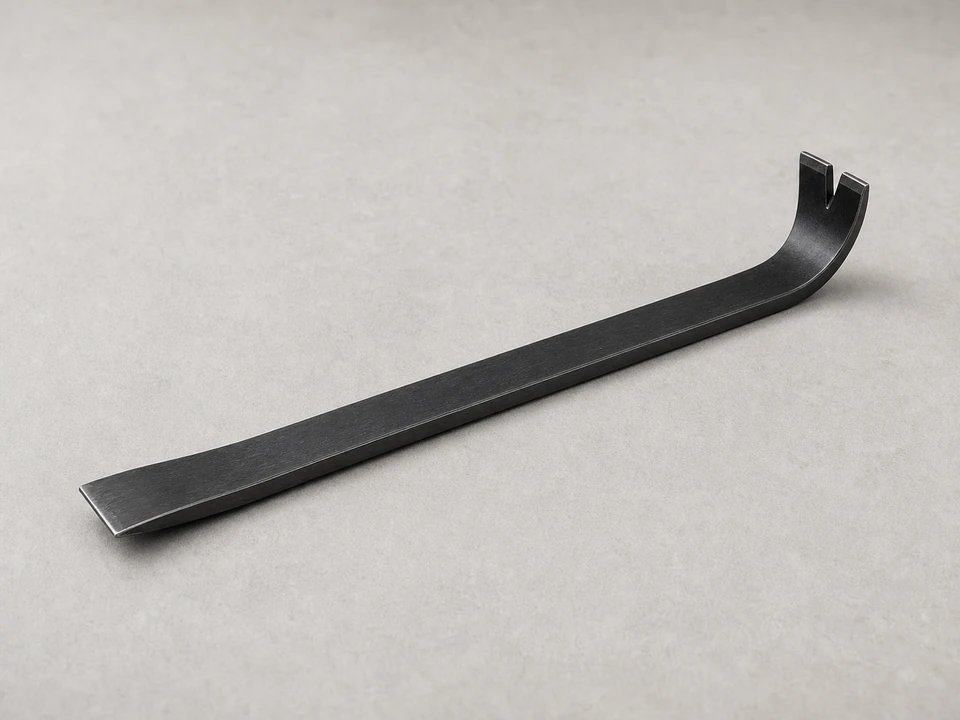
Use it for: Helps loosen a nailed panel or stubborn trim without tearing up nearby boards more than necessary.
Shop pry bars
Use it for: Checks the opening width and height so the new panel fits before you fasten it.
Shop tape measures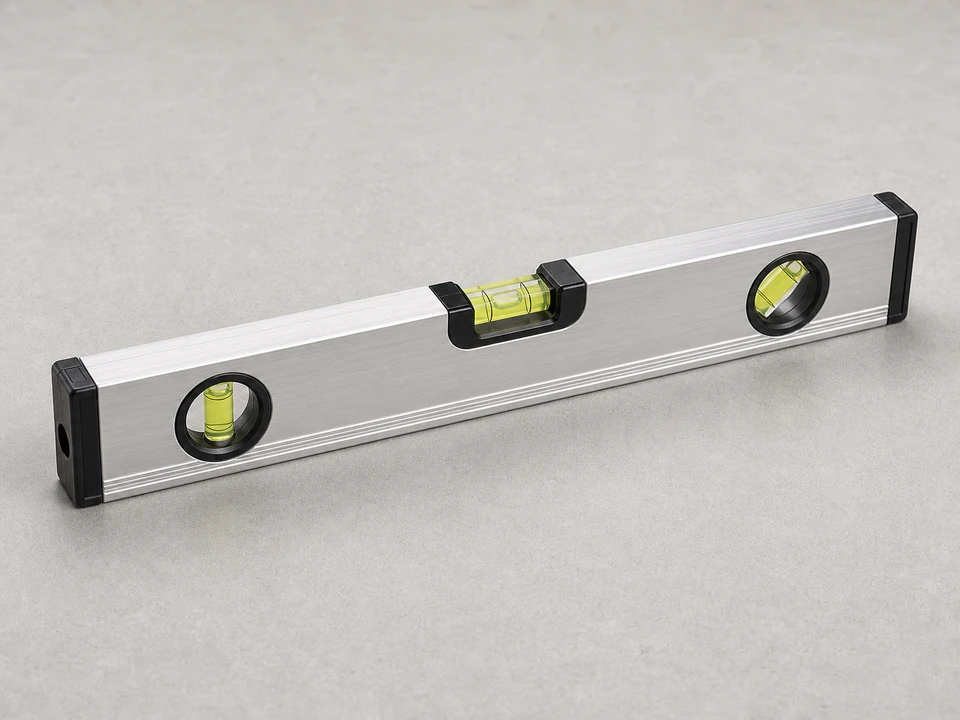
Use it for: Helps keep the replacement panel straight so the fence line looks even.
Shop levelsAs an Amazon Associate I earn from qualifying purchases. Repair Riot may earn a commission at no extra cost to you.
If it works: You have confirmed the wood fence panel is the failed part and the surrounding fence structure is solid enough for a panel swap.
If it doesn’t: If the posts are loose, the rails are rotted, or the opening is out of square from larger fence movement, repair the structure first instead of replacing only the panel.
If it works: The area is clear, the panel is supported, and you can remove it without it dropping unexpectedly.
If it doesn’t: If you cannot safely support the panel by yourself, wait for a helper before removing fasteners.
If it works: The damaged panel is out and the opening is clean and ready for the replacement.
If it doesn’t: If the old panel will not come free, look for hidden fasteners or trim pieces still holding it in place and remove those before forcing it.
If it works: The replacement panel fits the opening and lines up with the rest of the fence.
If it doesn’t: If the panel does not fit cleanly, recheck your measurements and get the correct size or style before fastening it in place.
If it works: The new panel is attached firmly and sits straight with the surrounding fence.
If it doesn’t: If the panel shifts while fastening, loosen the last screws slightly, realign it, and retighten before finishing.
If it works: The replacement panel stays solid, looks aligned, and holds up under normal use.
If it doesn’t: If the panel loosens, twists, or the fence line keeps moving, inspect the posts and rails again because the root problem is likely in the supporting structure.
Match the replacement part to your exact fence before ordering.
As an Amazon Associate I earn from qualifying purchases. Repair Riot may earn a commission at no extra cost to you.
Yes, if the posts and supporting rails are still solid. If the structure around the panel is rotted, loose, or leaning, replacing only the panel usually will not last.
If the panel is broken or warped but the posts are firm and the rails are sound, a panel replacement is usually the right fix. If the posts wobble, lean, or show rot at the base, start with the posts.
Exterior-rated screws are usually easier for homeowners because they hold well and make future repairs simpler. Use fasteners suited for outdoor wood exposure.
A small difference may be manageable depending on the fence design, but a noticeably undersized panel can look uneven and may not fasten securely. It is better to match the opening closely before installation.
If your fence is stained or sealed, finishing the new panel to match can help it blend in and improve weather resistance. Follow the finish product directions and let the wood dry as needed first.