
Utility knife
Use it for: Cuts and lifts old caulk so the new sealant can bond to clean edges.
Find a utility knifeTo reseal a window exterior gap, first confirm the opening is just failed sealant and not rotten trim or flashing damage. Then remove loose caulk, clean and dry the joint, add backer rod if the gap is deep, apply a smooth bead of exterior-grade sealant, and let it cure before testing it in wet weather.
This is a good homeowner repair when the gap is visible around the outside window trim or frame and the old sealant has cracked, shrunk, or pulled away. It is not the right fix for soft wood, loose trim, or water getting in from above the window.
Before you start: Choose a paintable exterior-grade sealant rated for window and siding use, and match backer rod size to the width of the gap so the sealant is not filling a deep void by itself. Stop if the repair becomes unsafe or unclear.
Use it for: Cuts and lifts old caulk so the new sealant can bond to clean edges.
Find a utility knife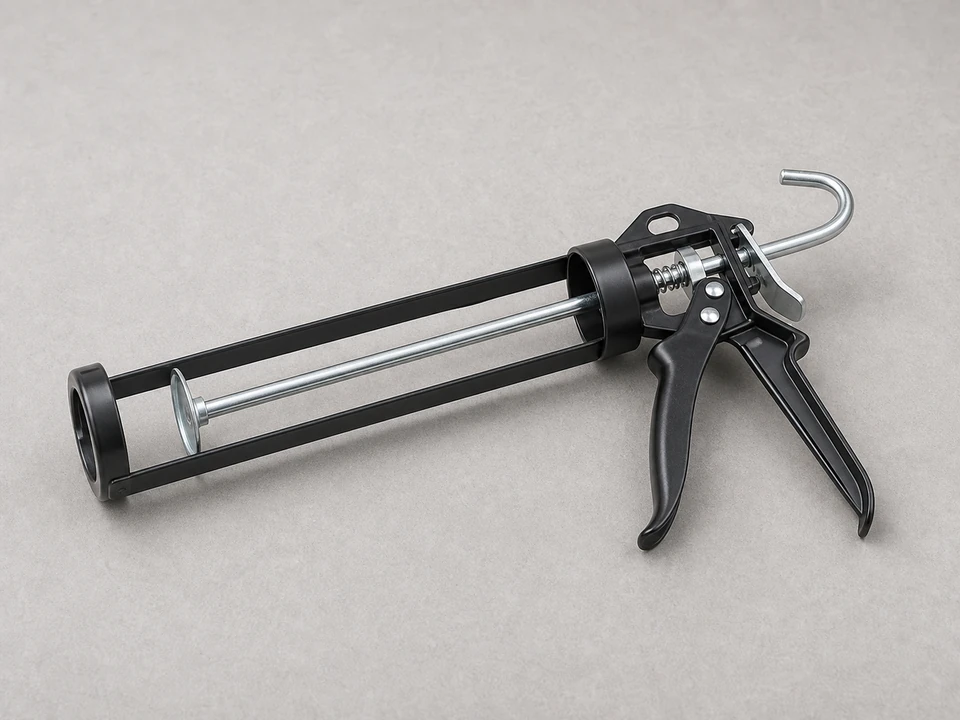
Use it for: Applies a steady bead of exterior sealant.
Find a caulk gun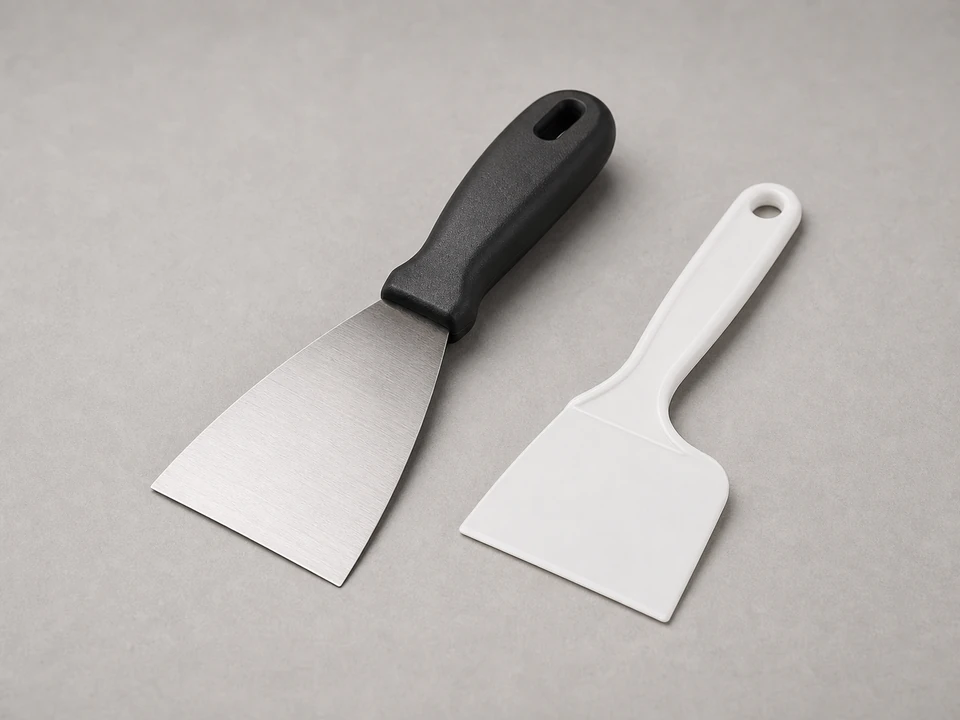
Use it for: Helps scrape out stubborn sealant without tearing up the surrounding surface.
Find a scraper tool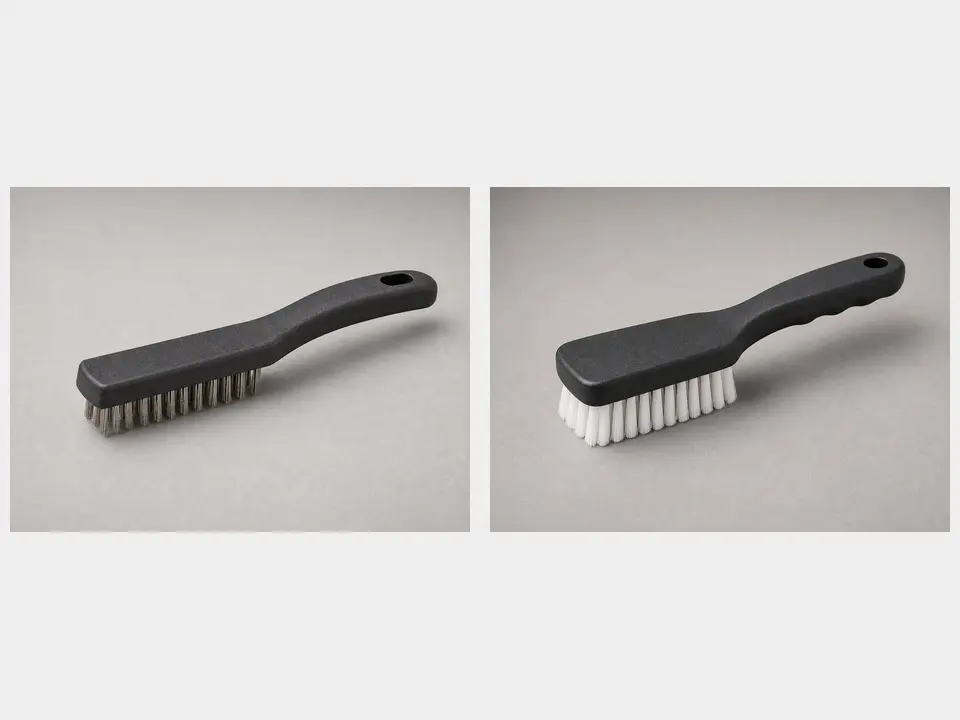
Use it for: Cleans dust, loose paint, and debris from the joint.
Find a cleaning brush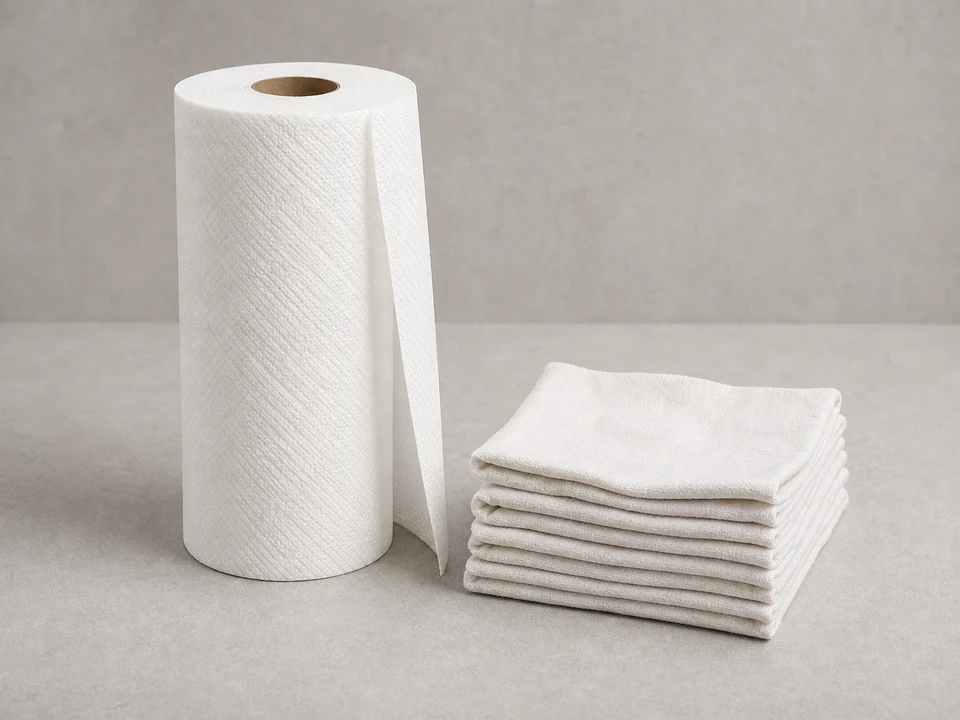
Use it for: Wipes away dust and cleans up small smears before they cure.
Find cleaning rags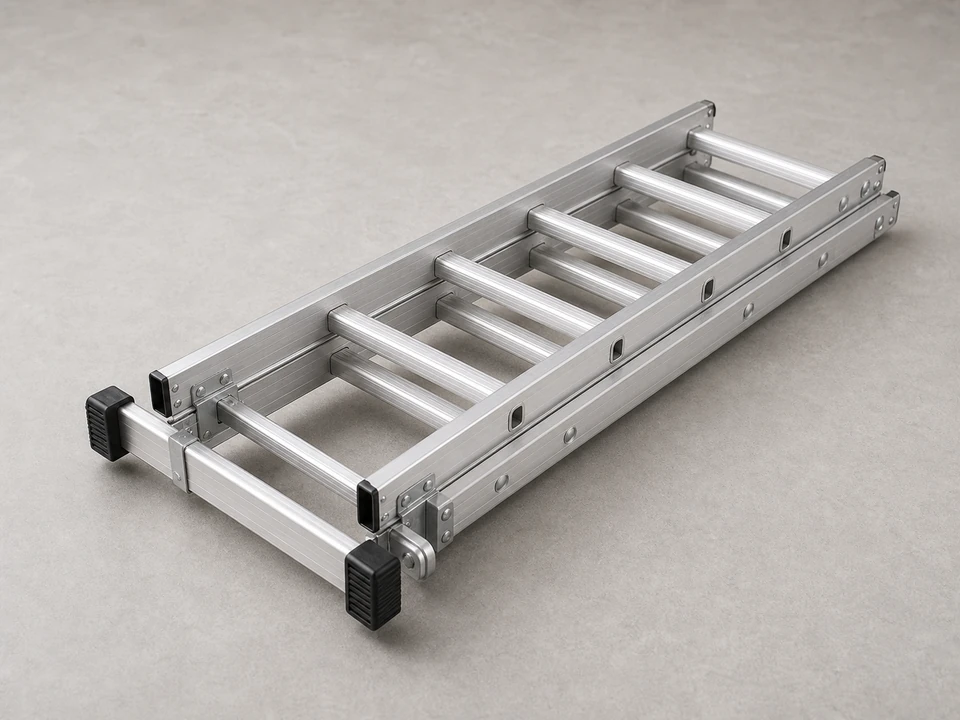
Use it for: Lets you reach upper window edges safely if the gap is above ground level.
Find an extension ladderAs an Amazon Associate I earn from qualifying purchases. Repair Riot may earn a commission at no extra cost to you.
If it works: You found a failed exterior sealant joint and the surrounding trim and wall surface appear solid and dry enough to reseal.
If it doesn’t: If you do not see failed sealant at the gap, trace the leak path higher up the wall or around the window before sealing anything.
If it works: The gap is exposed, reachable, and free of loose debris and failed caulk.
If it doesn’t: If old sealant keeps tearing instead of releasing, make a second shallow cut along the edge and remove it in shorter sections.
If it works: Both sides of the joint are clean and dry, and any deep gap has backing in place.
If it doesn’t: If the surfaces still feel damp or dirty, wait and clean again before applying sealant.
If it works: The gap is covered by one continuous, well-bonded bead with no visible holes or breaks.
If it doesn’t: If the bead pulls away or leaves voids, remove the fresh section and reapply it before it skins over.
If it works: The sealant has cured enough to stay bonded and form a continuous weather seal.
If it doesn’t: If sections split, sag, or pull loose during curing, remove those sections and reseal after the area is fully dry and clean.
If it works: The exterior gap stays sealed and the window area remains dry during normal weather exposure.
If it doesn’t: If water still shows up inside, the leak path is likely elsewhere, often above the window or behind trim, and the next step is a broader exterior leak inspection.
Use an exterior-grade sealant made for window, door, and siding joints. A paintable product is helpful if the trim will be painted. The key is that it is rated for outdoor movement and weather exposure.
You should remove all loose, cracked, or separated caulk. New sealant bonds best to clean, solid surfaces. Leaving failed material behind usually shortens the life of the repair.
Use backer rod when the gap is deep enough that sealant would otherwise fill a large void. It supports the bead and helps the sealant stretch and hold better instead of sinking into the joint.
It is better to wait for dry conditions. Most sealants need clean, dry surfaces and a reasonable temperature range to bond and cure well. Check the product label before starting.
The usual causes are sealing over dirty or damp surfaces, leaving failed caulk underneath, using the wrong type of sealant, or having movement or water entry from a bigger problem above the window.