Replace a floor drain P trap only after the trap itself is cracked, leaking, separated, badly corroded, or blocked beyond cleaning. Remove the cover and expose the trap. Disconnect or cut out only the failed section, install a matching trap without forcing the line, then fill the trap and check every joint for leaks.
The first split matters: a dry trap, surface sludge, or downstream clog can look like a bad P trap. Stop before cutting if the trap is buried in concrete, dirty water backs up from more than one drain, or the old pipe crumbles when touched.
Before you start: Match the pipe diameter, pipe material, inlet height, outlet direction, and connection style before ordering. Stop if the trap is under concrete, dirty water backs up from multiple drains, or old pipe crumbles when handled.
Last reviewed: 2026-06-12
Make sure this is the right repair
Before replacing the floor drain P trap, prove that the trap failed and the surrounding drain line is still solid. The new trap also needs to match the existing layout without force.
This page fits
This page fits when: The trap body or trap joint is cracked, leaking, separated, badly corroded, or blocked after cleaning from above.
Check something else when: If the only symptom is odor, refill the trap first. If several drains back up, clear the downstream line before replacing this trap.
Confirm the fit first
This page fits when: You can match the pipe diameter, material, inlet height, outlet direction, and connection style from the old trap or exposed piping.
Check something else when: If the old trap is missing or the pipe material is unclear, identify the piping before ordering. Guessing at a P trap often creates a leak at the first test.
Stop for hidden damage
This page fits when: The trap is accessible, the drain body is solid, and the remaining pipe is round, stable, and long enough for a new connection.
Check something else when: Stop if the trap is buried in concrete, the pipe crumbles, the floor is soft, or dirty water backs up through more than one drain. That is plumber territory, not a parts swap.
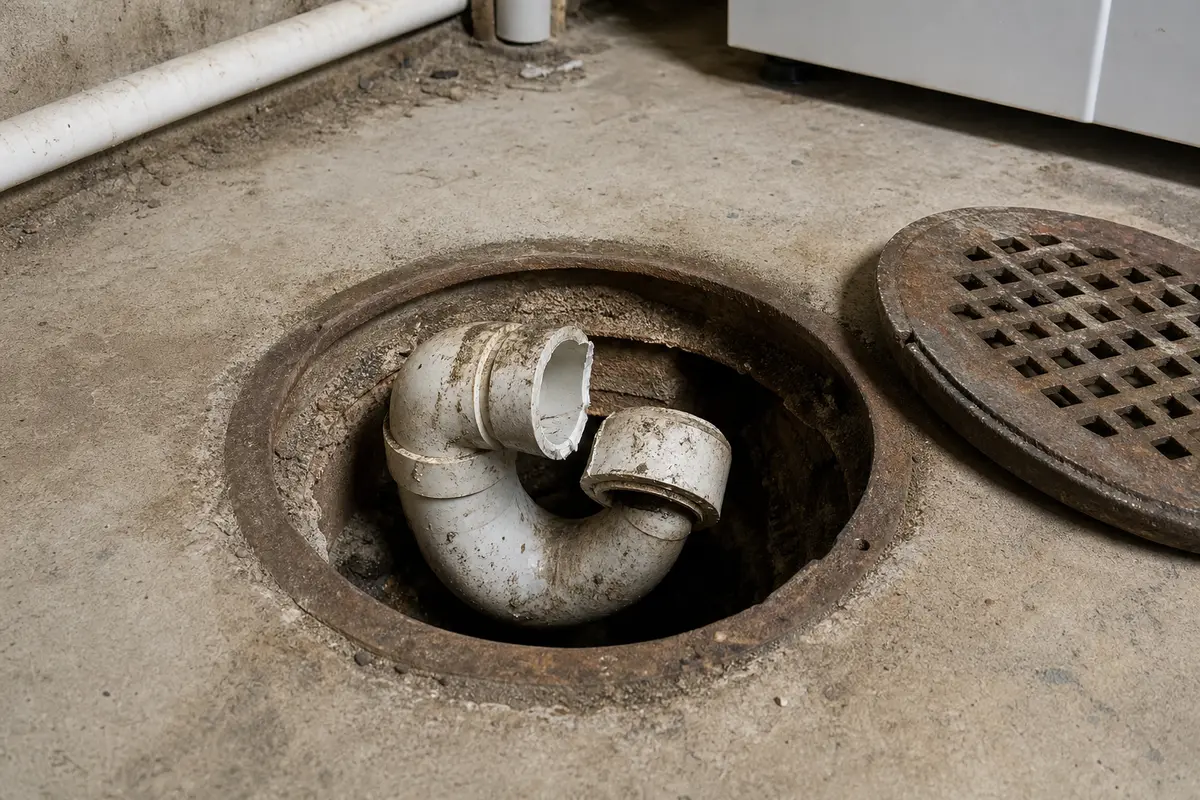
Find the failure and prove the fit
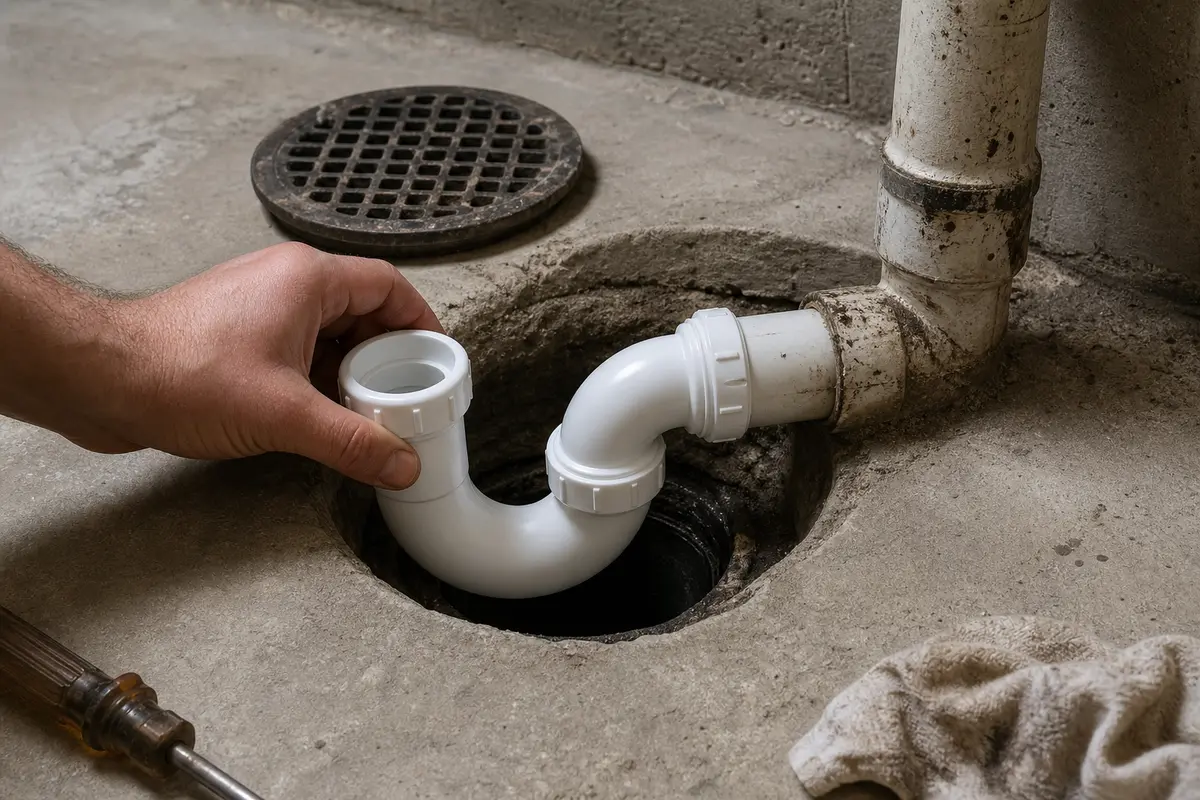
Use the damage photo to separate a failed trap from a dirty drain opening or downstream clog. Use the dry-fit photo before final fastening; the trap should meet the existing pipe without lifting, twisting, or pulling anything into place.
Replace the trap only when the failure is at the trap body or joint. Wet flooring, crumbling pipe, or backup from other drains changes the job.Dry-fit before final fastening. The inlet and outlet should line up naturally, with no bent pipe, tipped trap, or partly seated joint.
Safety first
Wear gloves and eye protection before opening a floor drain or cutting pipe.
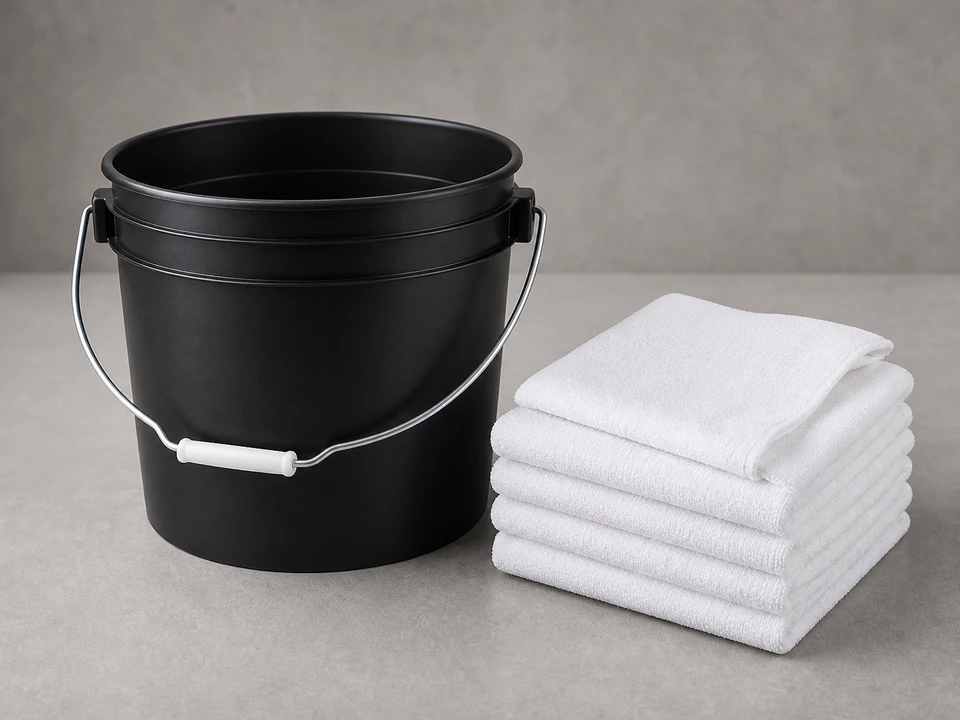
Treat trap water as contaminated. Keep rags and a bucket ready, bag sludge and debris, and wash up after the repair.
Cut pipe slowly and keep hands clear of the blade path. Support the pipe so the cut does not crack the drain body.
Do not force old piping. Brittle cast iron, lead, or aged plastic can crack farther back than expected.
Call a licensed plumber if the trap is under concrete, dirty water backs up from more than one drain, or the remaining pipe is too damaged to reconnect.
Tools you may need
Work gloves
Use it for: Protects your hands from sharp drain edges, grime, and old pipe debris.
As an Amazon Associate I earn from qualifying purchases. Repair Riot may earn a commission at no extra cost to you.
Step-by-step fix
Step 1: Confirm the floor drain P trap is the right repair
Remove the drain grate or cover and look for the first visible clue: dry trap, standing water, thick sludge, cracked pipe, loose joint, or rust flakes around the bend.
Pour a small amount of water into the drain. If the odor stops after the trap refills, the trap may have dried out instead of failed.
Clear hair, lint, mud, and loose debris from the drain opening before you blame the trap. A slow surface opening is easier to fix than a cut-out trap.
Shine a light into the drain and look for a cracked trap body, separated joint, severe corrosion, or a blockage sitting in the bend that cannot be reached from above.
If you can see the piping from below, wipe the trap dry and run water. The first fresh beads tell you where to look next. Moisture at the trap body or joint points to the trap; water farther away points to another leak.
If it works: You have a trap-specific failure: a cracked body, leaking joint, severe corrosion, separated fitting, or bend blockage that cleaning did not clear.
If it doesn’t: If the trap holds water, the joints stay dry, and the drain improves after cleaning, stop here. The next check is the drain opening or downstream line, not a replacement trap.
Stop if:
Dirty water comes back up through more than one drain. Do not cut the trap; stop using the affected fixtures, keep the area contained, and call a licensed plumber.
The trap is buried in concrete or inaccessible without breaking finished flooring.
The surrounding pipe is badly rotted, split, or unstable beyond the trap itself.
Step 2: Set up the area and expose the trap
Put on gloves and safety glasses before you reach into the drain or start cutting.
Lay down rags and set the bucket under the lowest accessible point. Old traps can dump more dirty water than the drain opening suggests.
Remove the drain cover fully, bag loose sludge or debris, and clean enough of the opening to see the drain body, trap inlet, trap arm, and first coupling or hub.
For below-floor access, clear enough space to keep the cutter square to the pipe. Leave room for your other hand to support the pipe during the cut.
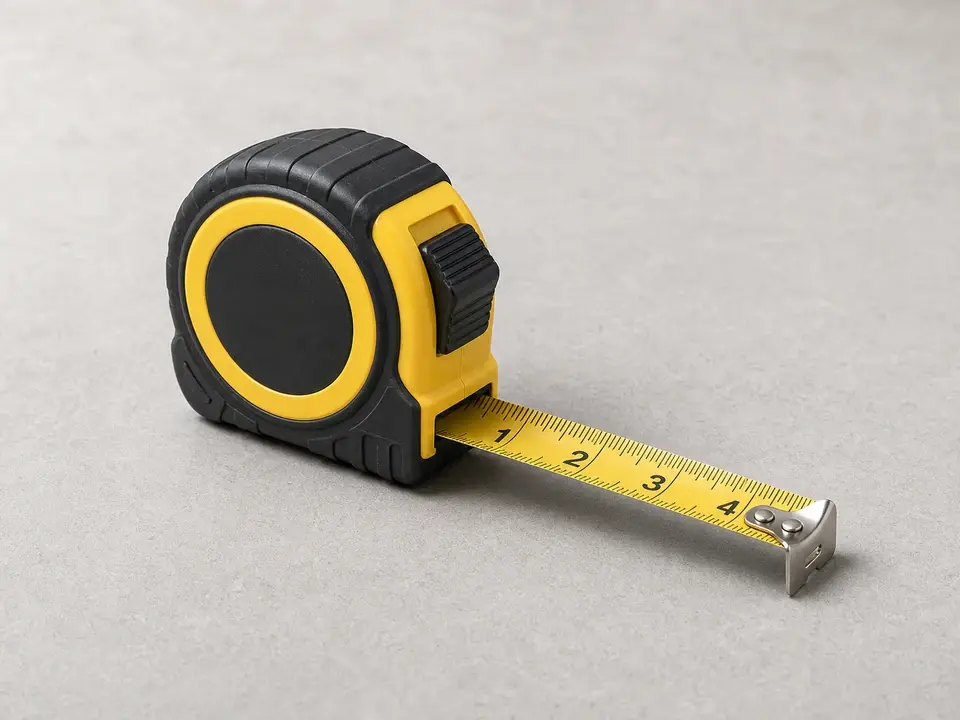
Read any size or material markings on the pipe, then measure the outside diameter, drain-body outlet to trap bend, and bend to downstream connection. Those checks tell you whether the new trap can land in the same sockets or couplings.
Note whether the existing joints are slip-nut, solvent-welded plastic, shielded coupling, threaded adapter, or old cast-metal pipe. The replacement connection has to match that reality, not just the trap shape.
Take a photo straight on and from the side so you can compare inlet height, outlet direction, and trap-arm slope before final assembly.
If it works: The work area is clean, the trap is visible or reachable, and you know the pipe size, pipe material, trap-arm length, inlet height, outlet direction, and connection style.
If it doesn’t: If you cannot see where the trap begins and ends, do not cut yet. Clear more debris, inspect from below if possible, or have a plumber identify the drain layout.
Stop if:
You uncover hidden water damage, moldy framing, crumbling flooring, or softened subfloor around the drain.
The drain body or nearby structure is loose enough that removing the trap could damage the floor assembly.
The pipe material or connection type is unclear, especially around old cast iron, lead, or mixed-material piping.
Step 3: Remove the old trap
Place the bucket under the trap or below the drain line path, then loosen the lowest connection first so trapped water has somewhere to go.
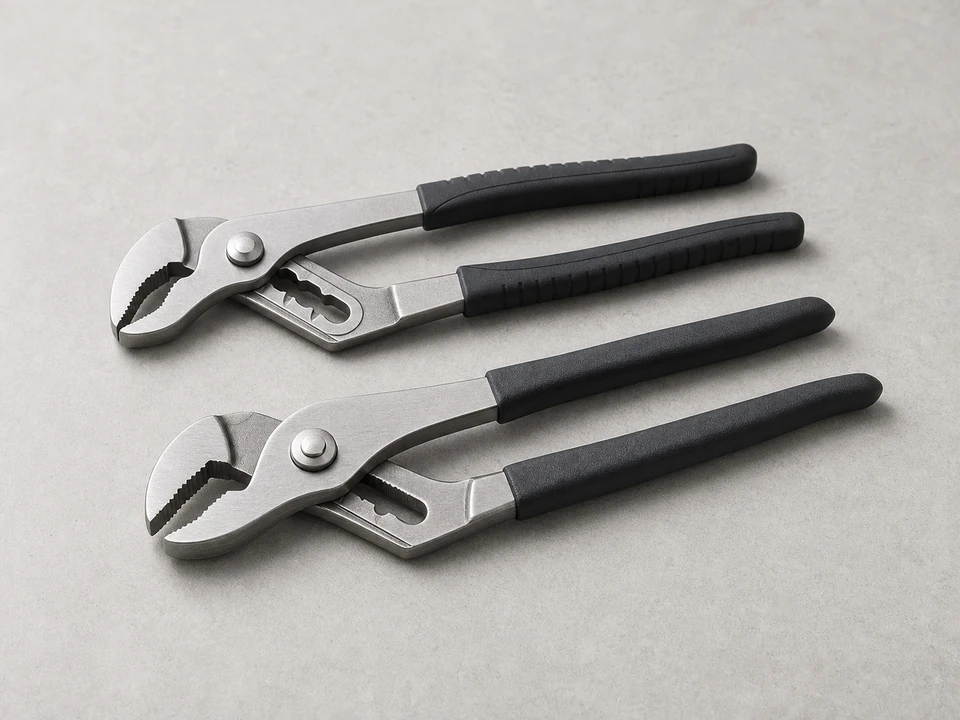
If the trap uses slip connections, back off the nuts evenly with pliers. Support the pipe with your other hand so the old joint does not twist the drain body.
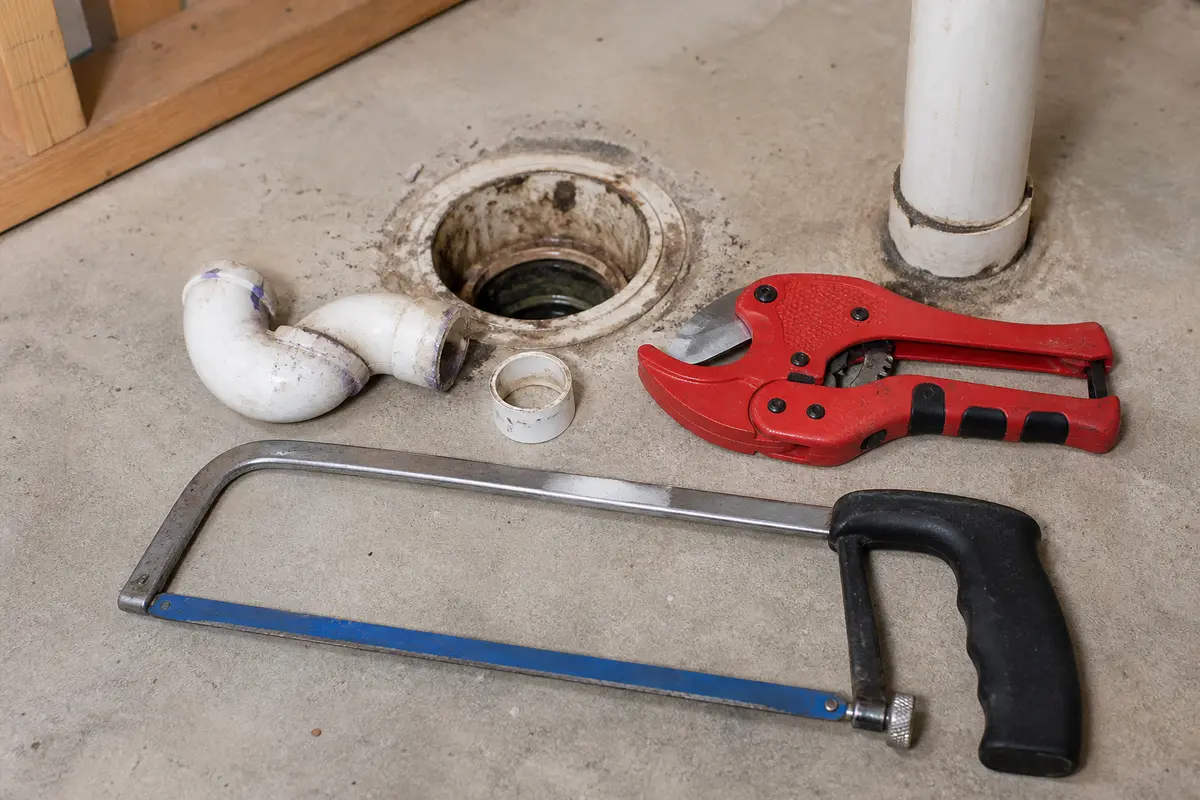
If the trap is glued plastic, mark cut lines on straight pipe, not on the bend. Leave enough straight pipe for the coupling or new trap connection.
Cut slowly and square. A crooked cut can leave one side short, and that can make the new trap leak even when the parts are correct.
Deburr the pipe ends, wipe them clean, and check for hairline cracks before dry-fitting the replacement.
Keep the old trap nearby until the new one is installed; it is your best comparison for bend direction and connection depth.
If it works: The old trap is out, the remaining pipe ends are clean and round, and there is enough solid straight pipe for the replacement connection.
If it doesn’t: If the trap will not come free, stop forcing it. Look for hidden couplings, a second access point, or old pipe that may need a plumber to cut back safely.
Stop if:
The remaining pipe cracks, flakes apart, goes oval, or is too short to reconnect safely.
You discover the drain body itself is damaged and the repair is no longer limited to the trap.
Cutting exposes sewage residue, active backup, or pipe movement that suggests the branch line is failing. Stop there, keep the area contained, and call a licensed plumber.
Step 4: Dry-fit and install the new floor drain P trap
Compare the new trap to the old one before any cement or final tightening. Match pipe size, material compatibility, bend direction, seal surface, and connection depth.
Dry-fit the trap and sight along the pipe. The inlet and outlet should meet naturally without lifting the drain body or pulling the downstream pipe sideways.
Check that the trap has a normal water-seal bend and does not sit backward, tipped, or higher than the drain outlet it serves.
Adjust cut length only after the dry-fit shows where the pipe should land. Remove small amounts rather than trying to make a short pipe work.
Use the connection method that matches your piping. Do not mix incompatible plastic cement, and do not rely on a loose flexible coupling where a listed drain fitting is needed.
Seat each joint fully, tighten slip connections hand-snug plus a small plier turn if needed, and wipe the area dry before testing.
If it works: The new trap sits square, lines up with the drain body and outlet pipe, and is not carrying the job of bending nearby pipe into position.
If it doesn’t: If the trap does not line up cleanly, loosen the assembly and recheck the orientation, cut length, and part style before tightening anything further.
Stop if:
You can only make the trap fit by bending or forcing the existing drain line.
The replacement trap does not match the original layout closely enough to maintain a proper connection.
The installation would reduce drain slope, leave a joint partly seated, or depend on sealant to make up for poor fit.
Step 5: Run water and check for leaks
Pour water into the floor drain slowly at first and watch the trap body, slip nuts, couplings, and drain-body connection.
Run enough water to fill the trap, then add a heavier pour that resembles normal use for that floor drain.
Touch each accessible joint with a dry rag or paper towel. A damp edge after the wipe is a leak, even if no drip has formed yet.
Watch the drain opening while water runs. If the grate swallows the flow without noise, the trap repair is doing its job. Gurgling, bubbling, or rising water sends you to venting or the downstream drain line next.
Leave the area dry for a few minutes, then check again. Some slow leaks show up after the first test, not during it.
If it works: The trap holds water, each accessible joint stays dry after a heavy pour, and the floor drain carries water away without backing up.
If it doesn’t: If one accessible joint leaks, remake that joint and test again. If the drain still backs up, stop chasing the trap and clear the downstream line.
Stop if:
Water leaks from the drain body, surrounding floor, or hidden piping instead of the trap connections.
The drain still backs up after trap replacement, suggesting a blockage farther down the line.
You smell sewer gas after the trap has been filled. Stop using the drain, ventilate the room if you can do it safely, and have a licensed plumber check for a venting, seal, or drain-body problem.
Step 6: Reassemble the drain and confirm the repair in real use
Reinstall the drain grate or cover so it sits flat, clears the pipe below, and does not rock under foot traffic.
Clean up pipe chips, old trap debris, and dirty water before they wash back into the new trap or lodge at the new bend.
For a laundry, utility sink, water heater pan, or basement floor drain, run enough water to mimic that real load instead of relying on a light pour.
Watch the grate while water enters. It should swallow the flow without bubbling, lifting debris back up, or leaving water standing over the opening.
Check the trap, drain body, nearby floor seam, and downstream coupling after the first real use and again the next day. Look for damp edges, new stains, slow drainage, or sewer odor.
Measure any repeat standing water against the grate or floor edge so you can tell whether the symptom is shrinking, holding steady, or getting worse.
For a rarely used drain, pour water into it occasionally so the trap seal does not dry out and invite odor.
If it works: The drain works under normal use, the cover sits solid, the surrounding floor stays dry, and the trap still holds water after the first day.
If it doesn’t: Check the clue that comes back first after real use. If odor returns after a refilled trap, stop treating it as a dry-trap problem and check the seal, venting, and drain body. If water stands over the grate, clear the downstream line. If the floor seam gets damp, trace that edge before buying another trap.
Stop if:
The floor around the drain becomes wet again after use. Dry the area once, then stop if the first damp edge returns at the drain body, floor seam, or nearby pipe path because hidden leakage may be below the surface.
The drain repeatedly backs up under normal use even though the new trap is installed correctly.
The new trap shifts, sags, or pulls against the drain body after the cover is reinstalled.
Match the pipe diameter, pipe material, inlet height, outlet direction, and connection style before ordering.
As an Amazon Associate I earn from qualifying purchases. Repair Riot may earn a commission at no extra cost to you.
Verify the repair
Water drains through the floor drain without pooling at the top during a heavy pour.
Accessible trap joints stay dry during the test and after a few minutes of sitting.
The trap holds water and there is no fresh sewer odor after the seal has been refilled.
The drain cover sits flat, the new trap does not shift, and the surrounding floor stays dry in normal use.
FAQ
How do I know the floor drain P trap needs replacement instead of cleaning?
Replace it when the trap is cracked, leaking, badly corroded, separated at a joint, or blocked in the bend after cleaning from above. If the drain only smells and the trap was dry, refill it with water before buying parts.
Can I replace just the trap and keep the rest of the drain?
Yes, if the drain body and nearby pipe are still solid, round, and long enough for the new connection. If the surrounding pipe flakes apart, moves, or is too short after cutting, the repair has moved beyond a simple trap swap.
What if I still have standing water after replacing the trap?
If water rises at the grate after a good trap replacement, watch whether it drains away slowly or keeps backing up. The trap may be fine, but the branch line or main drain still needs to be cleared.
Does a floor drain P trap always have water in it?
Yes. A working trap holds water to block sewer gas from coming back into the room. If odor remains after you refill the trap, ventilate the room if you can do it safely and have a licensed plumber check the venting, seal, or drain body.
Do I need the exact same trap shape?
You need the same basic trap function, pipe diameter, pipe material compatibility, inlet height, outlet direction, and connection style. A close visual and measurement match keeps the replacement from stressing the drain body or downstream pipe.
Sources and reference notes
Repair Riot used related floor-drain and trap references to keep this repair focused on diagnosis first. The checks start at the visible failure, move through fit and leak testing, and stop when backup, odor, or wet flooring points beyond the trap.