
Bucket or shallow pan
Use it for: Catches the water that will spill when you remove the old trap.
Shop buckets and drain pansIf the trap under your sink is cracked, corroded, missing pieces, or keeps leaking at the joints even after tightening and reseating the washers, replacing the sink drain p trap kit is usually the right fix.
This is a manageable homeowner repair if the leak is limited to the trap assembly under the sink. Work slowly, keep a bucket underneath, and make sure the new kit matches your drain size and general layout before you start.
Before you start: Match the pipe diameter, inlet and outlet layout, and trap style before ordering.
Use it for: Catches the water that will spill when you remove the old trap.
Shop buckets and drain pans
Use it for: Helps loosen and snug slip nuts without over-tightening.
Find tongue-and-groove pliers
Use it for: Useful if parts are metal or stubborn and need a second tool to hold them.
Shop adjustable wrenches
Use it for: Lets you confirm pipe diameter and compare the new kit to the old one.
Find a tape measure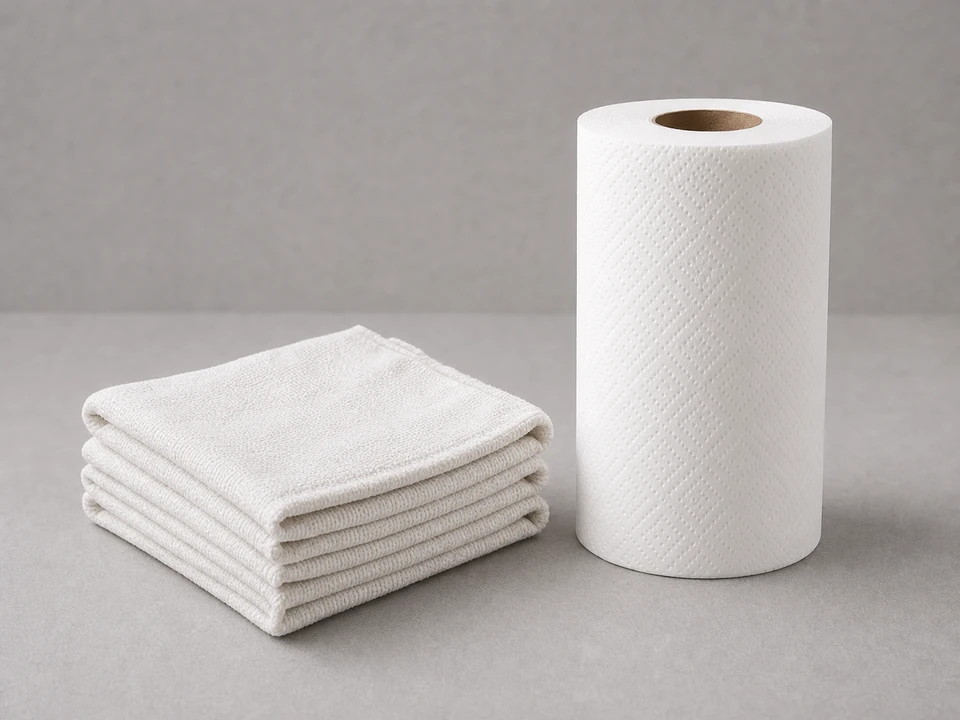
Use it for: Wipes old residue off sealing surfaces so the new washers can seat properly.
Shop cleaning ragsAs an Amazon Associate I earn from qualifying purchases. Repair Riot may earn a commission at no extra cost to you.
If it works: You have confirmed the leak or damage is in the trap assembly and replacing the sink drain p trap kit makes sense.
If it doesn’t: If everything stays dry under the trap, the problem may be higher at the sink drain or farther back in the wall. Recheck with a fuller sink and a longer drain test.
If it works: The old trap assembly is out and the work area is open for cleaning and fitting the new parts.
If it doesn’t: If a nut will not move, apply steady pressure with pliers instead of forcing it suddenly. A second tool can help hold the adjoining pipe still.
If it works: The sealing surfaces are clean, smooth enough to seal, and ready for the new trap kit.
If it doesn’t: If buildup is heavy, keep cleaning until the pipe ends are smooth enough for the washers to sit flat.
If it works: The new trap kit lines up cleanly between the sink tailpiece and wall drain without strain.
If it doesn’t: If the trap will not line up, recheck the kit size, washer orientation, and whether the sink tailpiece length is causing the mismatch.
If it works: The new trap is installed, aligned, and fully assembled with snug slip-joint connections.
If it doesn’t: If a joint keeps slipping out of place while tightening, loosen it, realign the trap, and tighten again evenly from joint to joint.
If it works: The sink drains normally and the new trap stays dry during both a light flow and a full drain test.
If it doesn’t: If a joint still leaks after slight tightening, take it apart, inspect the washer direction and seating, then reassemble and retest.
Match the pipe diameter, inlet and outlet layout, and trap style before ordering.
As an Amazon Associate I earn from qualifying purchases. Repair Riot may earn a commission at no extra cost to you.
Usually no. Most sink P-trap kits seal with slip nuts and tapered washers, not thread tape. Tape can actually make some slip-joint connections seal worse.
The most common causes are a crooked connection, a washer facing the wrong direction, dirt on the sealing surface, or a trap that is being forced out of alignment.
It is better to use the new hardware that comes with the kit if it matches your setup. Old washers often harden or deform and can cause repeat leaks.
Measure the pipe diameter and compare the old trap layout to the new kit. The new trap should match the sink tailpiece and the wall drain connection without forcing the pipes.
A slow drain usually points to a clog in the trap, tailpiece, or branch drain rather than a bad trap installation. Remove the trap again to check for debris, and if it is clear, the blockage may be farther down the line.